Notice
Recent Posts
Recent Comments
Link
| 일 | 월 | 화 | 수 | 목 | 금 | 토 |
|---|---|---|---|---|---|---|
| 1 | 2 | 3 | ||||
| 4 | 5 | 6 | 7 | 8 | 9 | 10 |
| 11 | 12 | 13 | 14 | 15 | 16 | 17 |
| 18 | 19 | 20 | 21 | 22 | 23 | 24 |
| 25 | 26 | 27 | 28 | 29 | 30 | 31 |
Tags
- 시각화
- Blog
- Google Analytics
- Linux
- SQL
- 텐서플로
- Tistory
- 독후감
- 서평
- 티스토리
- 서평단
- Python
- python visualization
- 딥러닝
- Ga
- tensorflow
- MATLAB
- matplotlib
- 월간결산
- 한빛미디어
- 리눅스
- 한빛미디어서평단
- Visualization
- 파이썬
- 매틀랩
- Pandas
- MySQL
- 통계학
- 블로그
- 파이썬 시각화
Archives
- Today
- Total
pbj0812의 코딩 일기
[CSS] W3SCHOOL CSS Tutorial 쿡북 제작 본문
0. 목표
- W3SCHOOL CSS Tutorial 쿡북 제작
1. 기본 형태

2. 코드
1) 기본 예제
<!DOCTYPE html>
<html>
<head>
<style>
p {
  color: red;
  text-align: center;
}
</style>
</head>
<body>

<p>Hello World!</p>
<p>These paragraphs are styled with CSS.</p>

</body>
</html>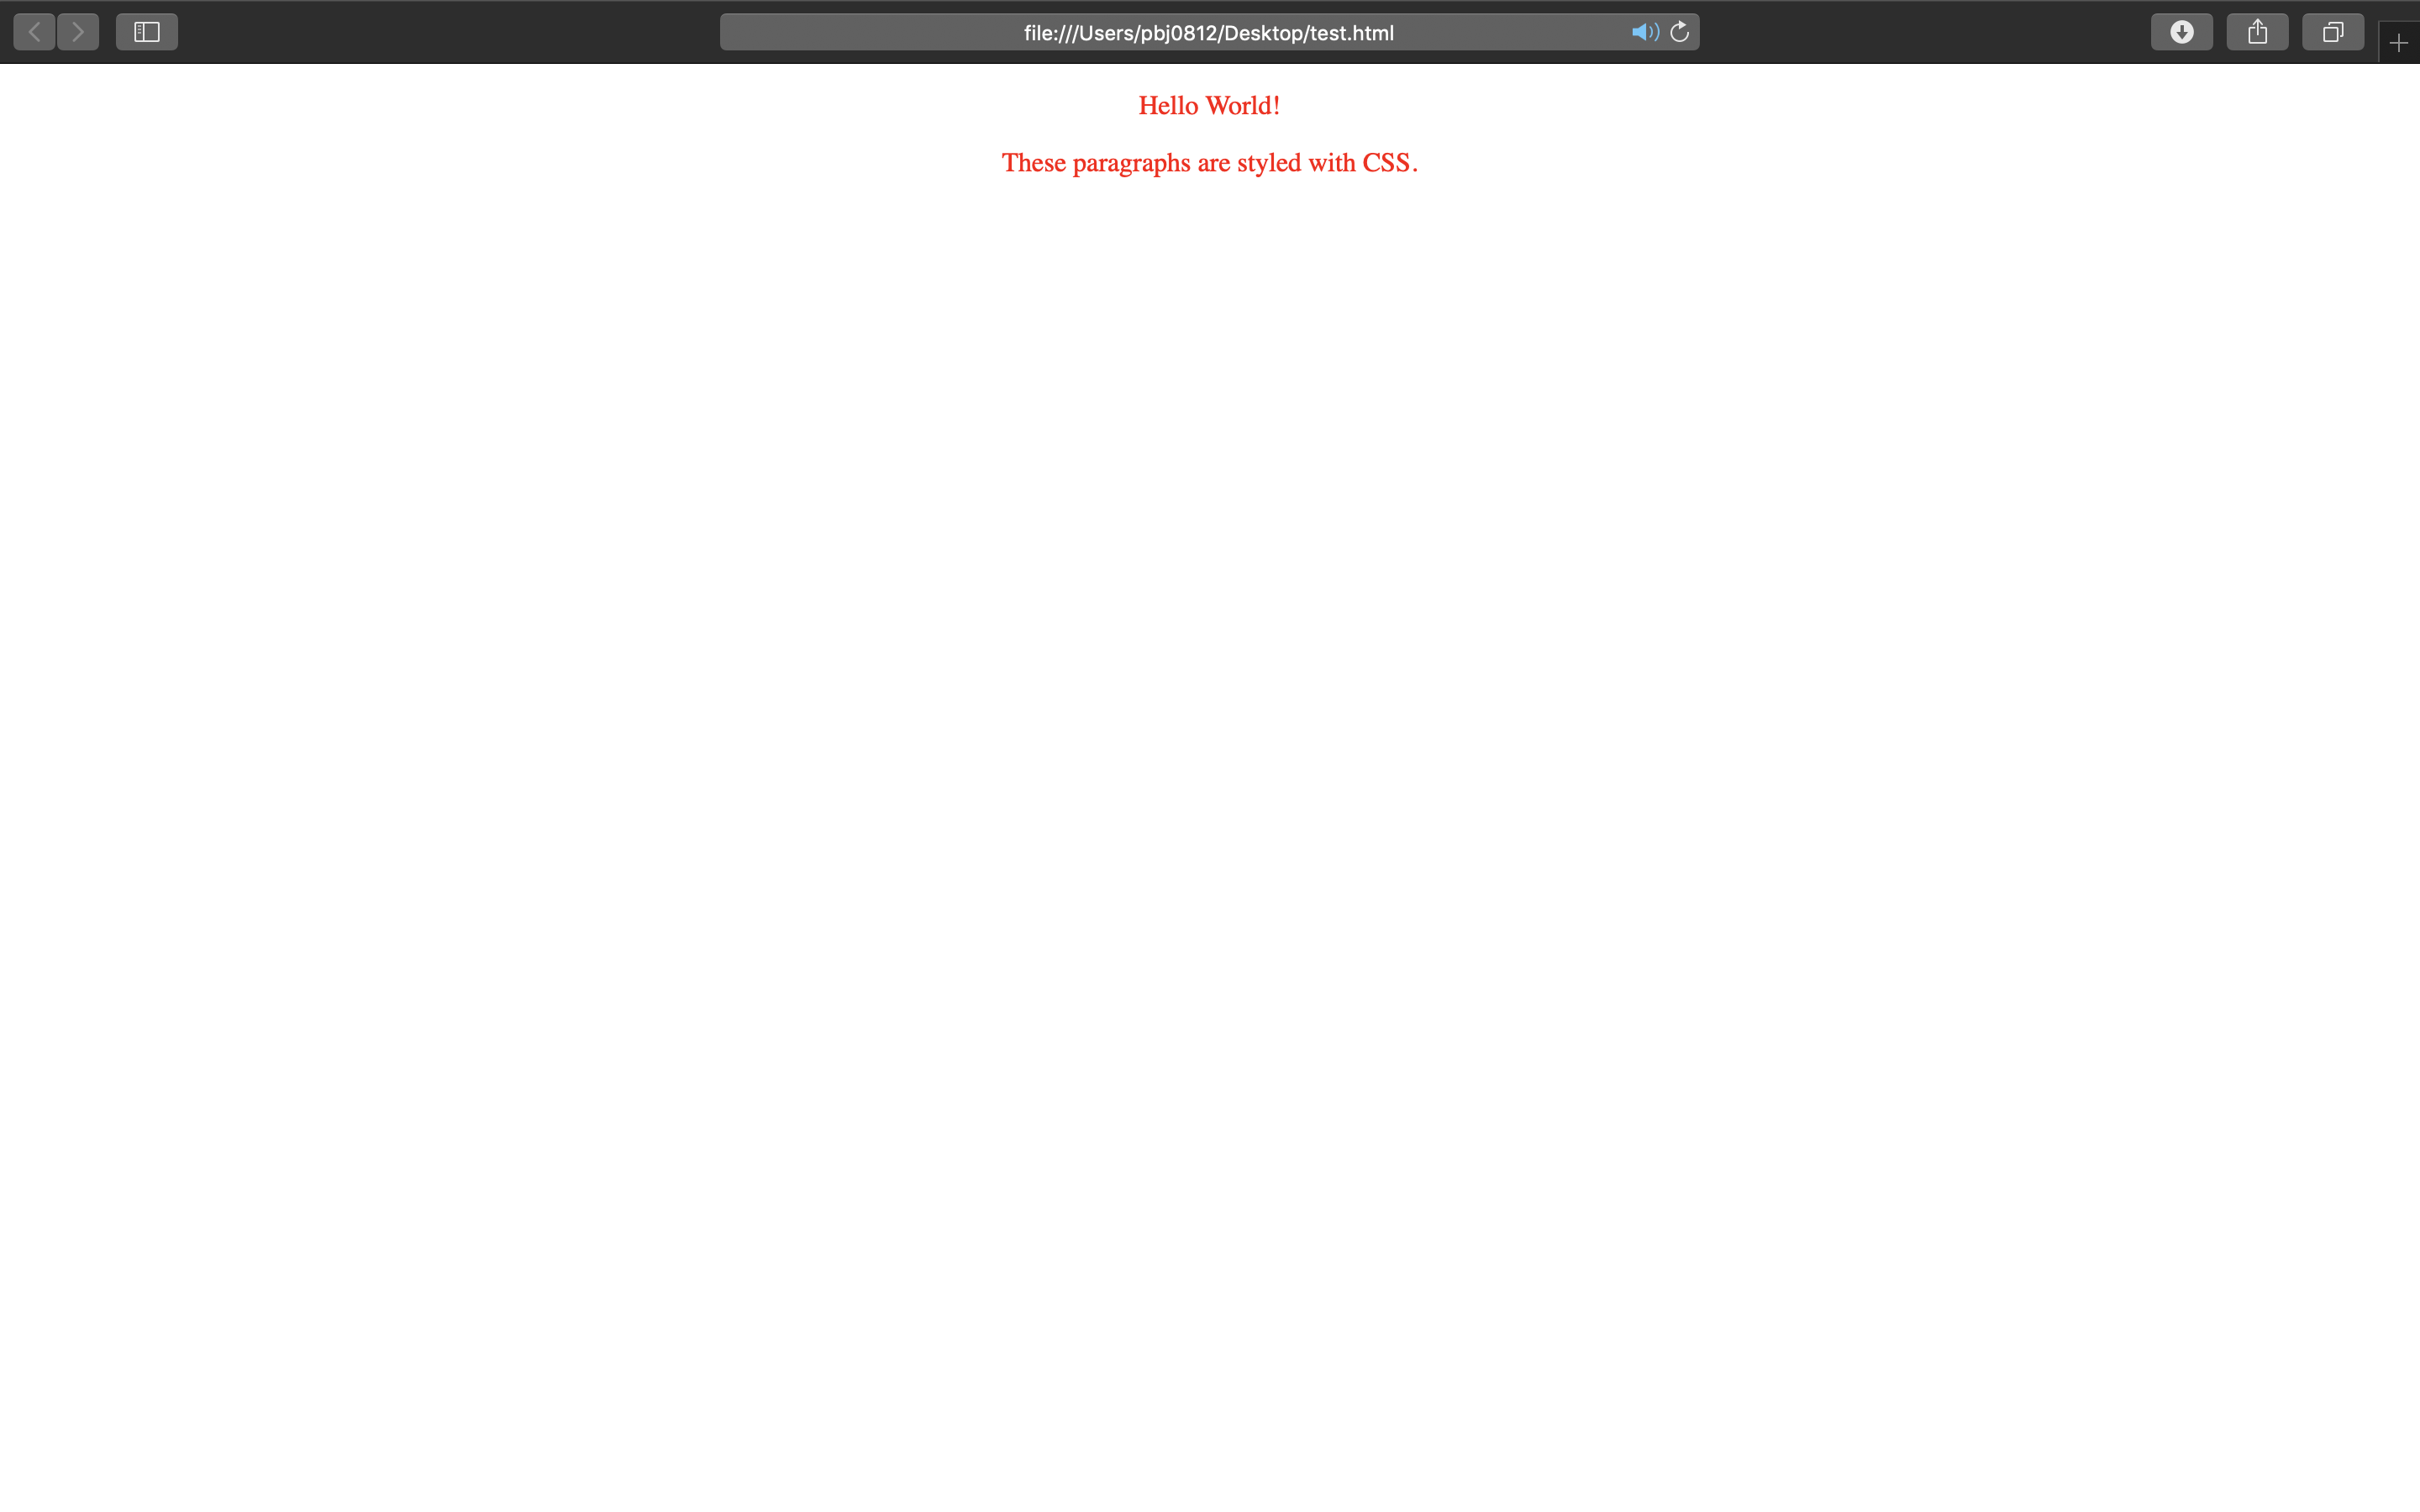
2) element selector
<!DOCTYPE html>
<html>
<head>
<style>
p {
  text-align: center;
  color: red;
}
</style>
</head>
<body>

<p>Every paragraph will be affected by the style.</p>
<p id="para1">Me too!</p>
<p>And me!</p>

</body>
</html>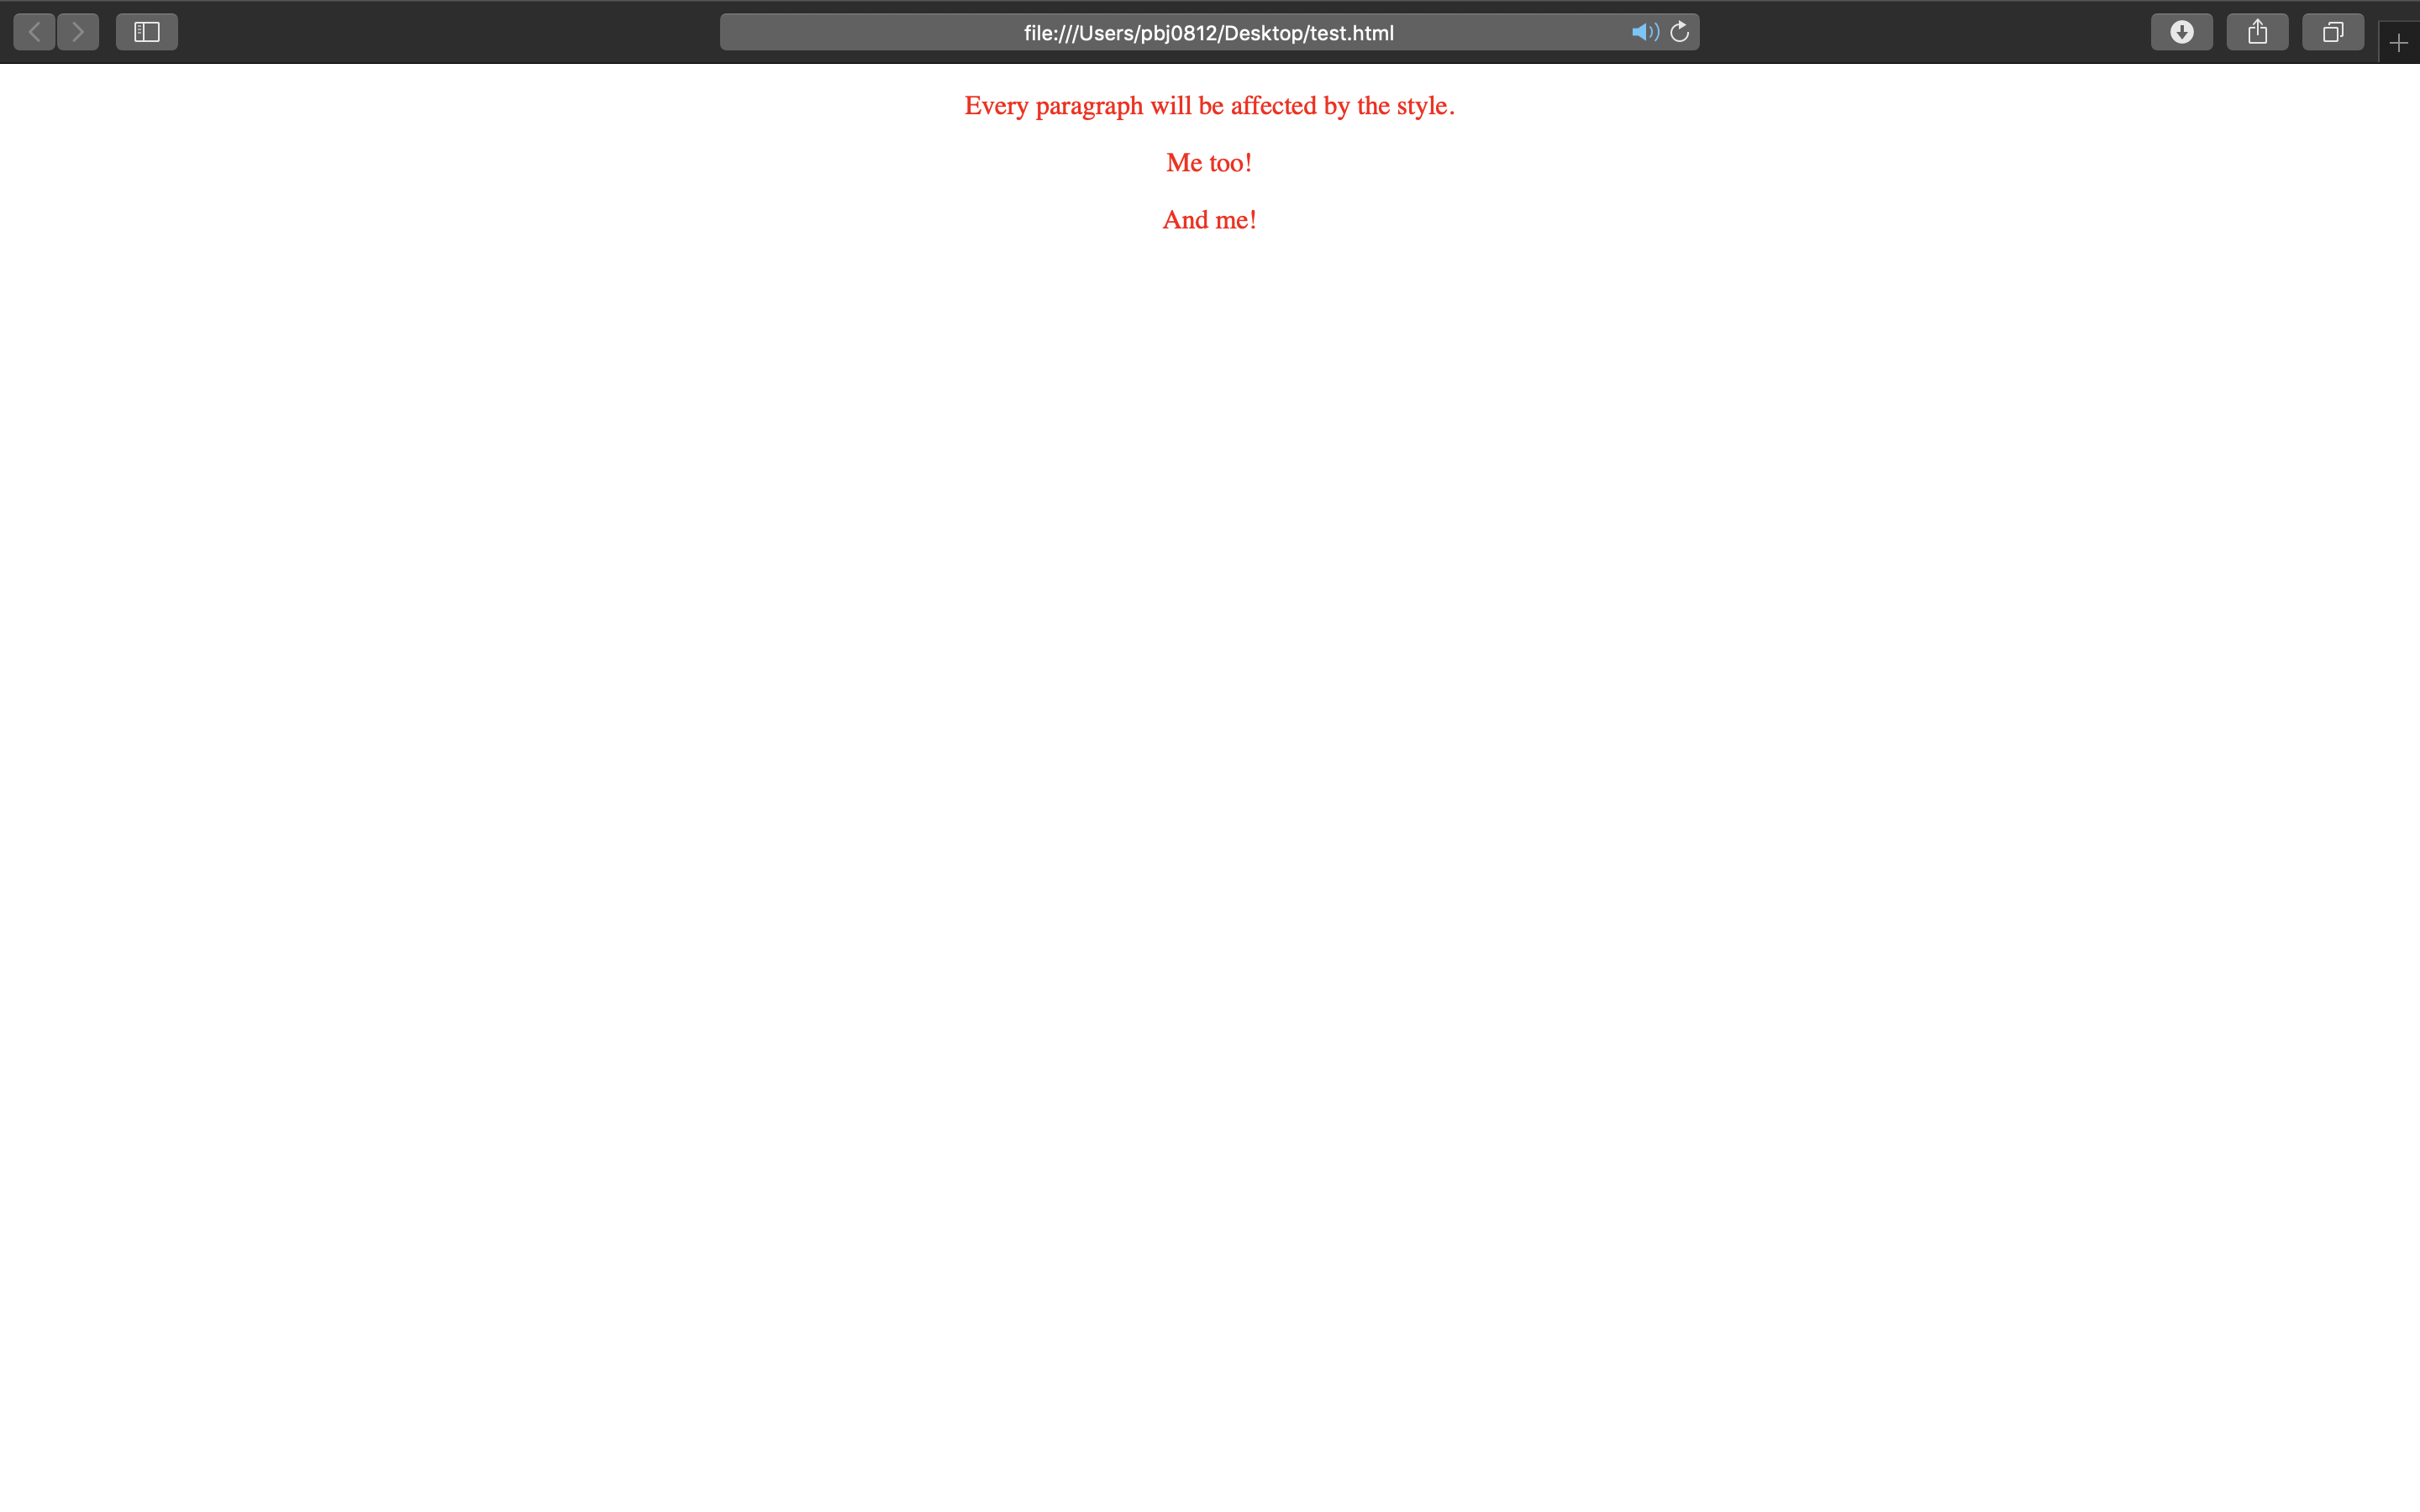
3) id selector
<!DOCTYPE html>
<html>
<head>
<style>
#para1 {
  text-align: center;
  color: red;
}
</style>
</head>
<body>

<p id="para1">Hello World!</p>
<p>This paragraph is not affected by the style.</p>

</body>
</html>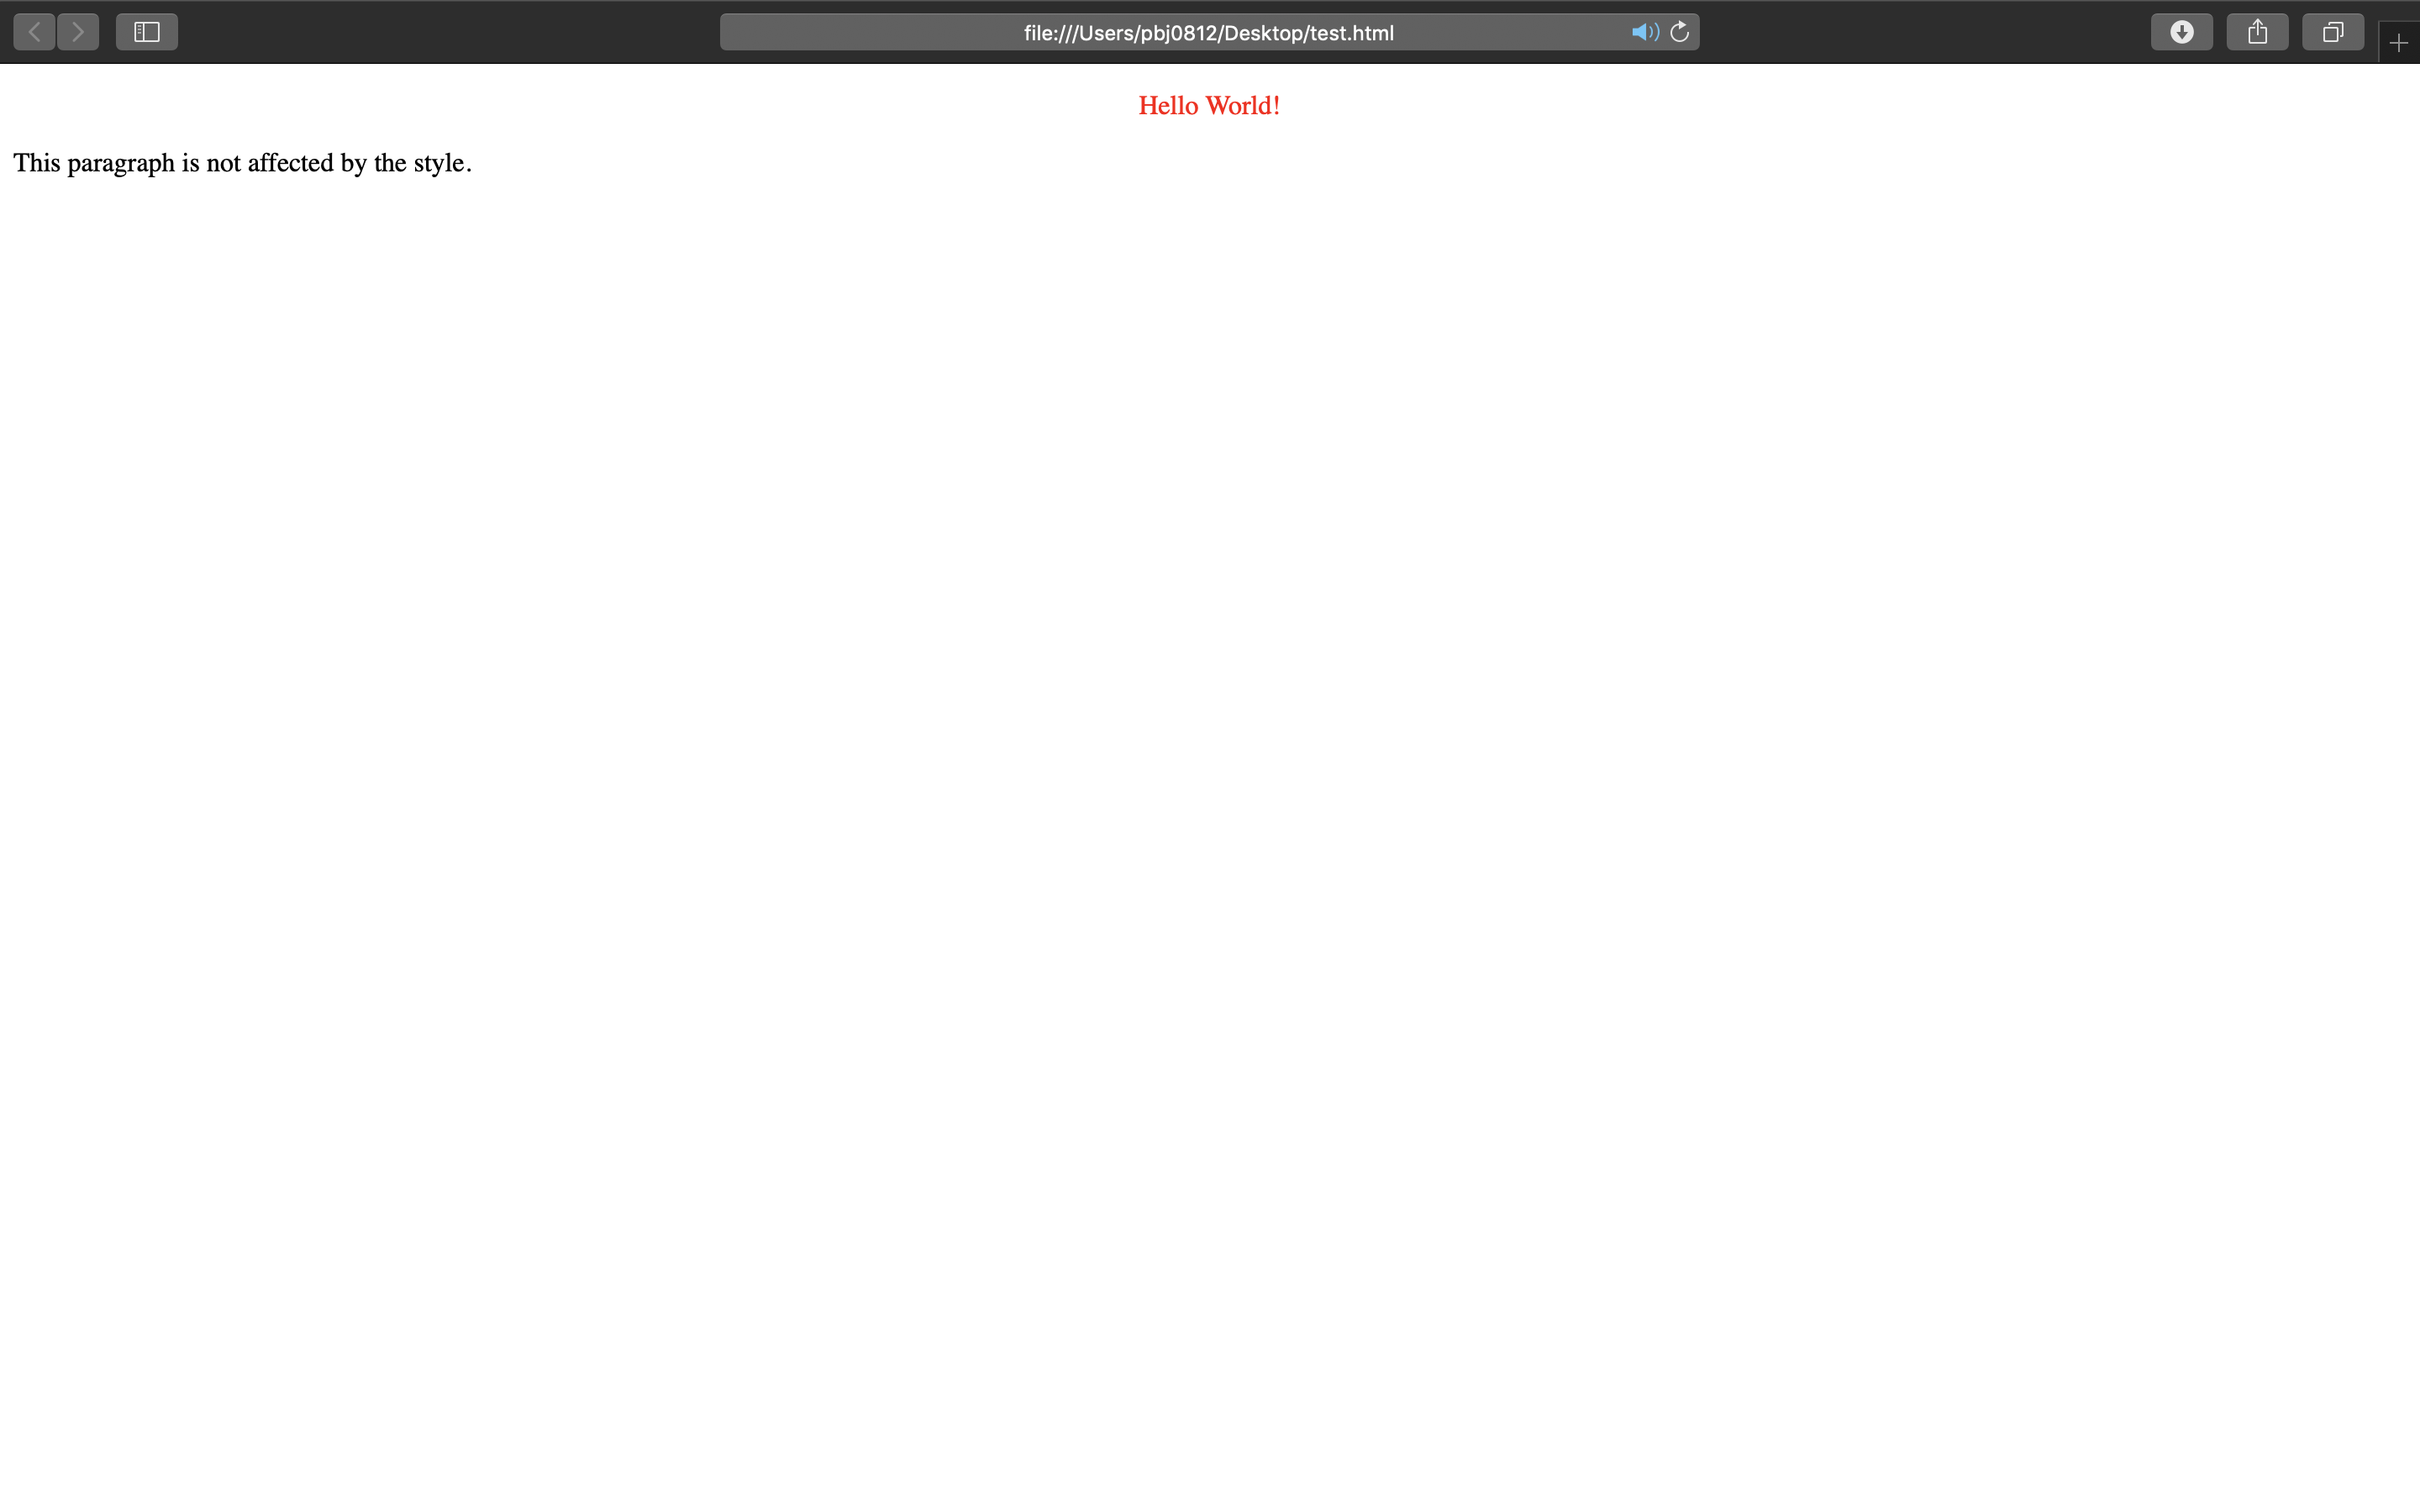
4) class selector
<!DOCTYPE html>
<html>
<head>
<style>
.center {
  text-align: center;
  color: red;
}
</style>
</head>
<body>

<h1 class="center">Red and center-aligned heading</h1>
<p class="center">Red and center-aligned paragraph.</p>

</body>
</html>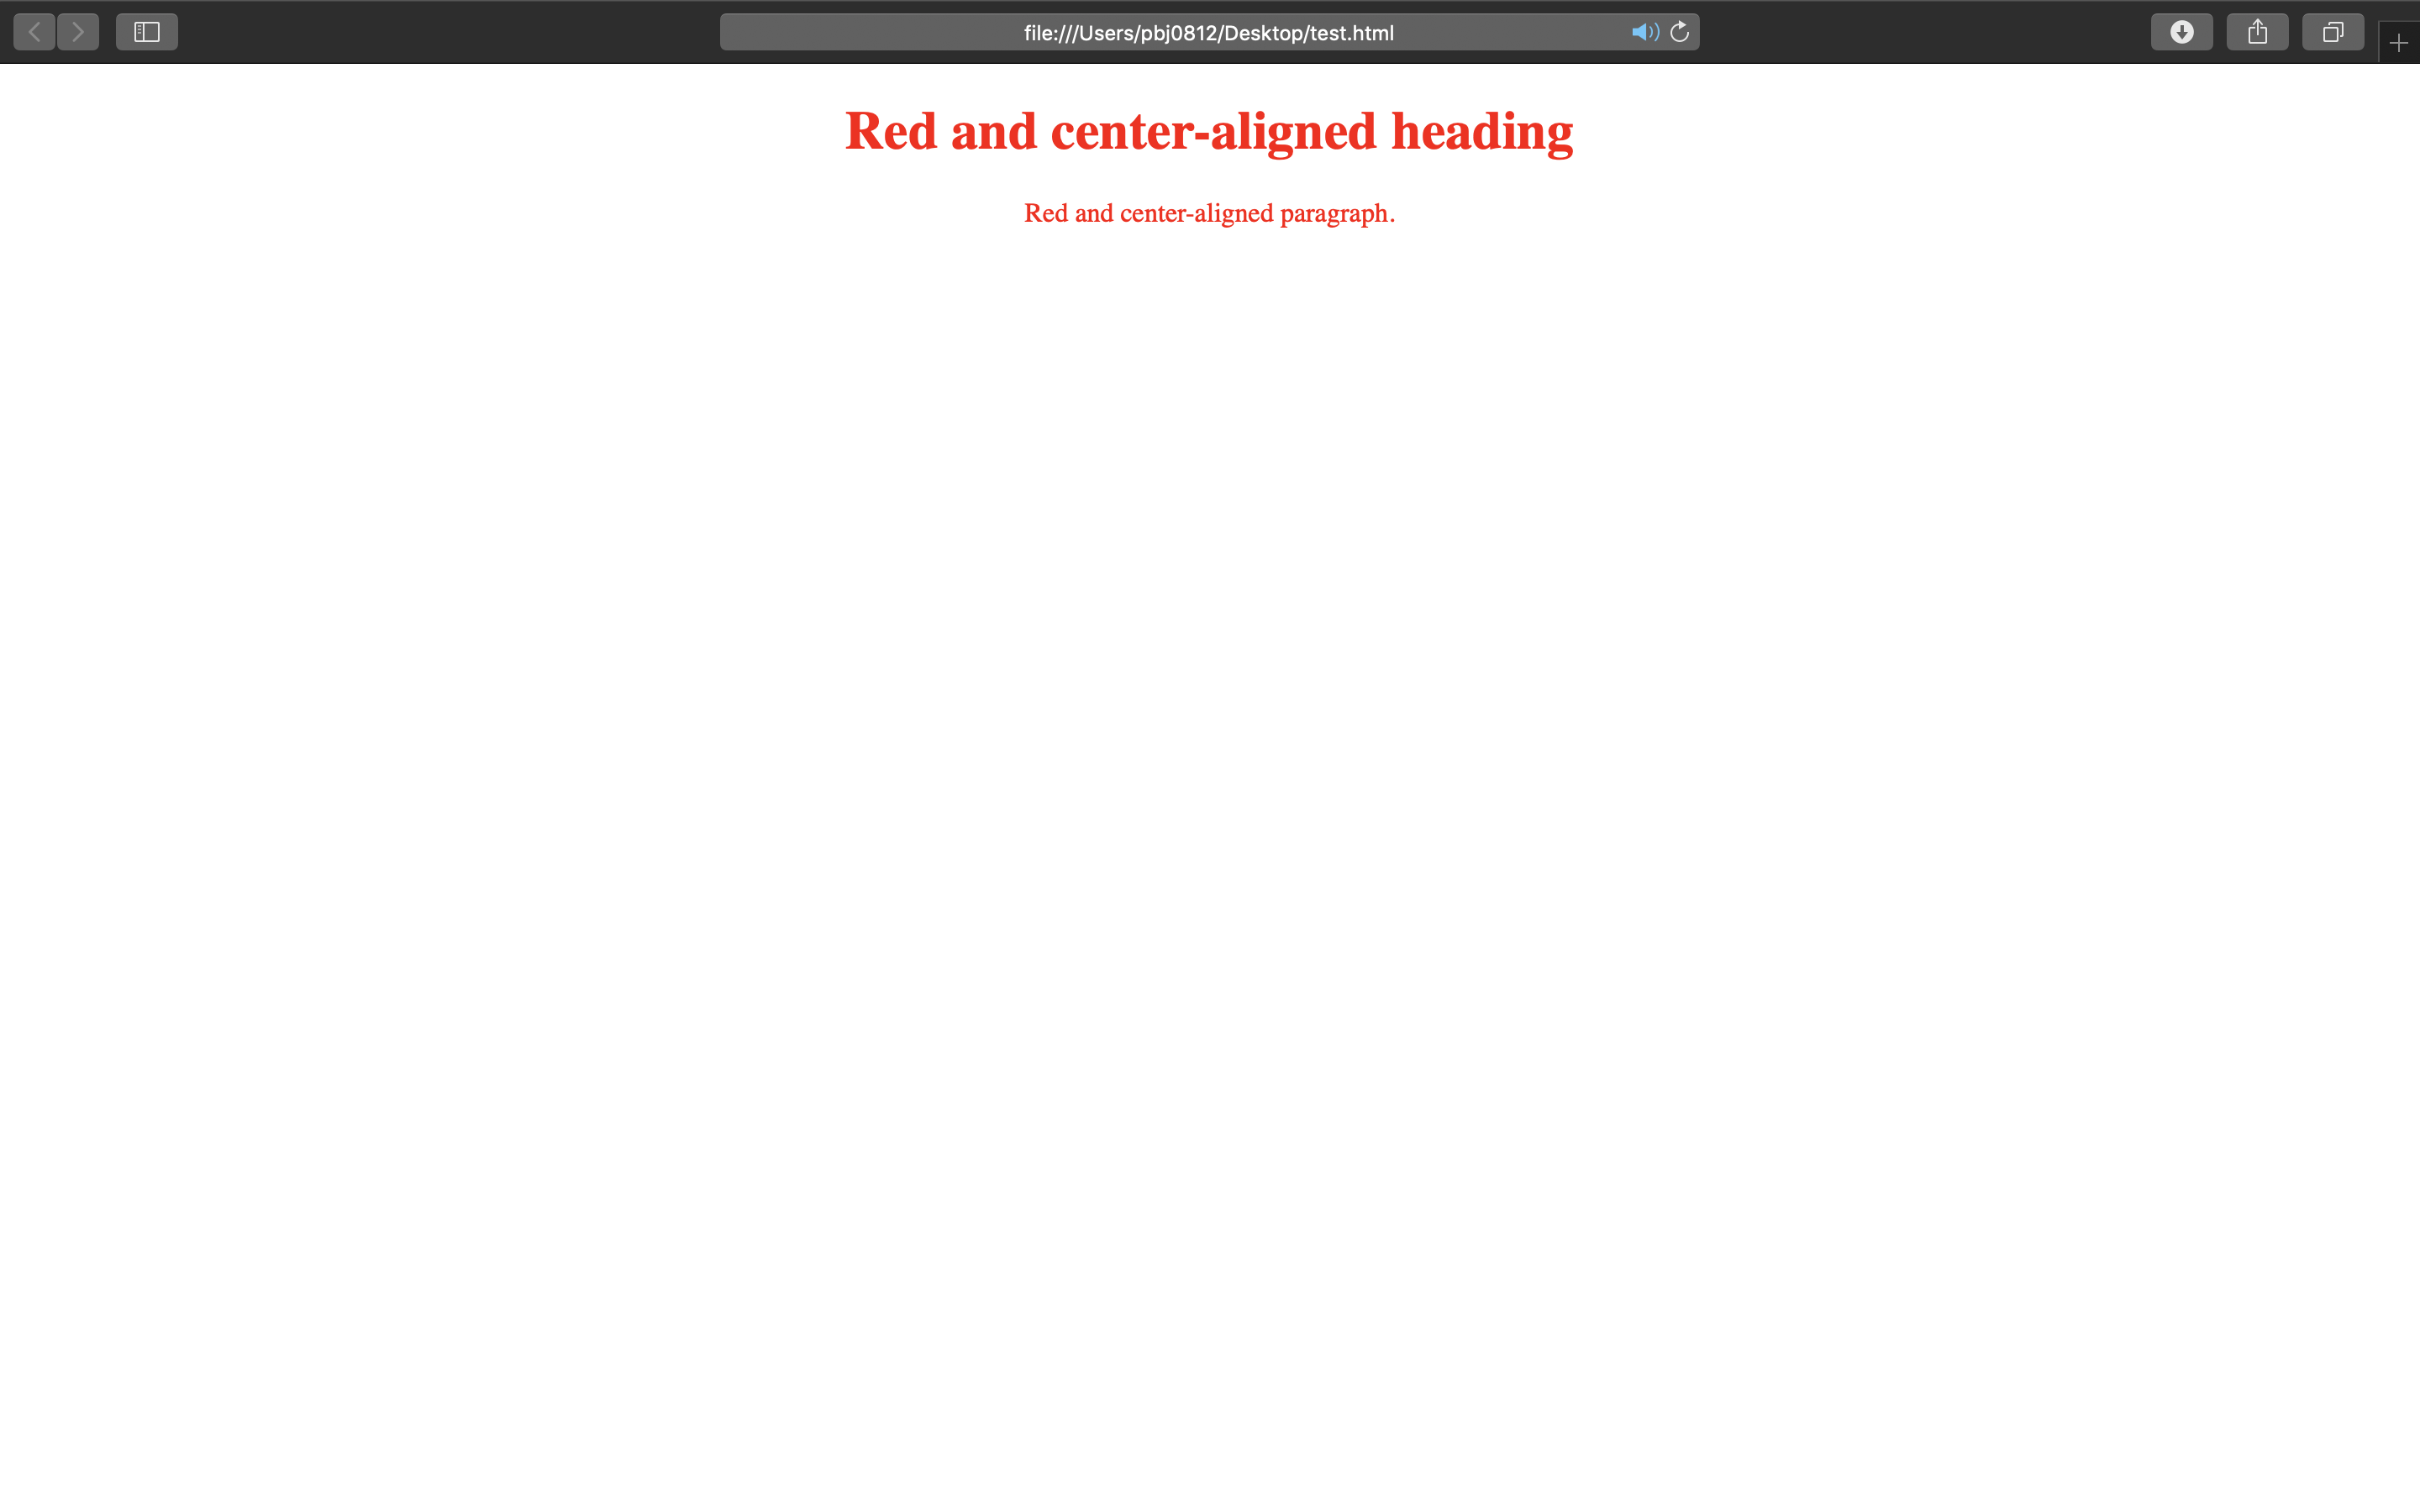
<!DOCTYPE html>
<html>
<head>
<style>
p.center {
  text-align: center;
  color: red;
}
</style>
</head>
<body>

<h1 class="center">This heading will not be affected</h1>
<p class="center">This paragraph will be red and center-aligned.</p>

</body>
</html>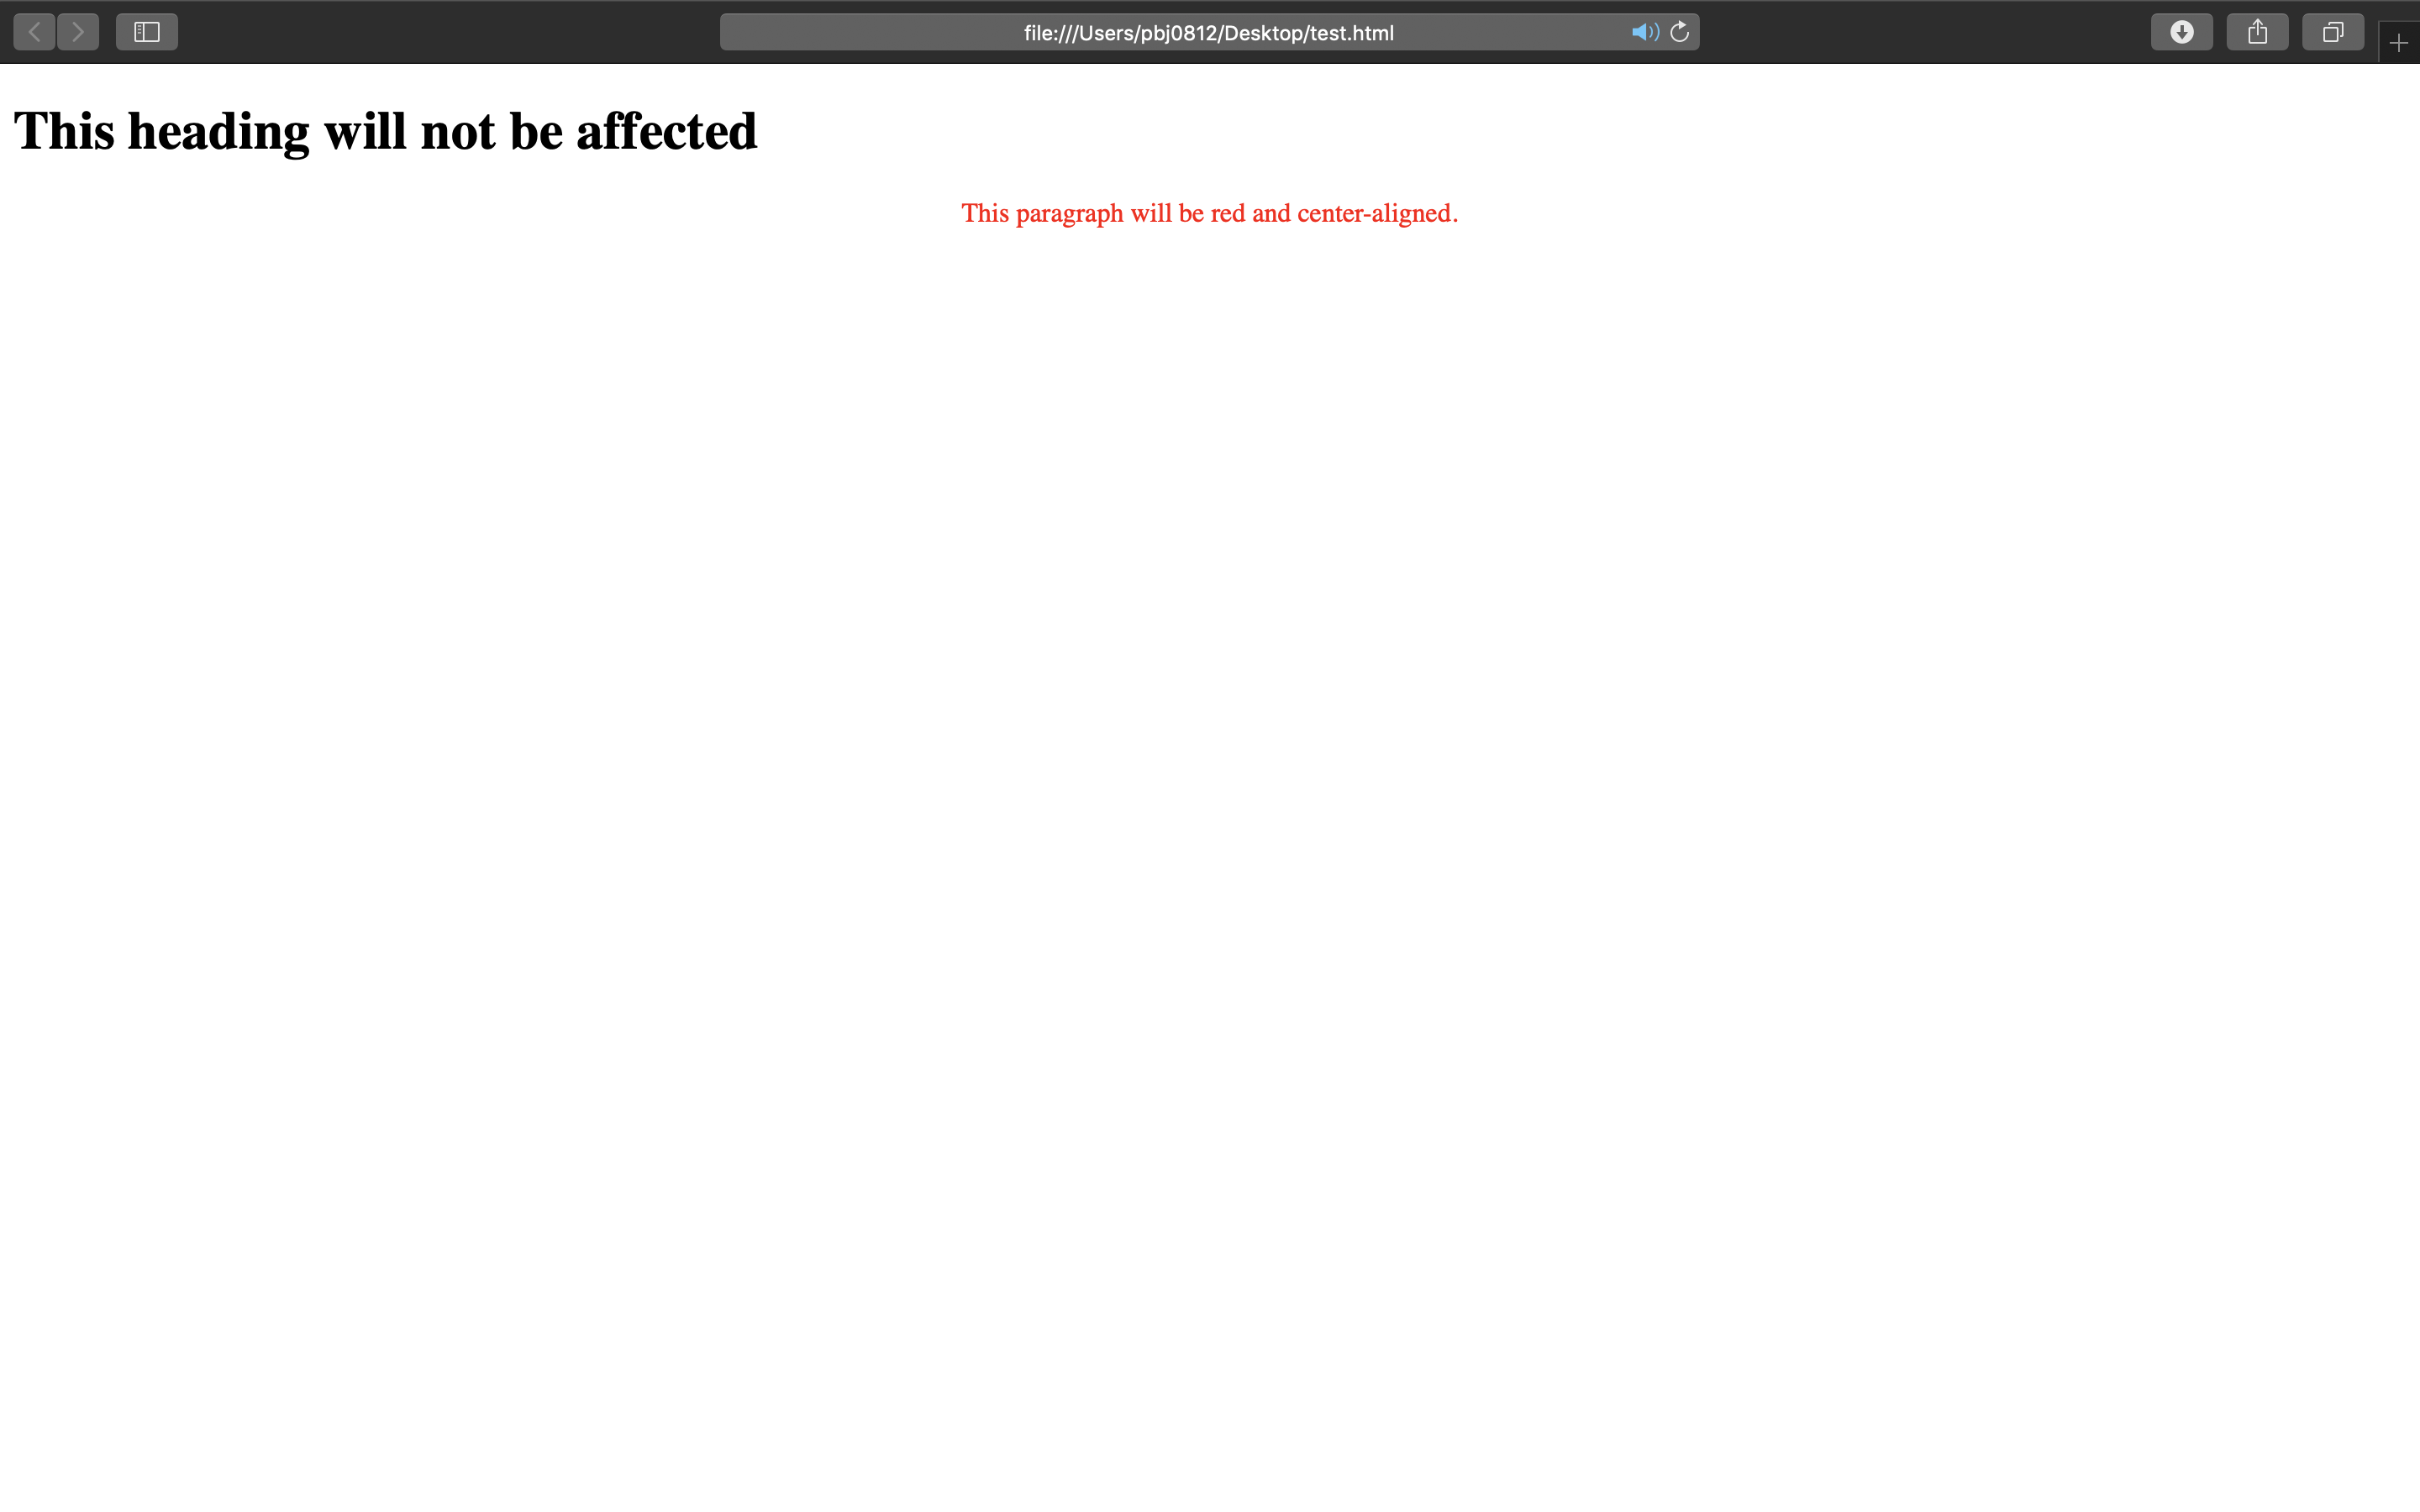
<!DOCTYPE html>
<html>
<head>
<style>
p.center {
  text-align: center;
  color: red;
}

p.large {
  font-size: 300%;
}
</style>
</head>
<body>

<h1 class="center">This heading will not be affected</h1>
<p class="center">This paragraph will be red and center-aligned.</p>
<p class="center large">This paragraph will be red, center-aligned, and in a large font-size.</p>

</body>
</html>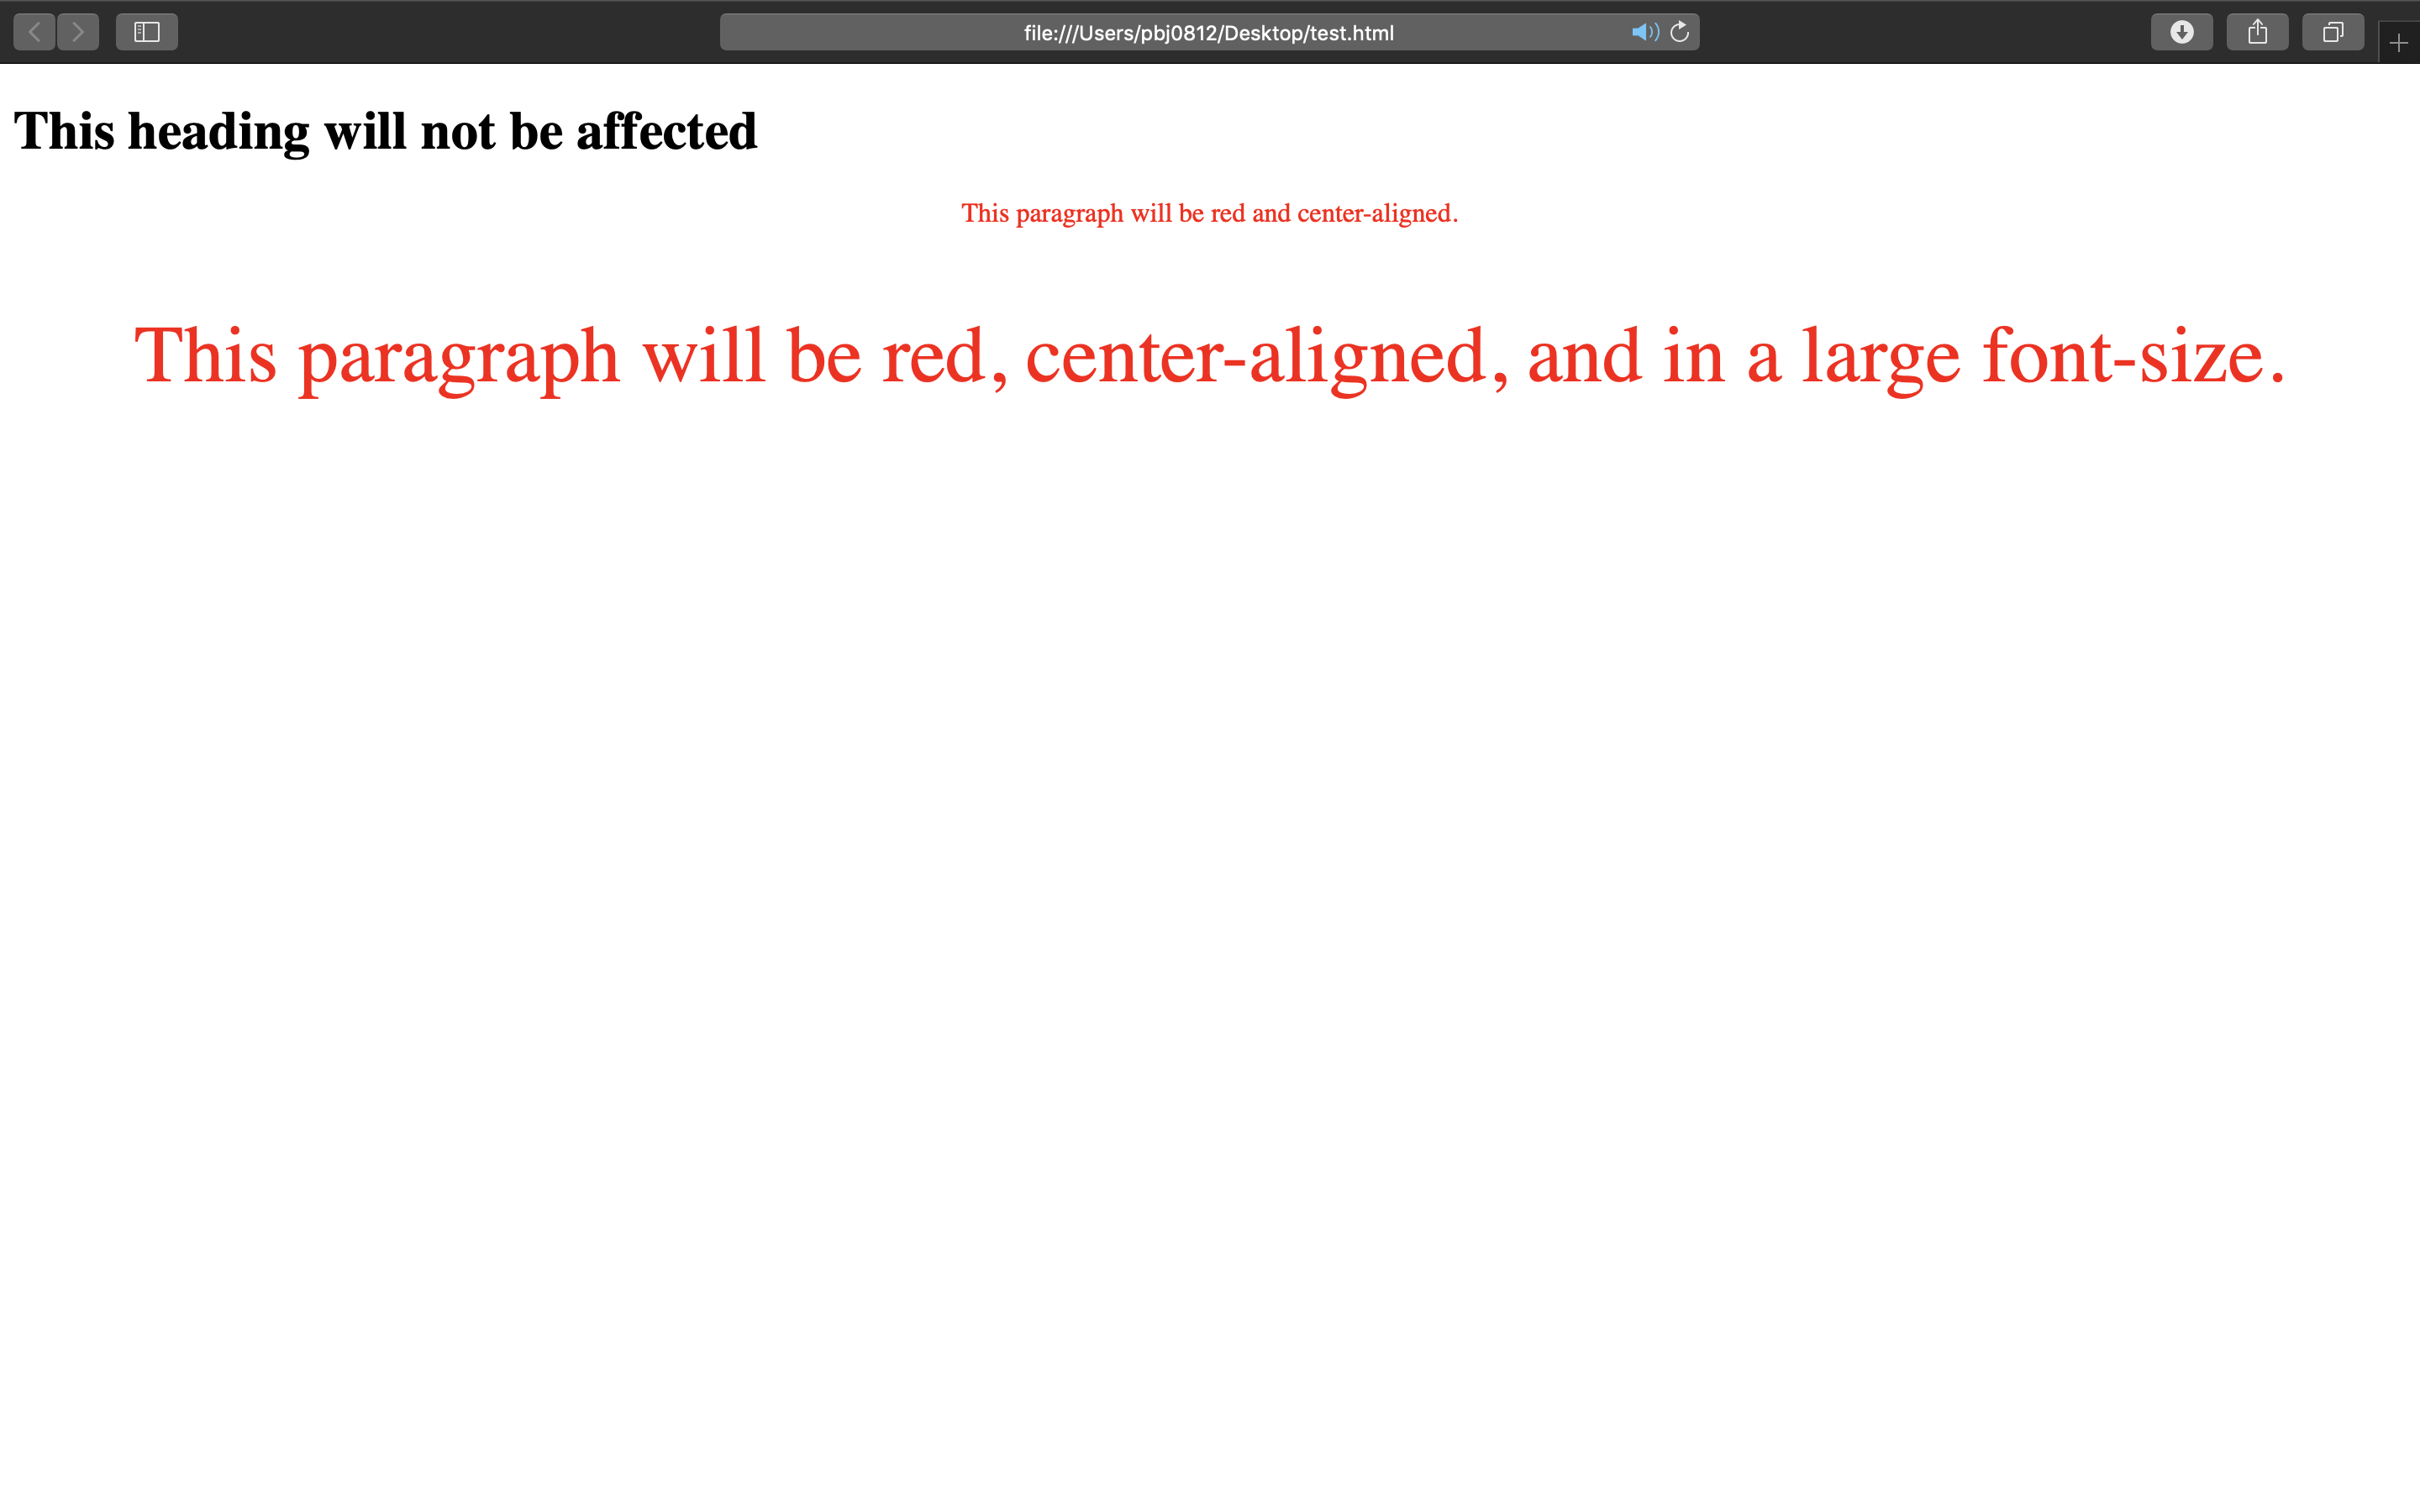
5) universal selector
<!DOCTYPE html>
<html>
<head>
<style>
* {
  text-align: center;
  color: blue;
}
</style>
</head>
<body>

<h1>Hello world!</h1>

<p>Every element on the page will be affected by the style.</p>
<p id="para1">Me too!</p>
<p>And me!</p>

</body>
</html>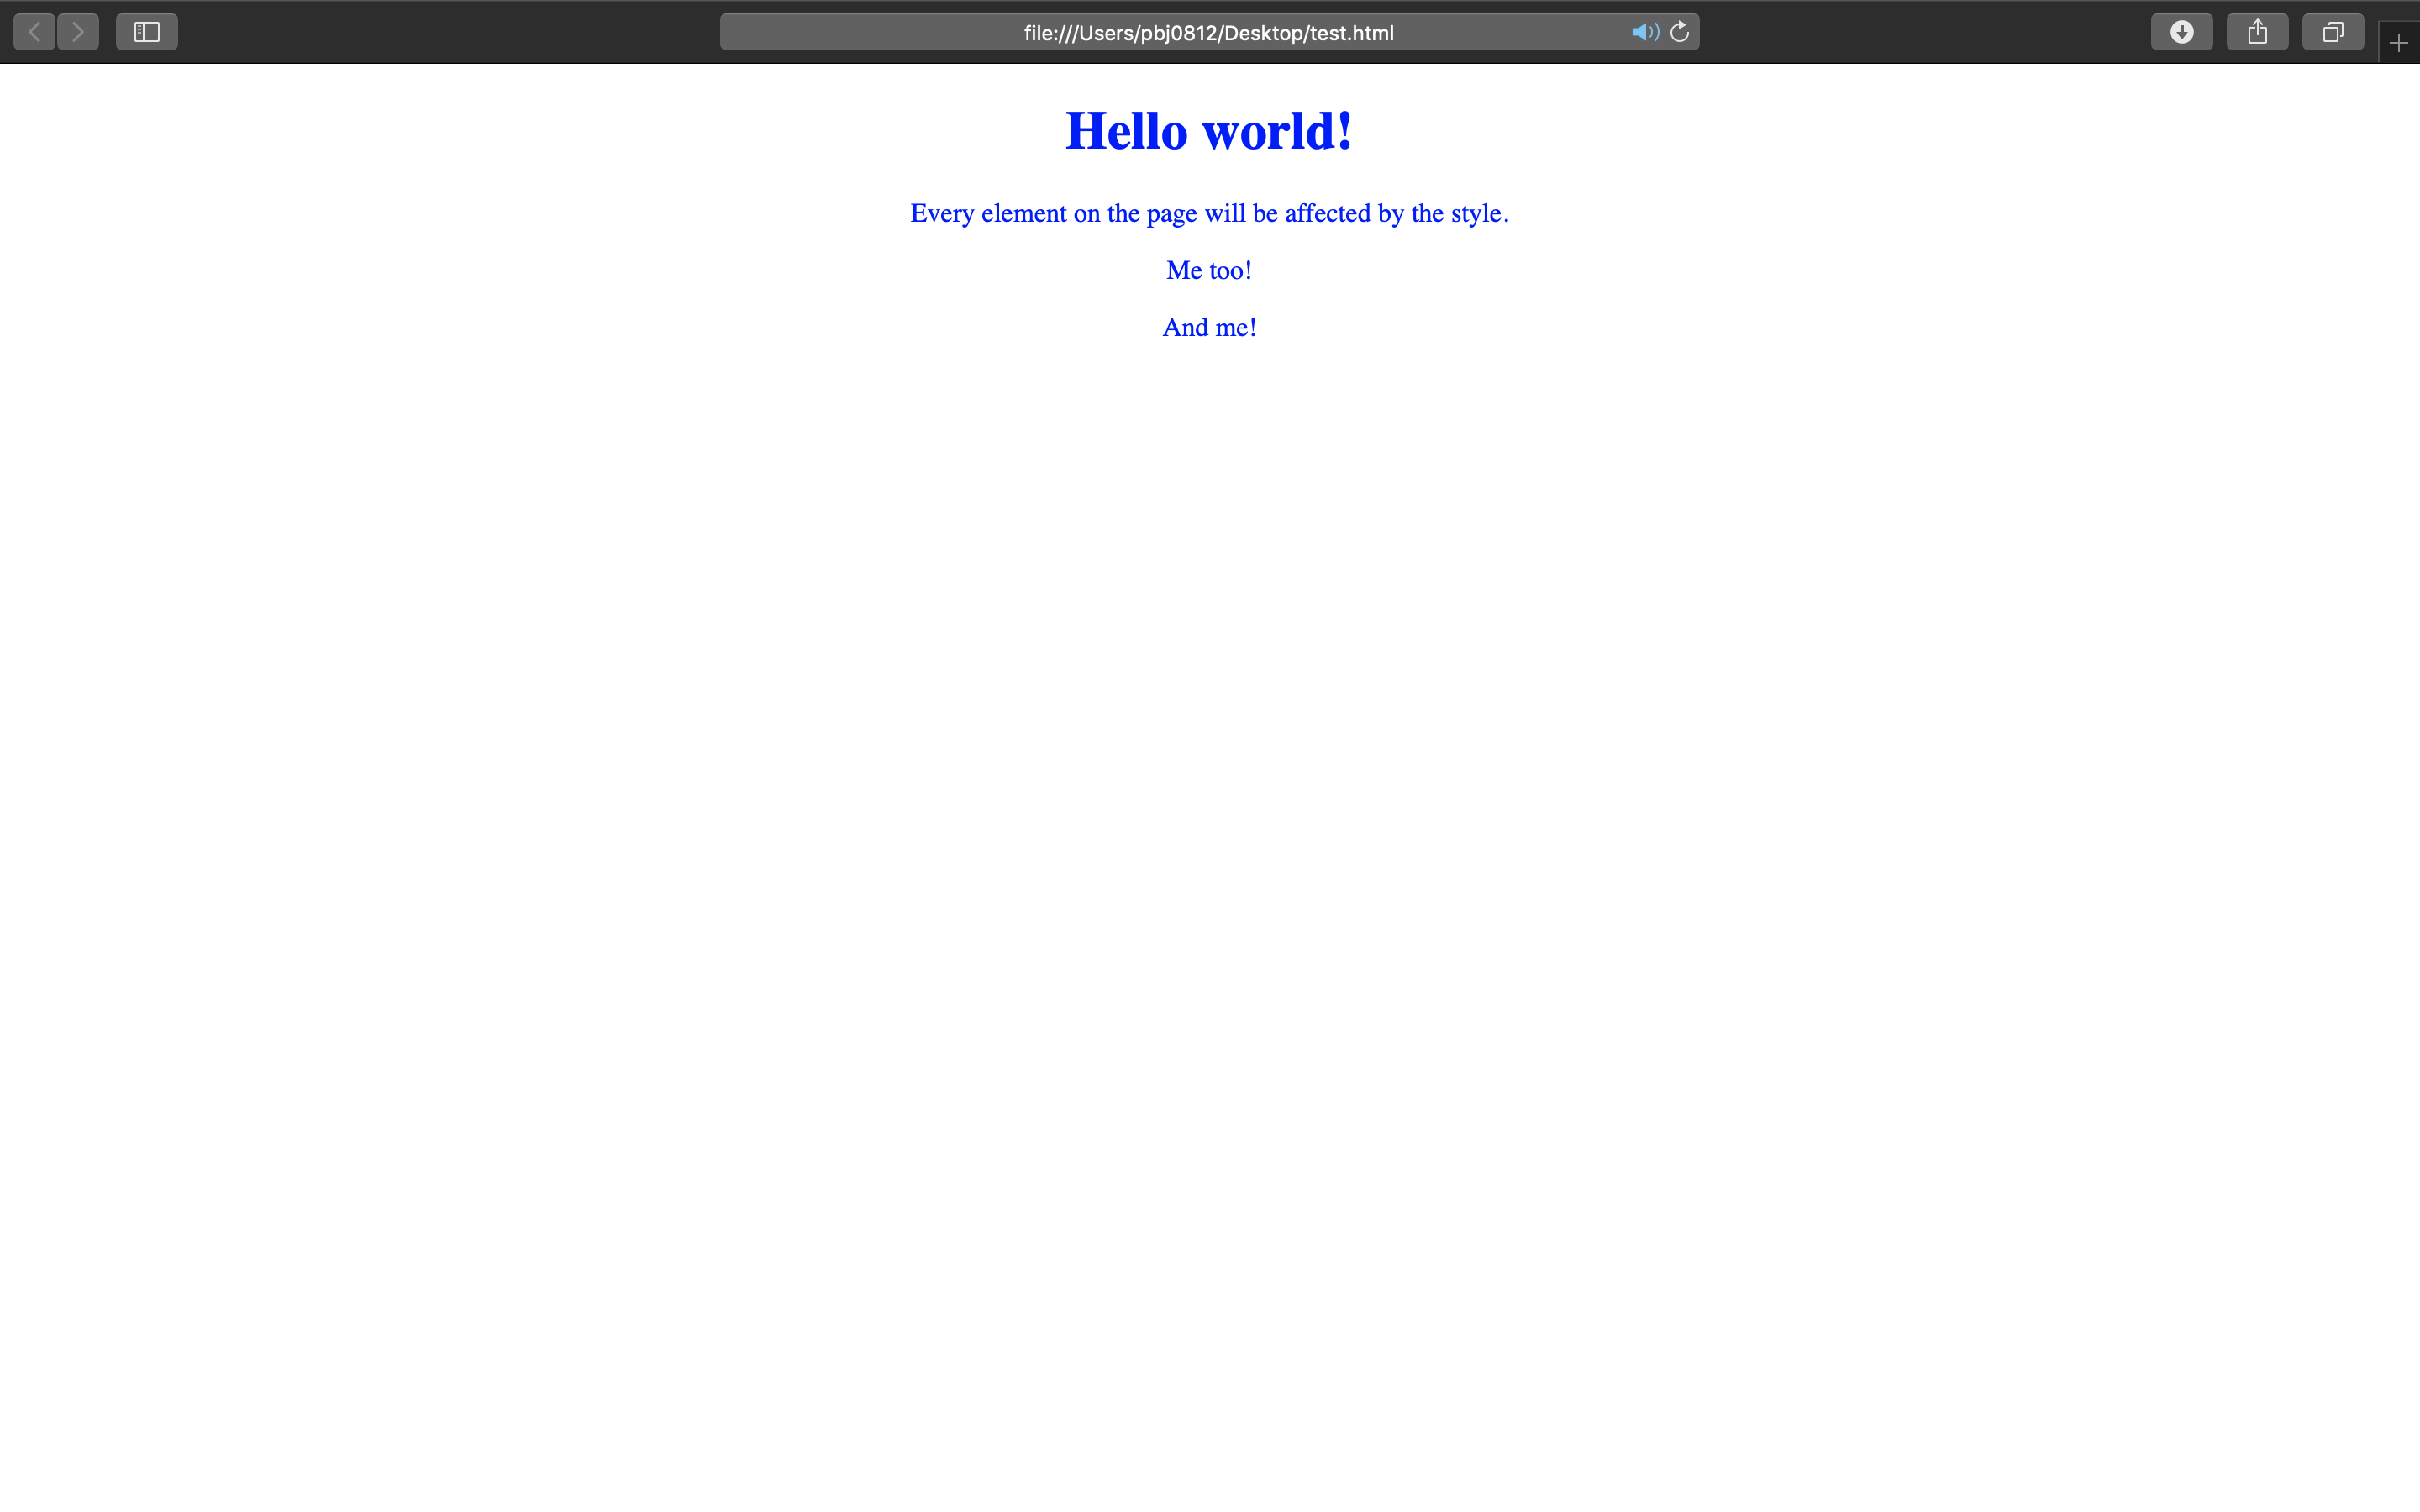
6) grouping selector
<!DOCTYPE html>
<html>
<head>
<style>
h1, h2, p {
  text-align: center;
  color: red;
}
</style>
</head>
<body>

<h1>Hello World!</h1>
<h2>Smaller heading!</h2>
<p>This is a paragraph.</p>

</body>
</html>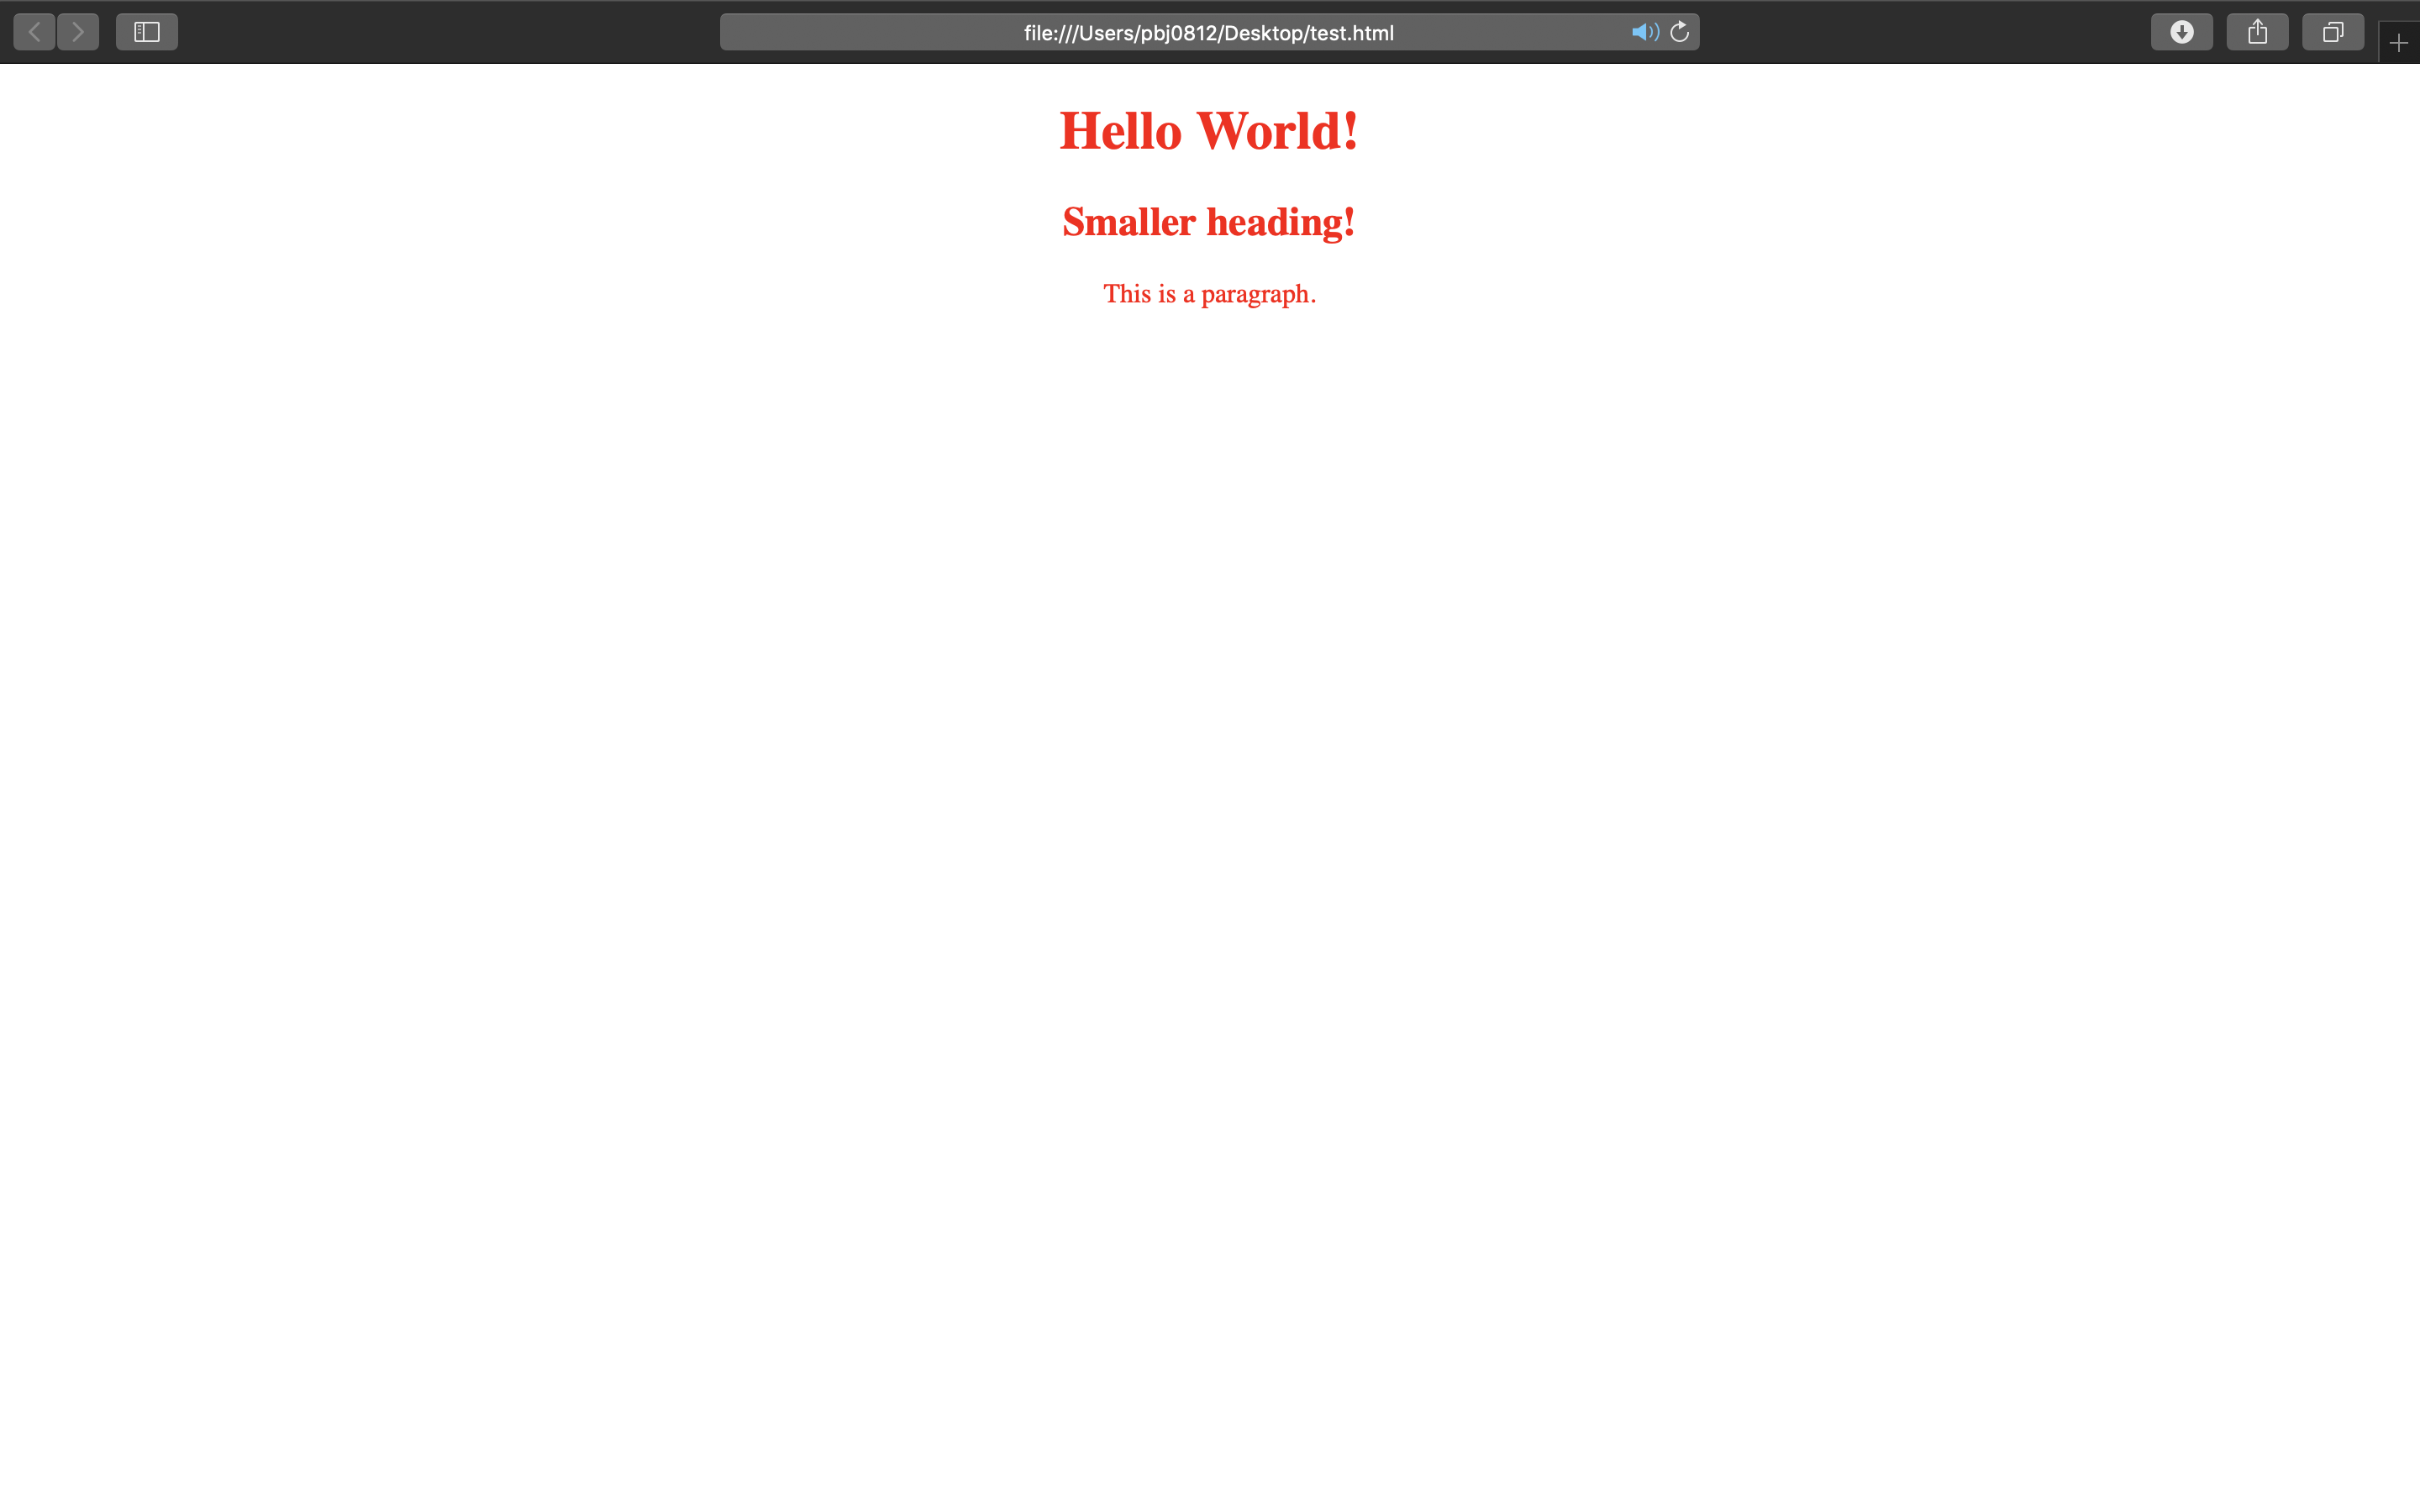
7) 주석달기
/* This is a single-line comment */8) color
<!DOCTYPE html>
<html>
<body>

<h1 style="background-color:DodgerBlue;">Hello World</h1>

<p style="background-color:Tomato;">
Lorem ipsum dolor sit amet, consectetuer adipiscing elit, sed diam nonummy nibh euismod tincidunt ut laoreet dolore magna aliquam erat volutpat.
Ut wisi enim ad minim veniam, quis nostrud exerci tation ullamcorper suscipit lobortis nisl ut aliquip ex ea commodo consequat.
</p>

<h3 style="color:Tomato;">Hello World</h3>

<p style="color:DodgerBlue;">Lorem ipsum dolor sit amet, consectetuer adipiscing elit, sed diam nonummy nibh euismod tincidunt ut laoreet dolore magna aliquam erat volutpat.</p>

<p style="color:MediumSeaGreen;">Ut wisi enim ad minim veniam, quis nostrud exerci tation ullamcorper suscipit lobortis nisl ut aliquip ex ea commodo consequat.</p>

<h1 style="border: 2px solid Tomato;">Hello World</h1>

<h1 style="border: 2px solid DodgerBlue;">Hello World</h1>

<h1 style="border: 2px solid Violet;">Hello World</h1>

</body>
</html>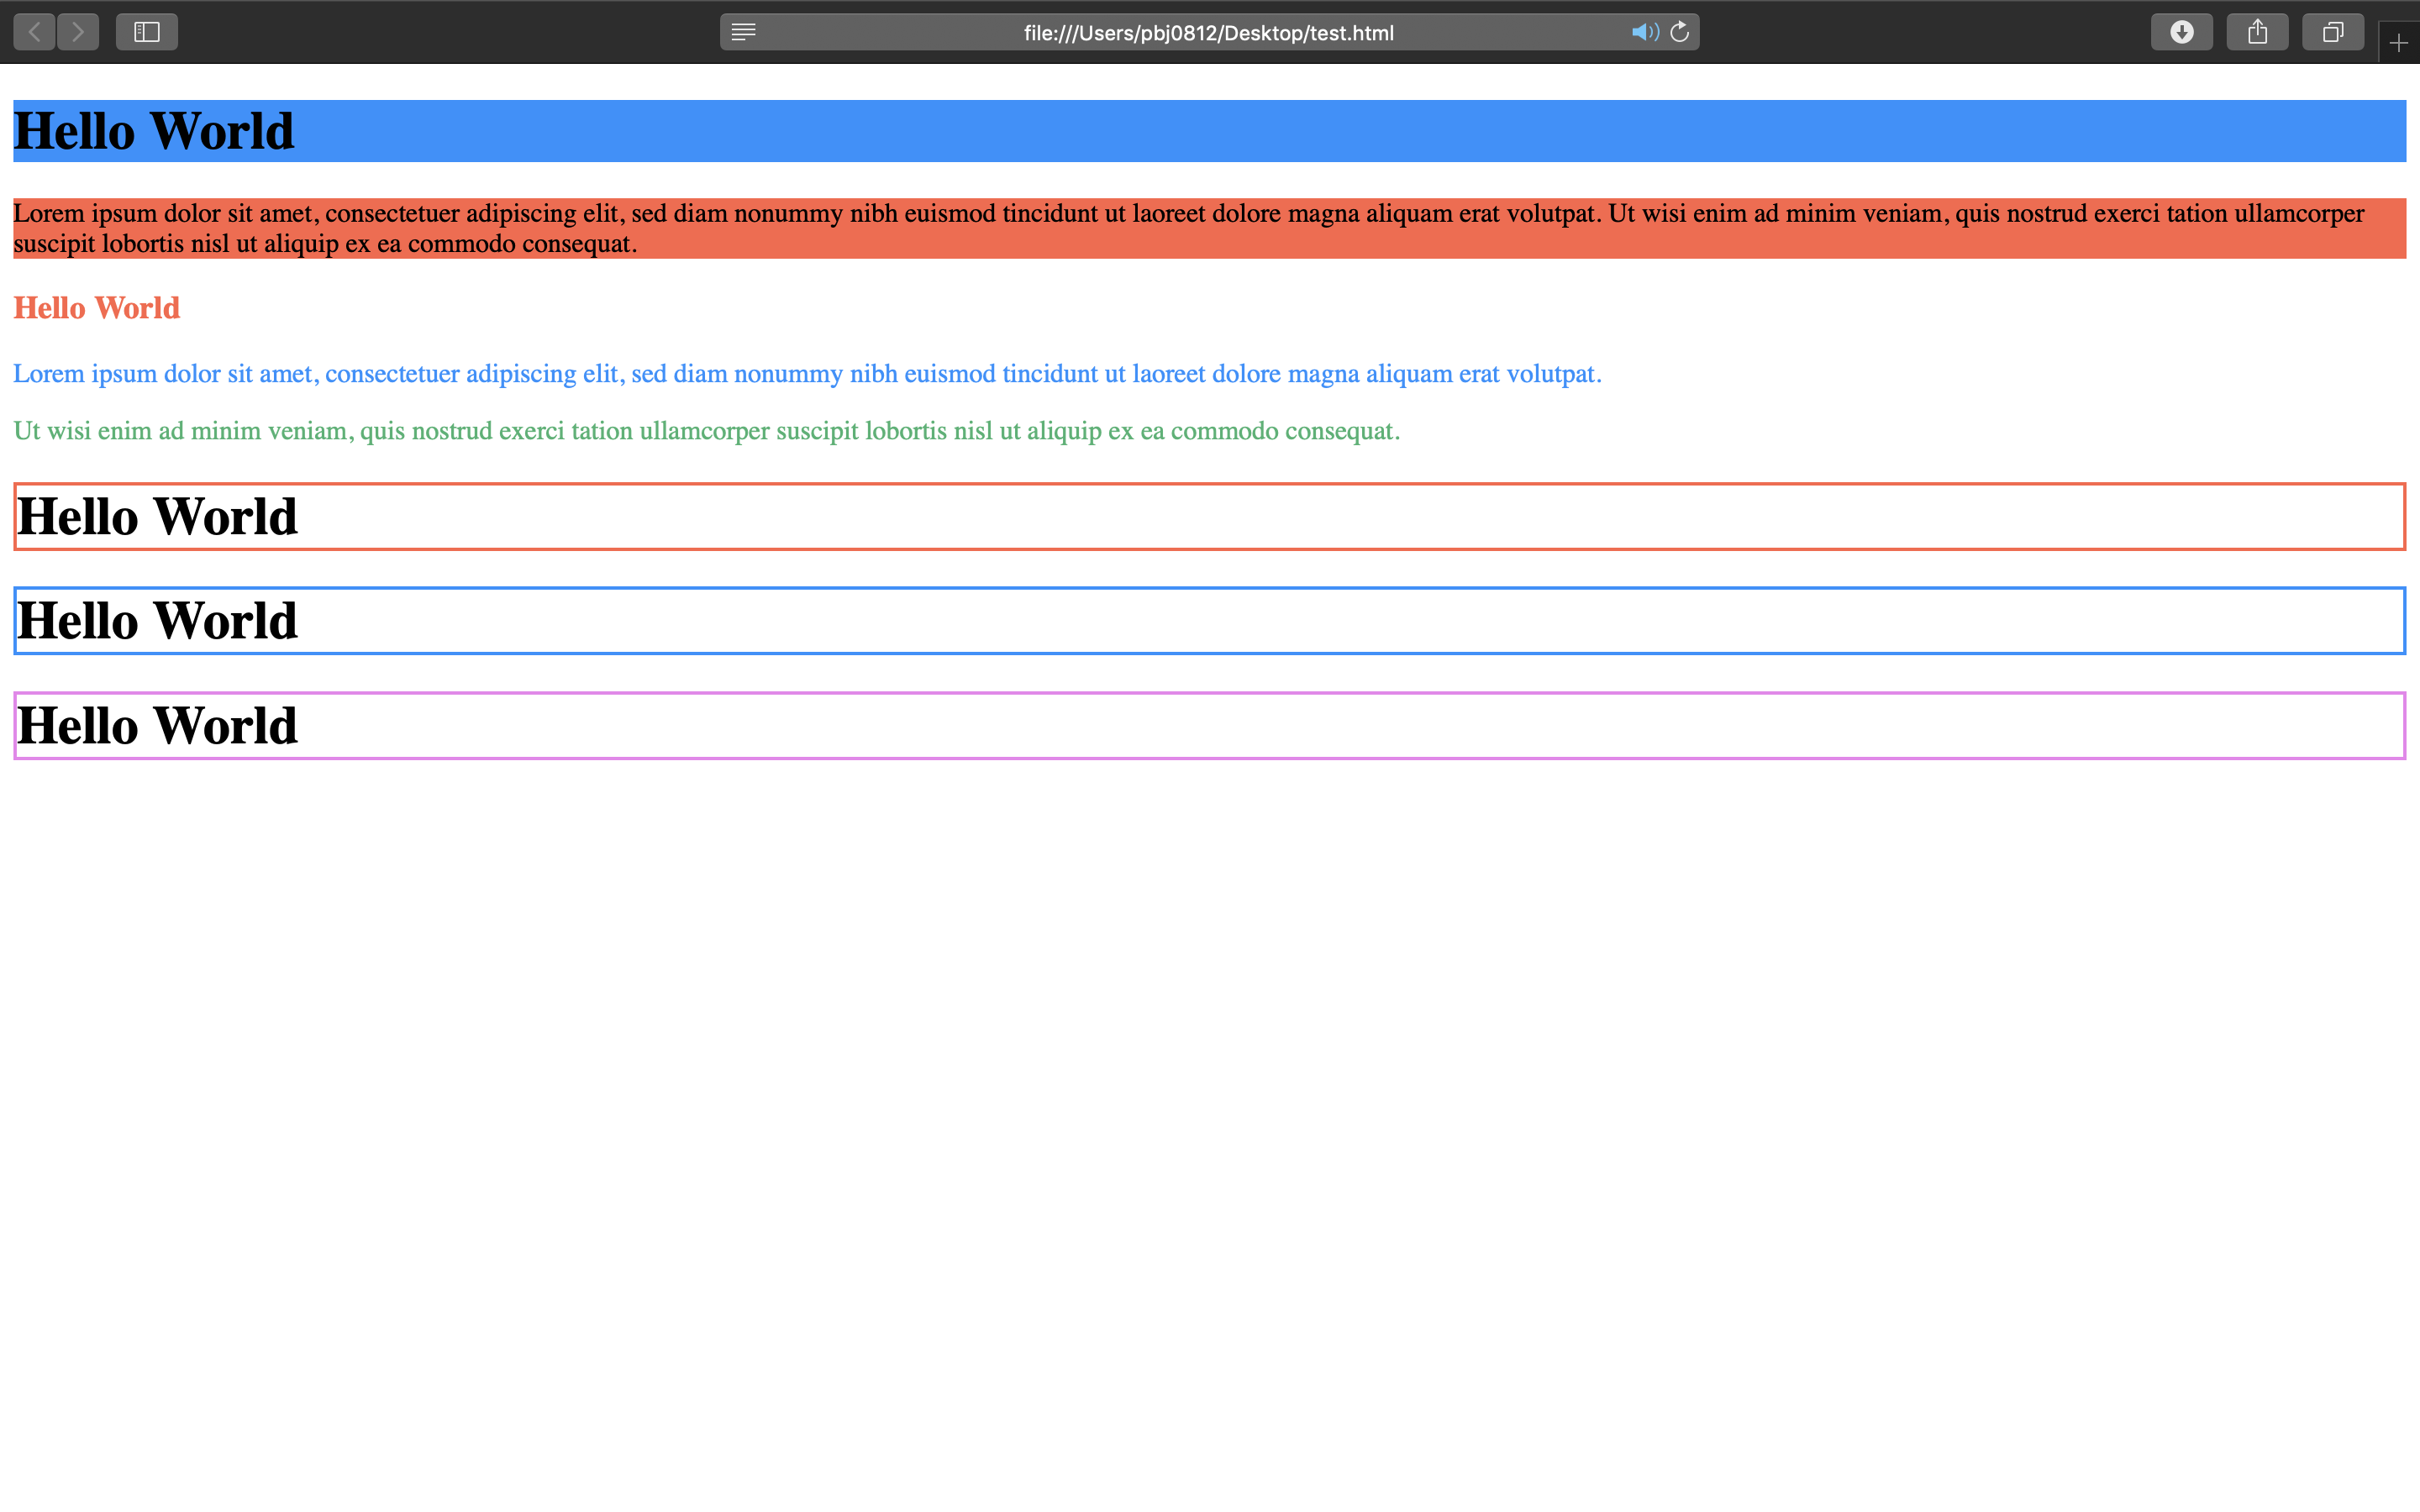
9) background
(1) color
<!DOCTYPE html>
<html>
<head>
<style>
body {
  background-color: lightblue;
}
</style>
</head>
<body>

<h1>Hello World!</h1>

<p>This page has a light blue background color!</p>

</body>
</html>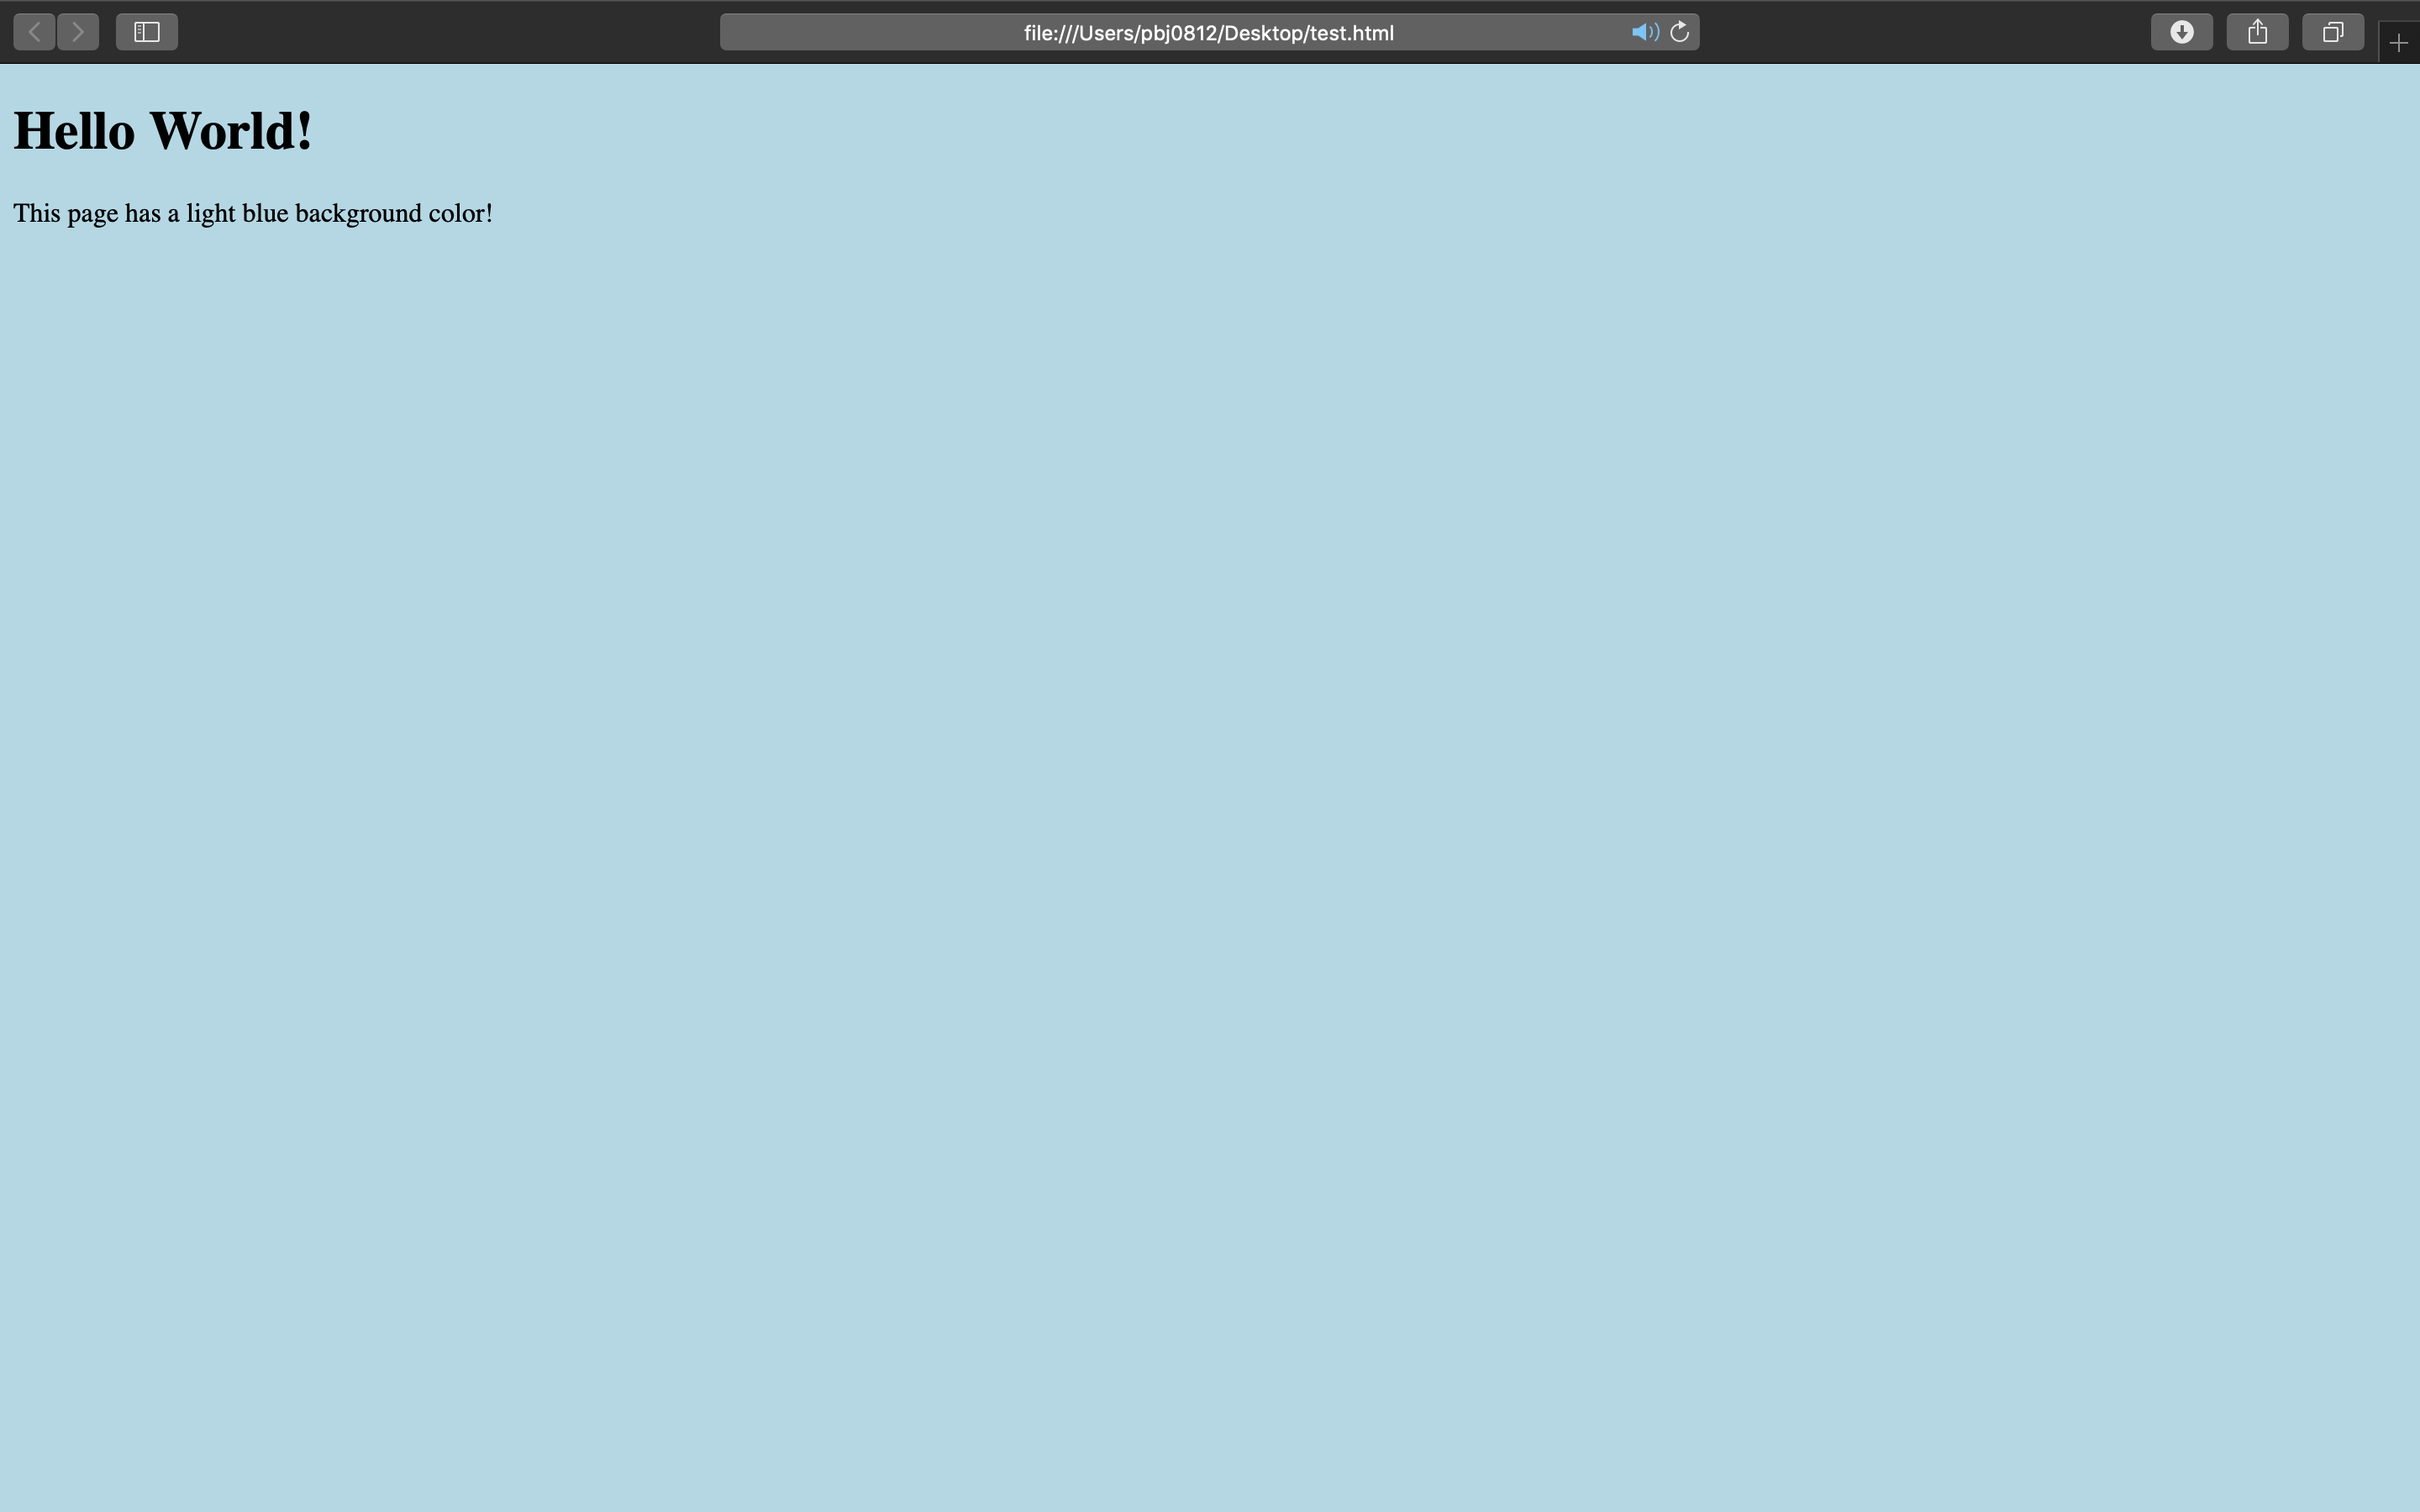
(2) image
- background-attachment : scroll, fixed
<!DOCTYPE html>
<html>
<head>
<style>
body {
  background-image: url("iu.jpg");
  background-repeat: no-repeat;
  background-position: right top;
  margin-right: 200px;
  background-attachment: fixed;
}
</style>
</head>
<body>

<h1>Hello World!</h1>
<p>W3Schools background no-repeat, set position example.</p>
<p>Now the background image is only shown once, and positioned away from the text.</p>
<p>In this example we have also added a margin on the right side, so the background image will never disturb the text.</p>

</body>
</html>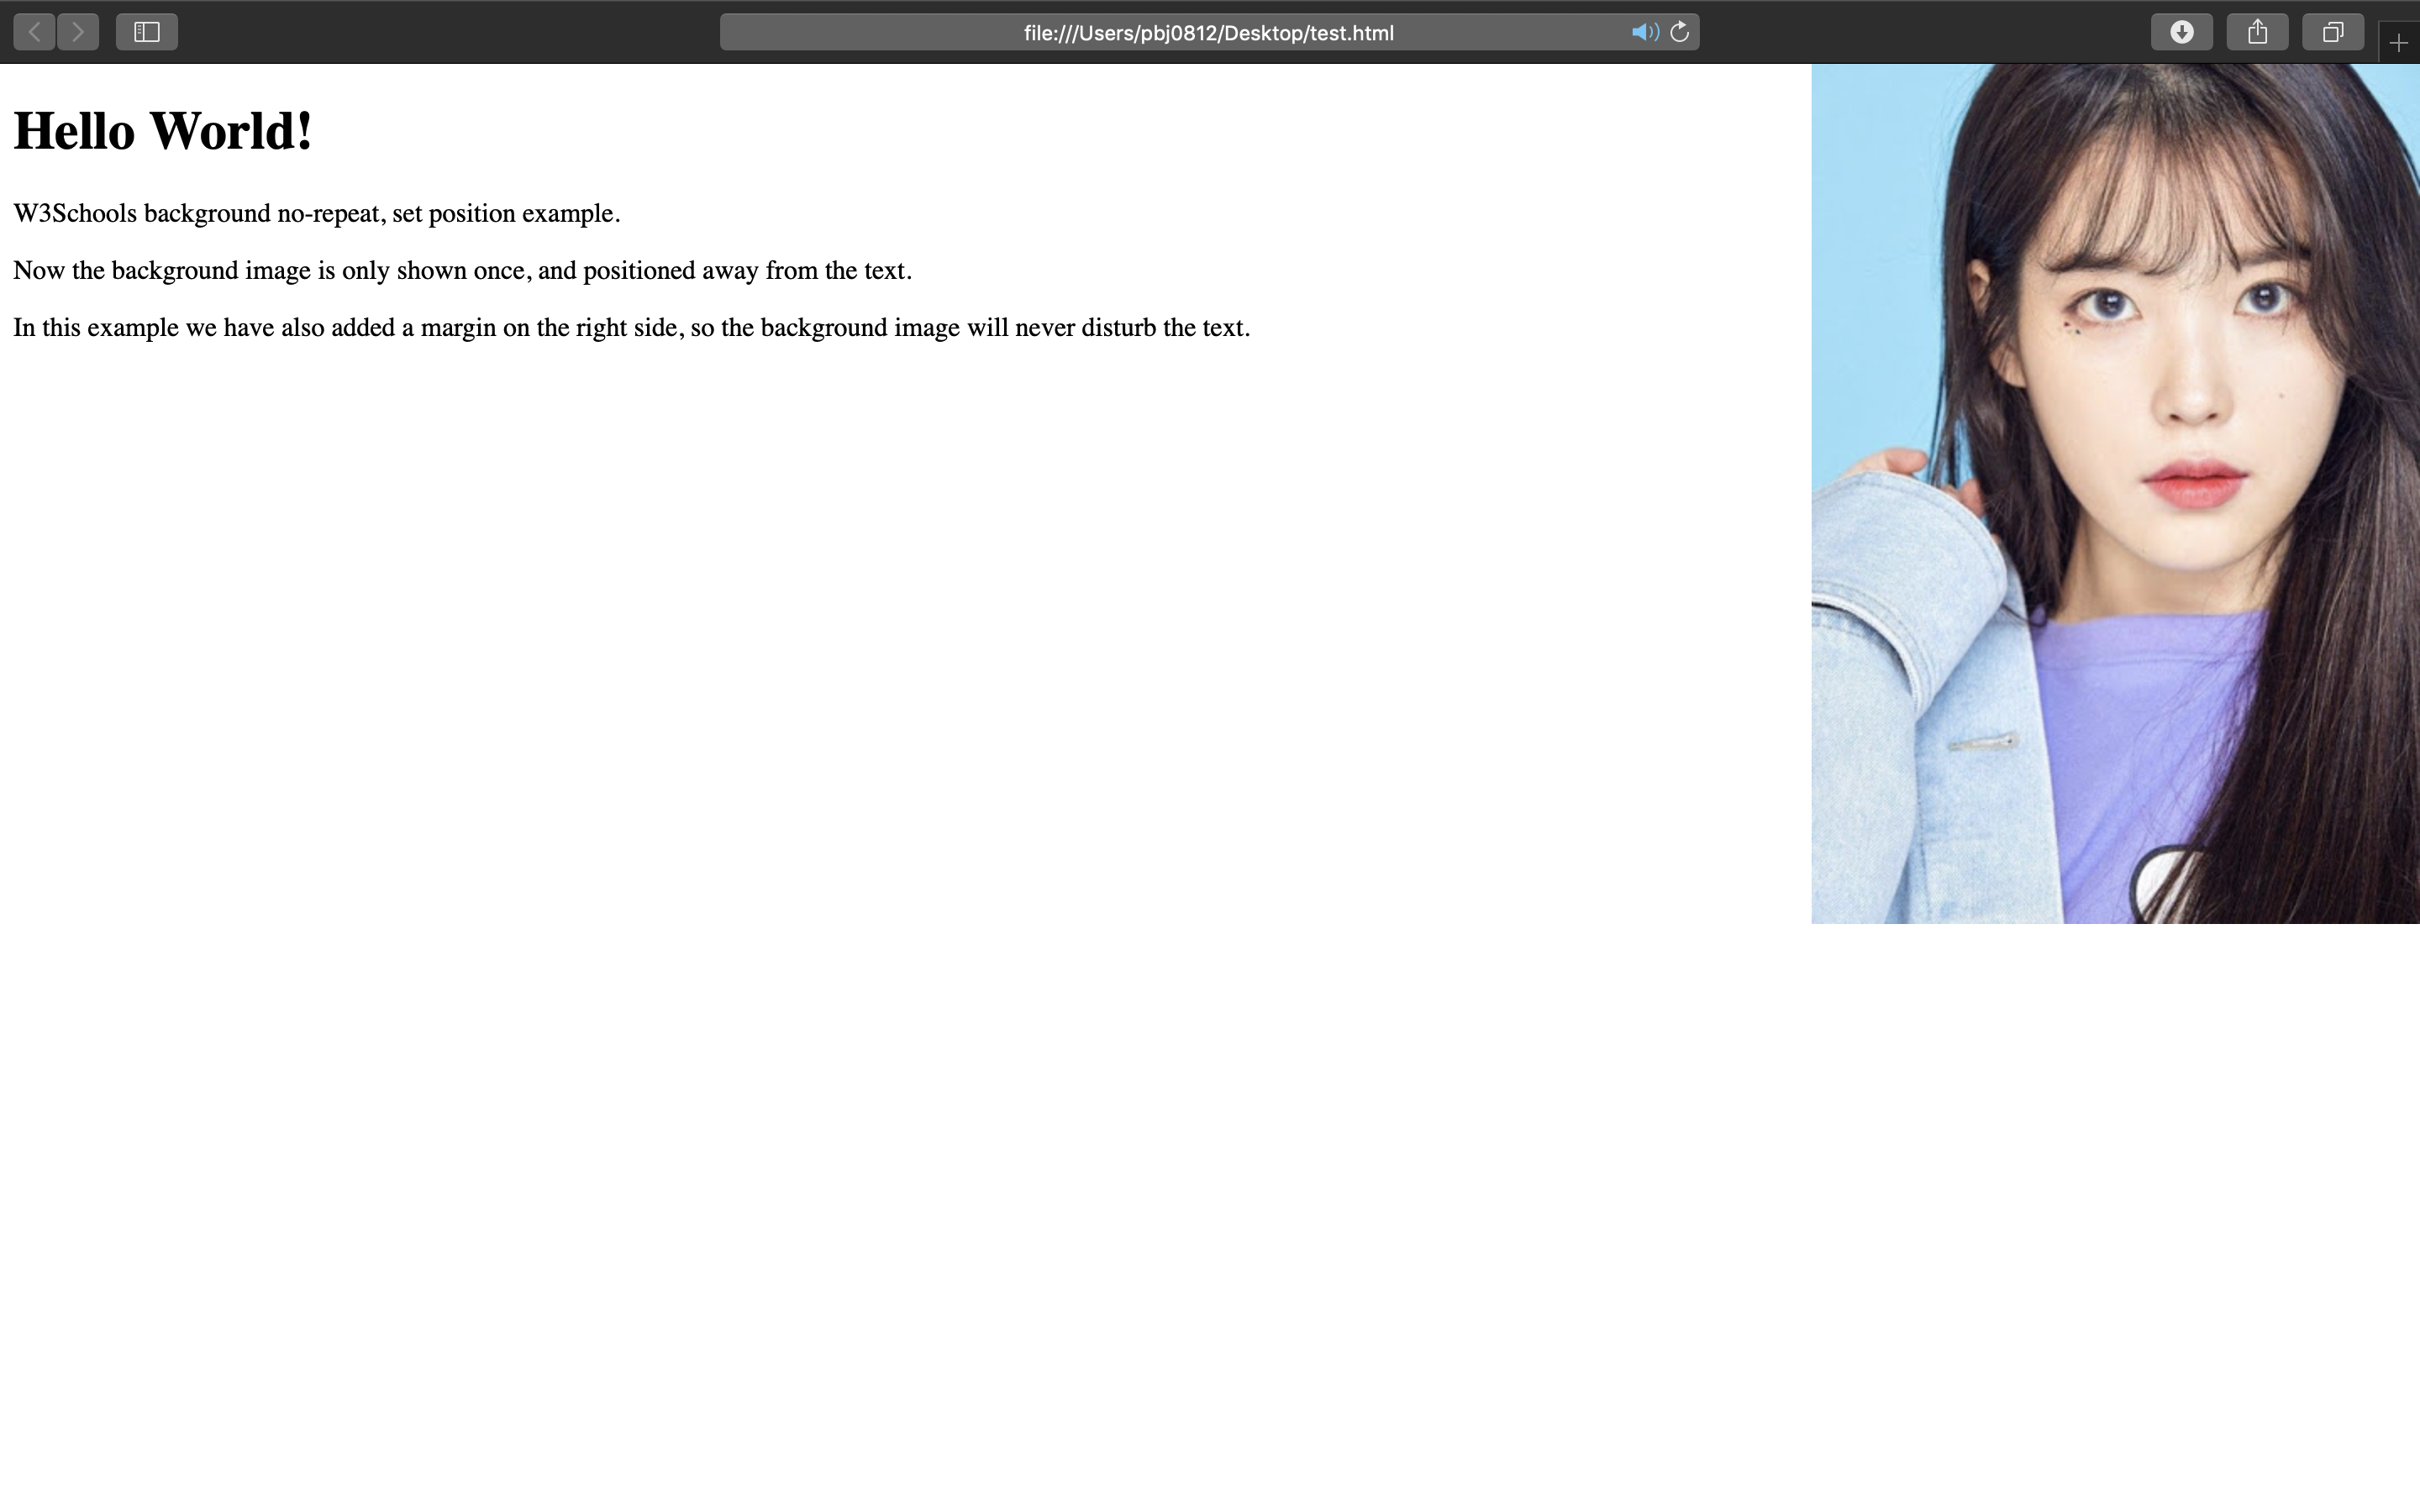
10) border
<!DOCTYPE html>
<html>
<head>
<style>
p.dotted {border-style: dotted;}
p.dashed {border-style: dashed;}
p.solid {border-style: solid;}
p.double {border-style: double;}
p.groove {border-style: groove;}
p.ridge {border-style: ridge;}
p.inset {border-style: inset;}
p.outset {border-style: outset;}
p.none {border-style: none;}
p.hidden {border-style: hidden;}
p.mix {border-style: dotted dashed solid double;}
</style>
</head>
<body>

<h2>The border-style Property</h2>
<p>This property specifies what kind of border to display:</p>

<p class="dotted">A dotted border.</p>
<p class="dashed">A dashed border.</p>
<p class="solid">A solid border.</p>
<p class="double">A double border.</p>
<p class="groove">A groove border.</p>
<p class="ridge">A ridge border.</p>
<p class="inset">An inset border.</p>
<p class="outset">An outset border.</p>
<p class="none">No border.</p>
<p class="hidden">A hidden border.</p>
<p class="mix">A mixed border.</p>

</body>
</html>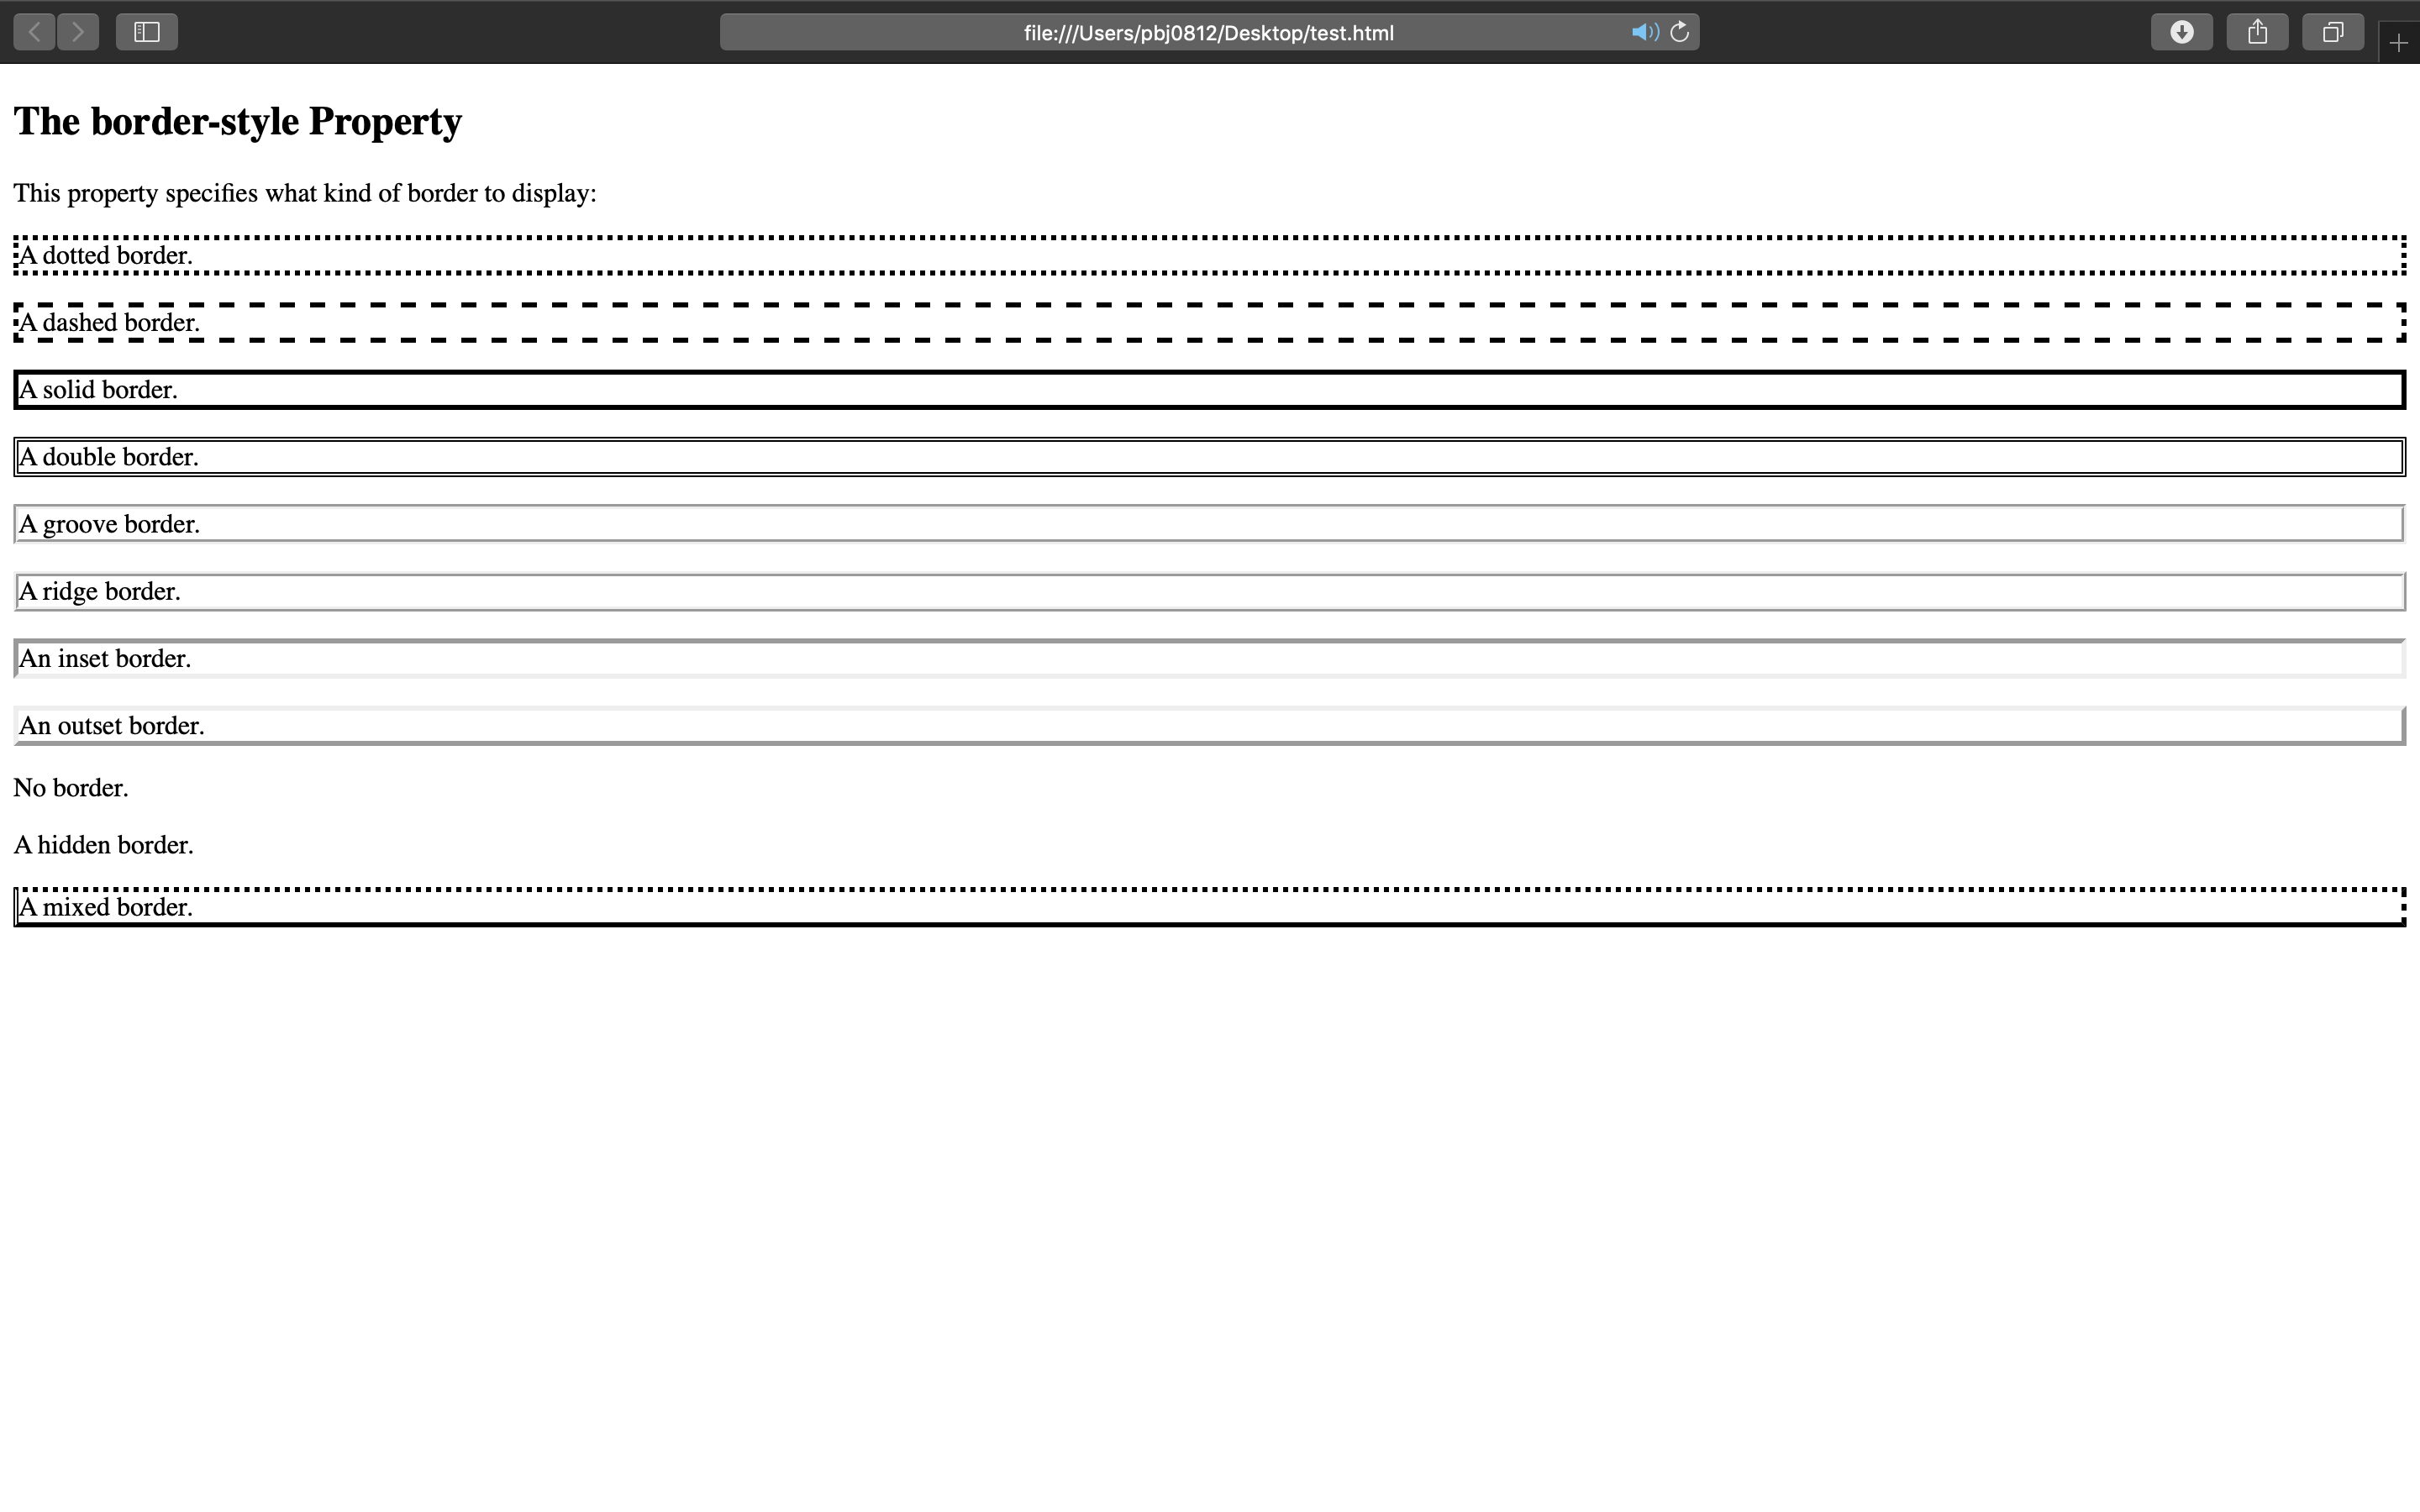
11) margin
<!DOCTYPE html>
<html>
<head>
<style>
div {
  border: 1px solid black;
  margin-top: 100px;
  margin-bottom: 100px;
  margin-right: 150px;
  margin-left: 80px;
  background-color: lightblue;
}
</style>
</head>
<body>

<h2>Using individual margin properties</h2>

<div>This div element has a top margin of 100px, a right margin of 150px, a bottom margin of 100px, and a left margin of 80px.</div>

</body>
</html>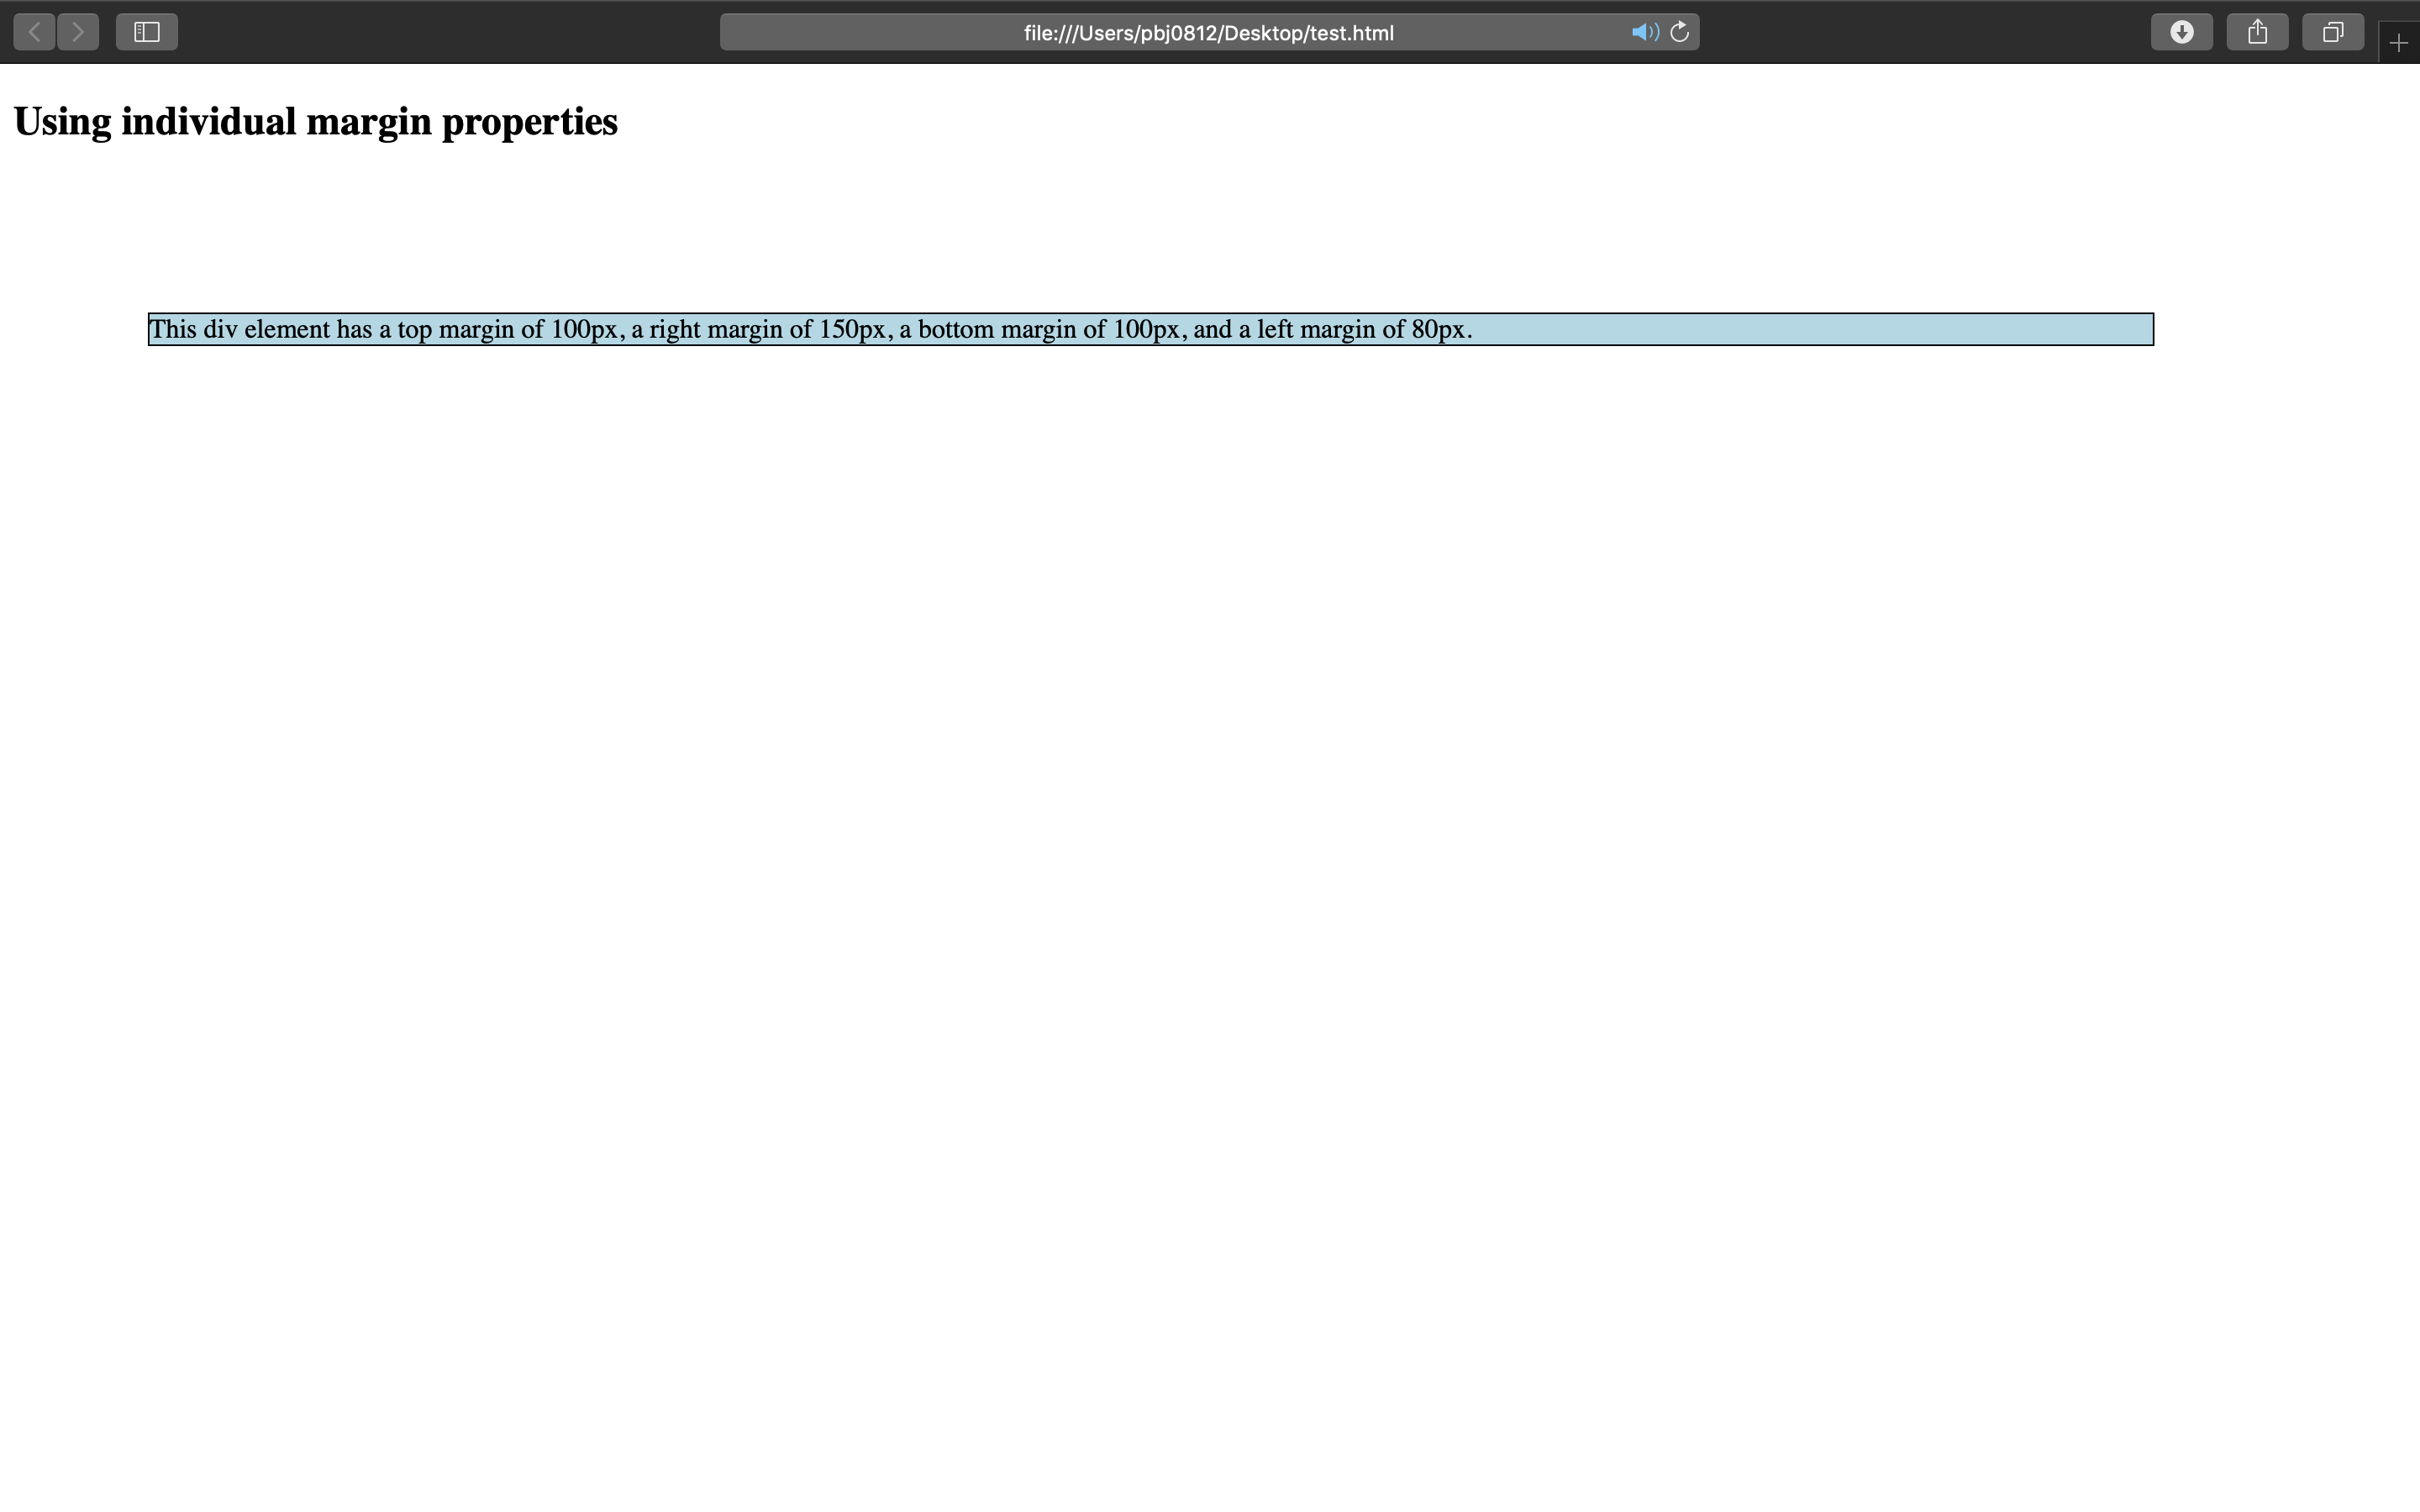
12) padding
<!DOCTYPE html>
<html>
<head>
<style>
div {
  border: 1px solid black;
  background-color: lightblue;
  padding-top: 50px;
  padding-right: 30px;
  padding-bottom: 50px;
  padding-left: 80px;
}
</style>
</head>
<body>

<h2>Using individual padding properties</h2>

<div>This div element has a top padding of 50px, a right padding of 30px, a bottom padding of 50px, and a left padding of 80px.</div>

</body>
</html>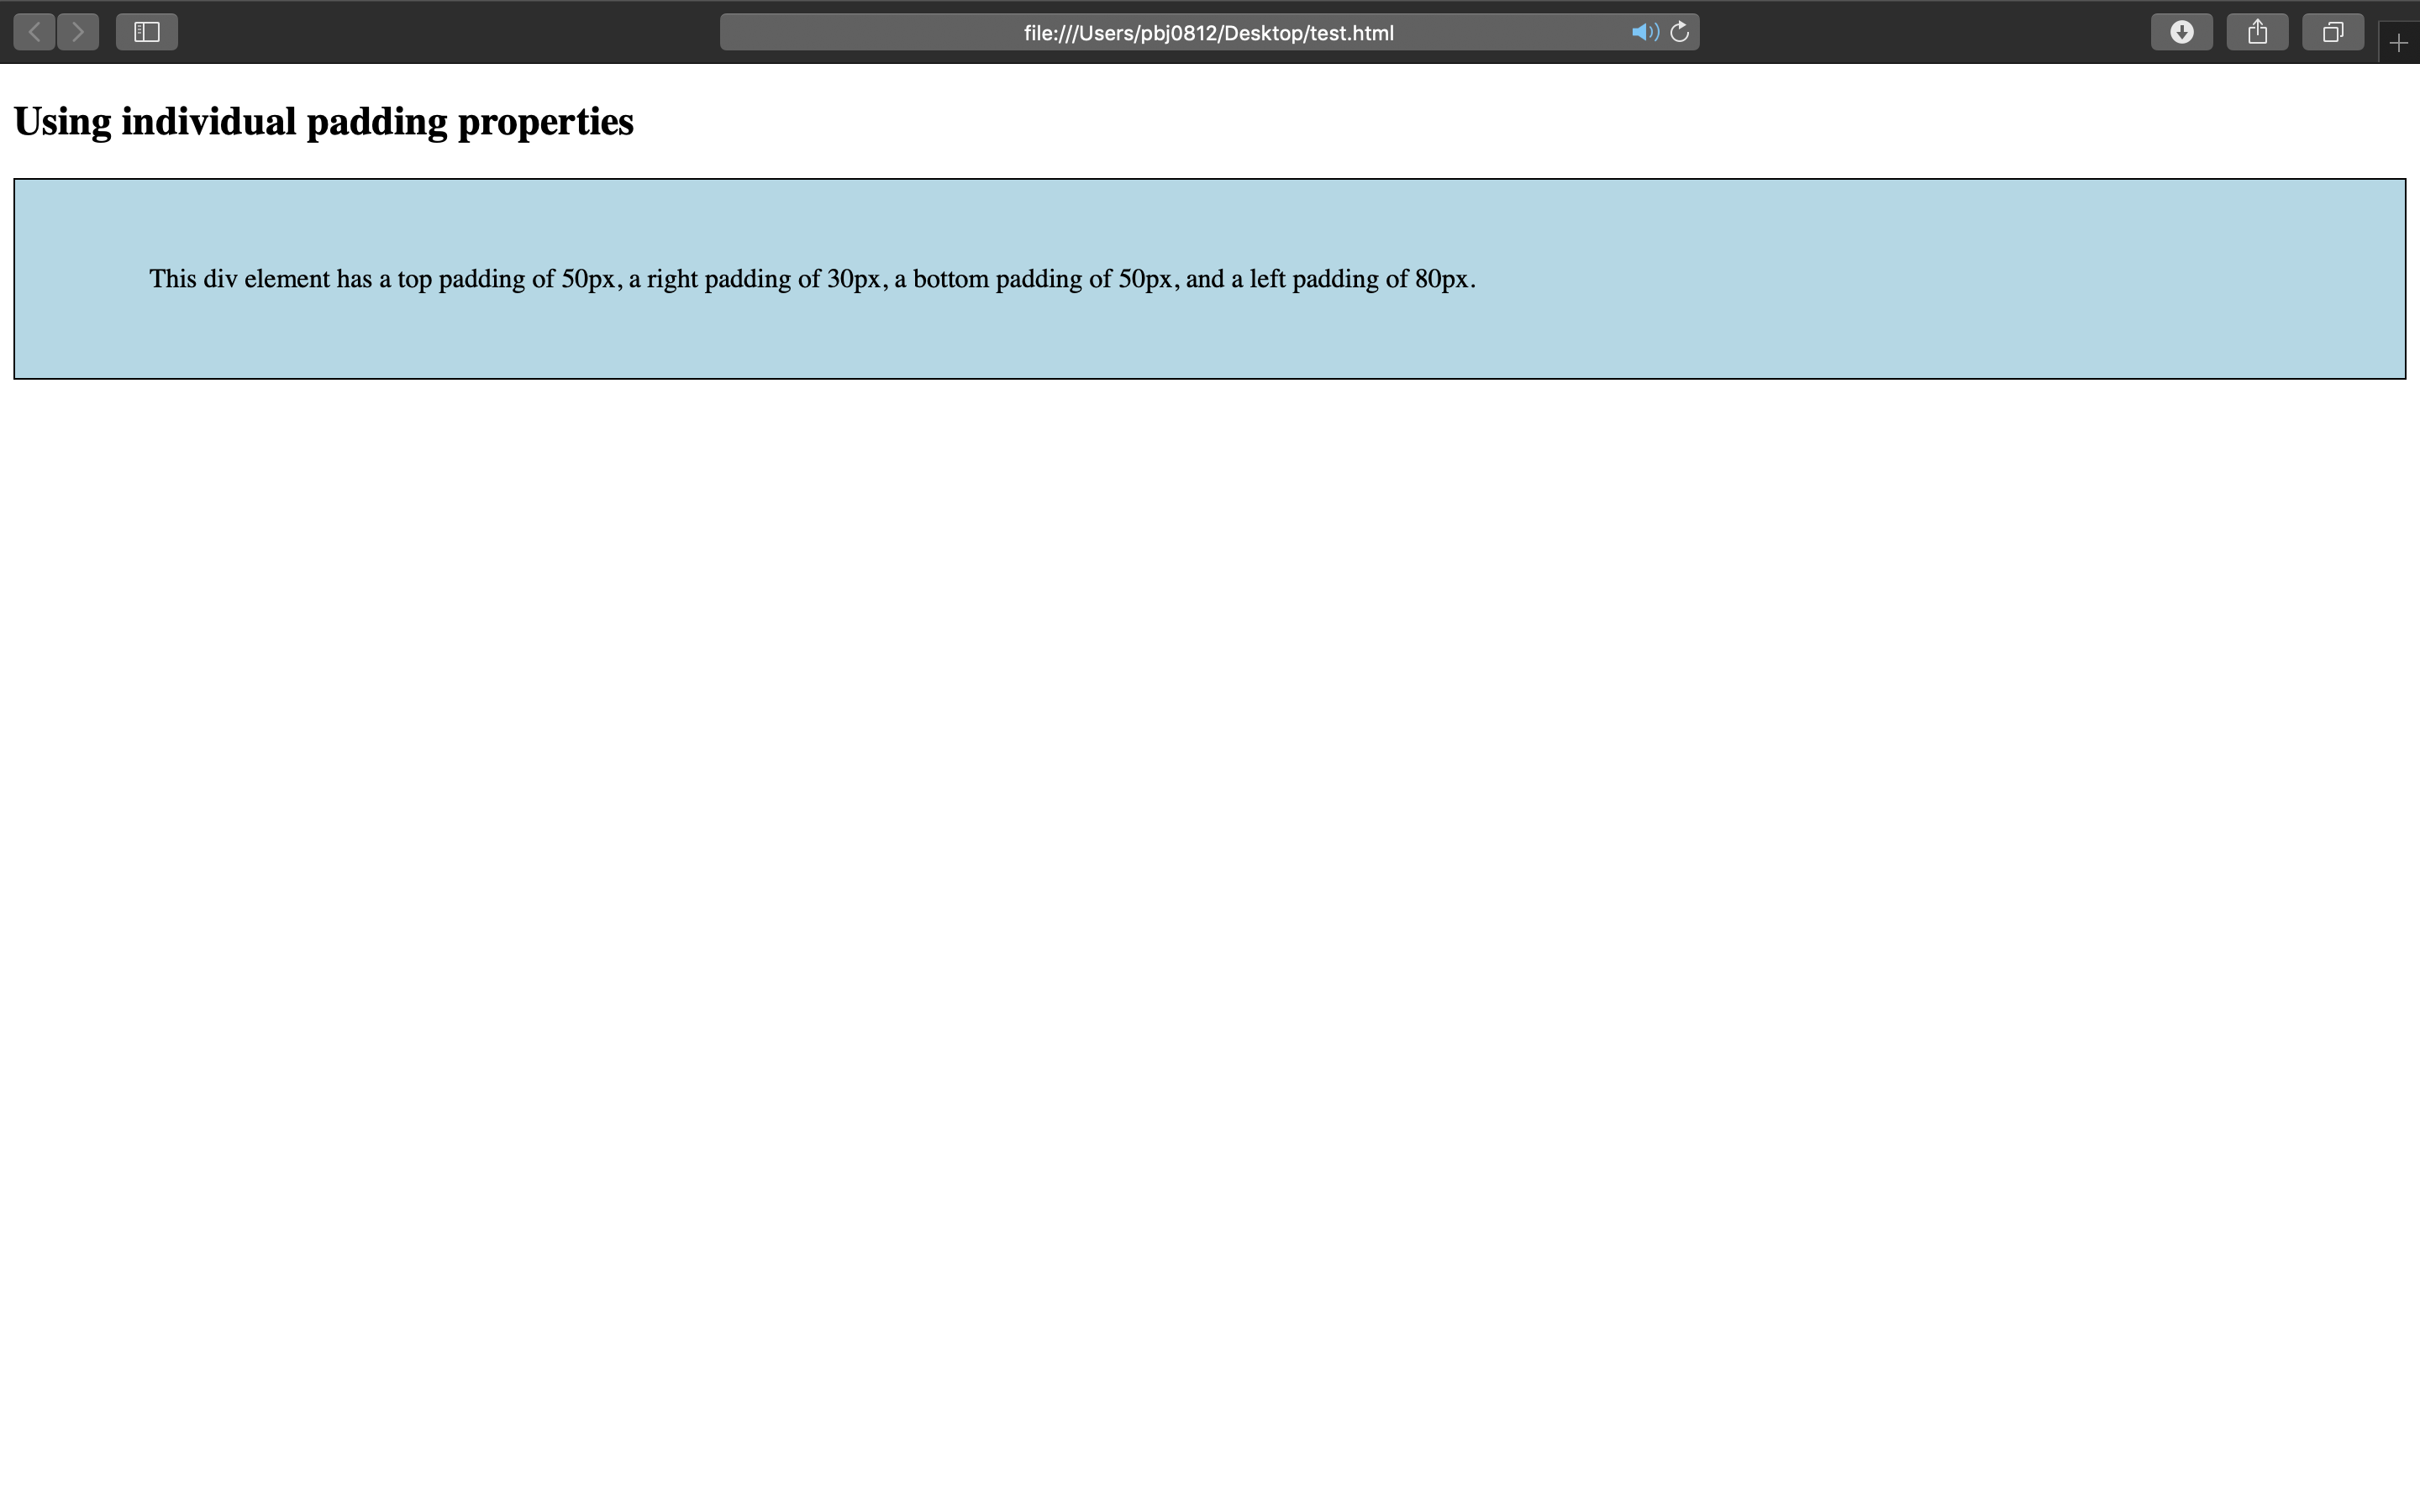
13) width
<!DOCTYPE html>
<html>
<head>
<style>
div {
  height: 100px;
  width: 500px;
  background-color: powderblue;
}
</style>
</head>
<body>

<h2>Set the height and width of an element</h2>

<p>This div element has a height of 100px and a width of 500px:</p>

<div></div>

</body>
</html>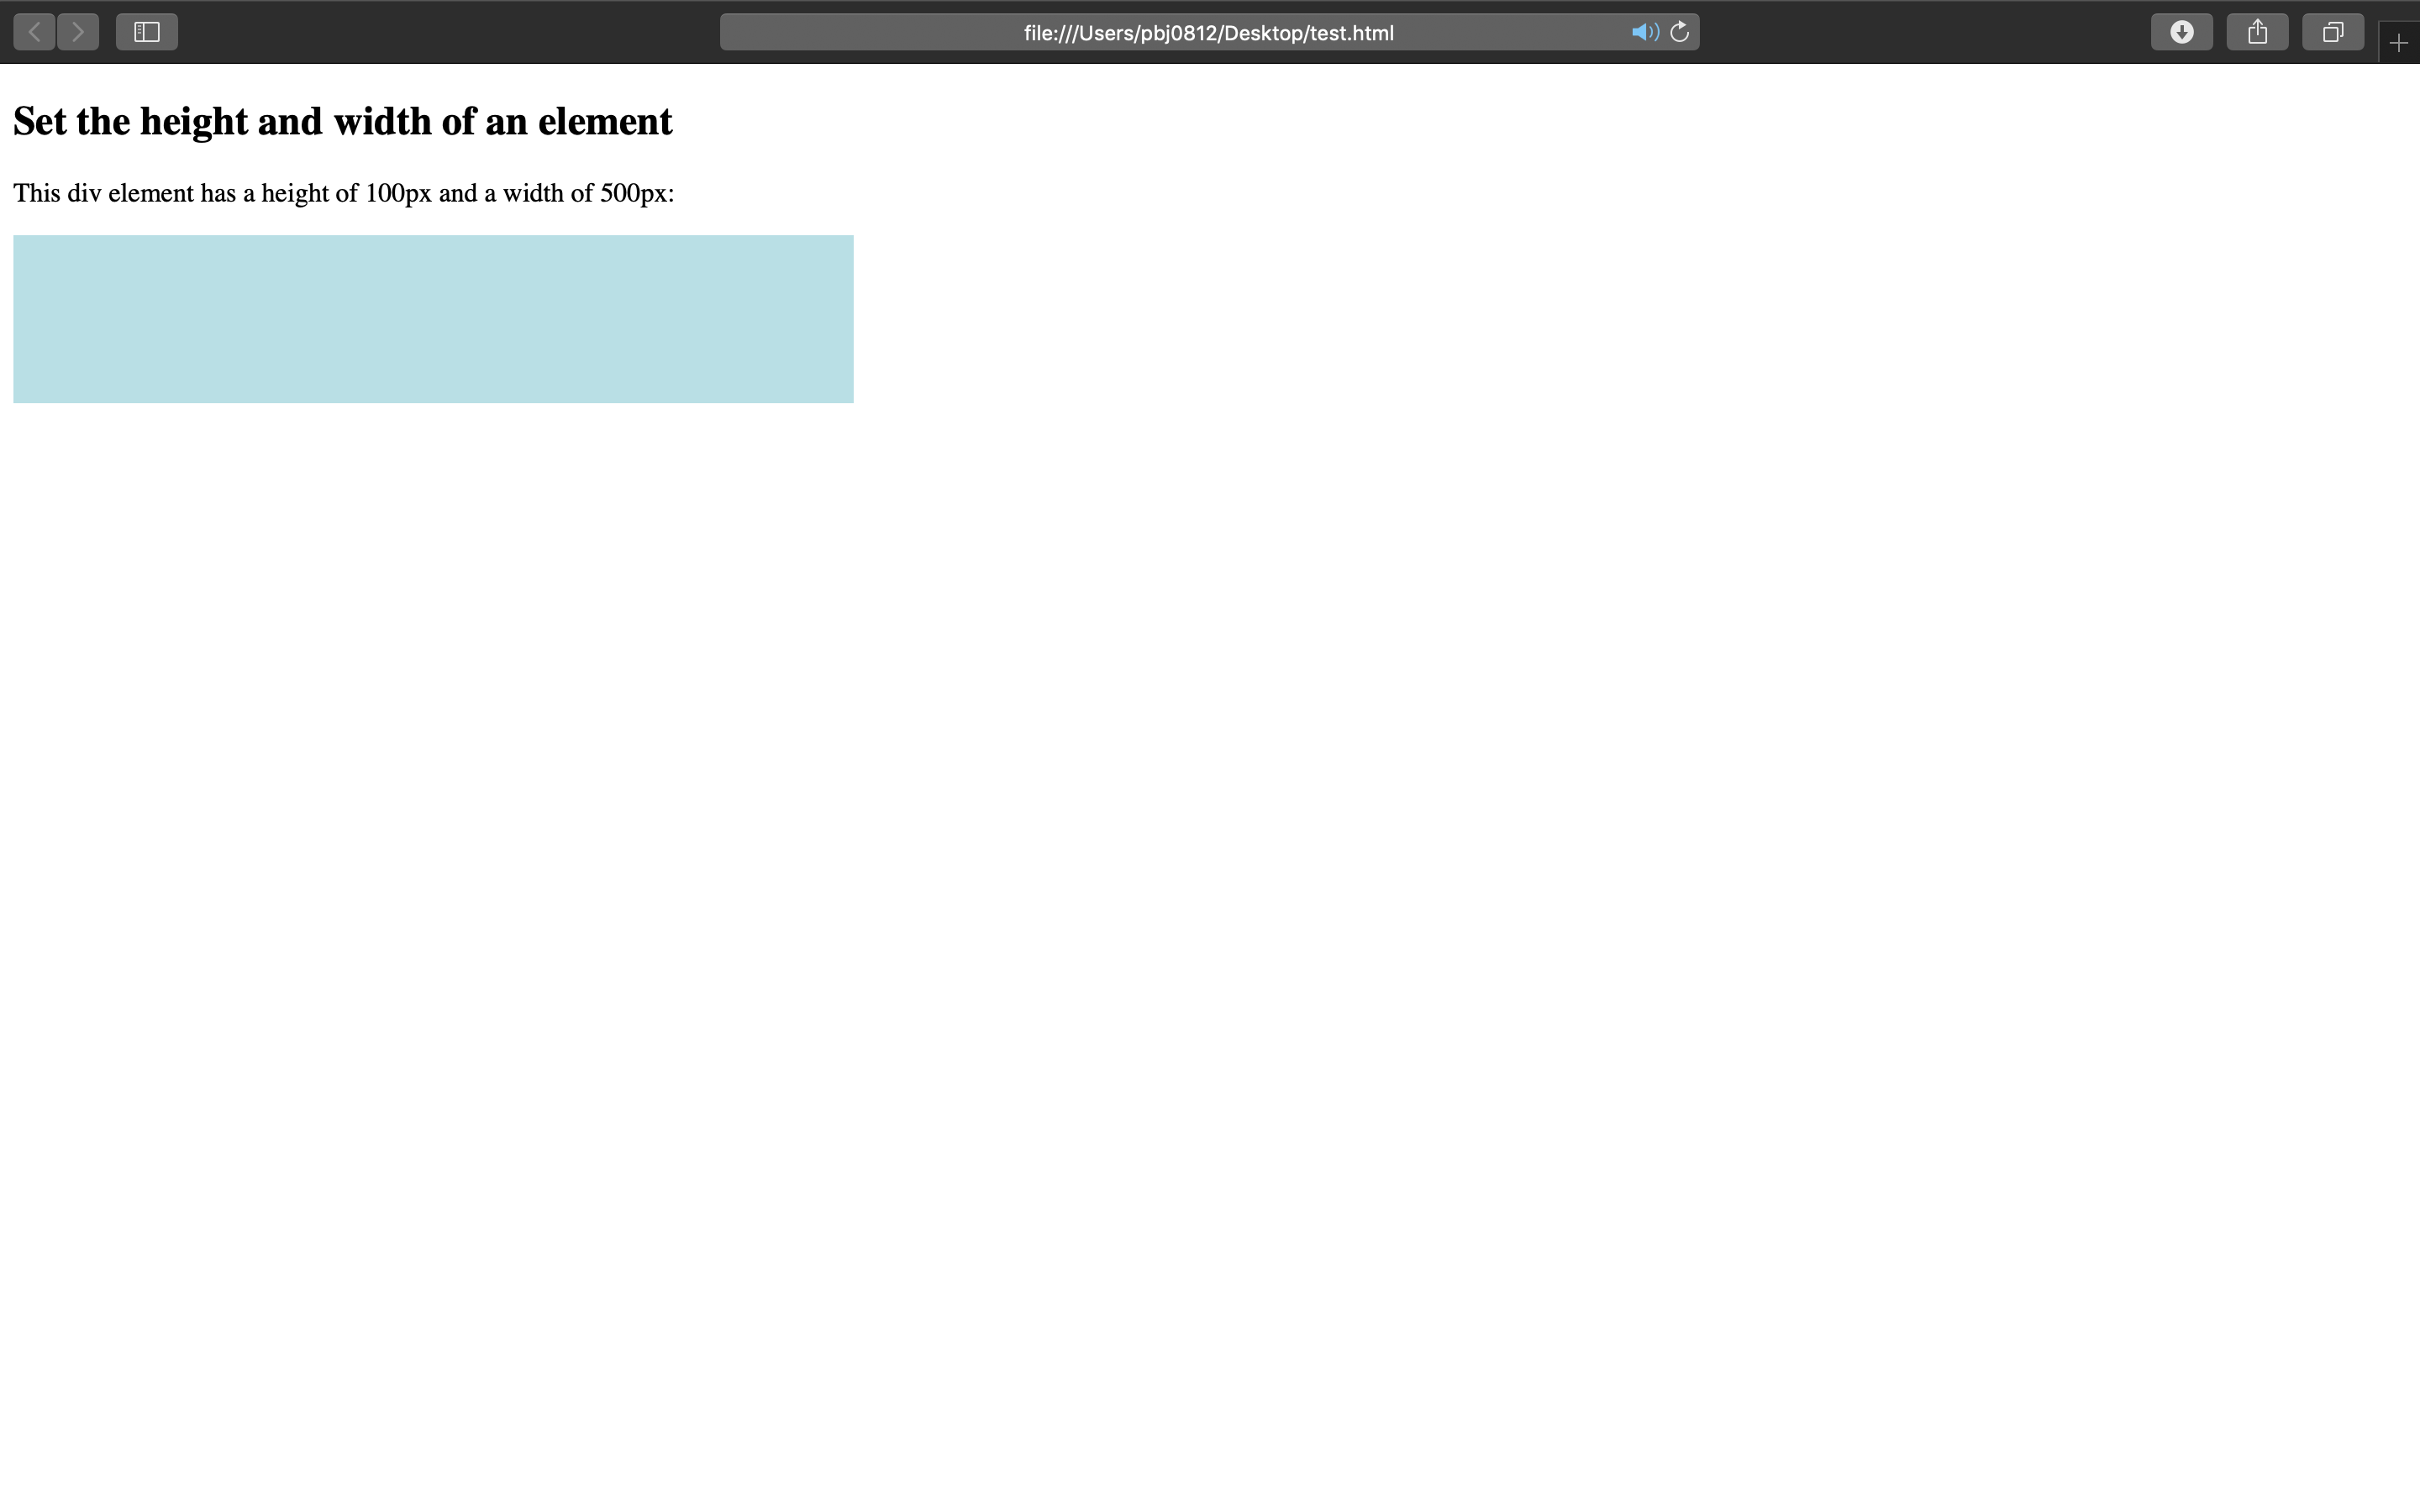
14) box model
<!DOCTYPE html>
<html>
<head>
<style>
div {
  background-color: lightgrey;
  width: 300px;
  border: 15px solid green;
  padding: 50px;
  margin: 20px;
}
</style>
</head>
<body>

<h2>Demonstrating the Box Model</h2>

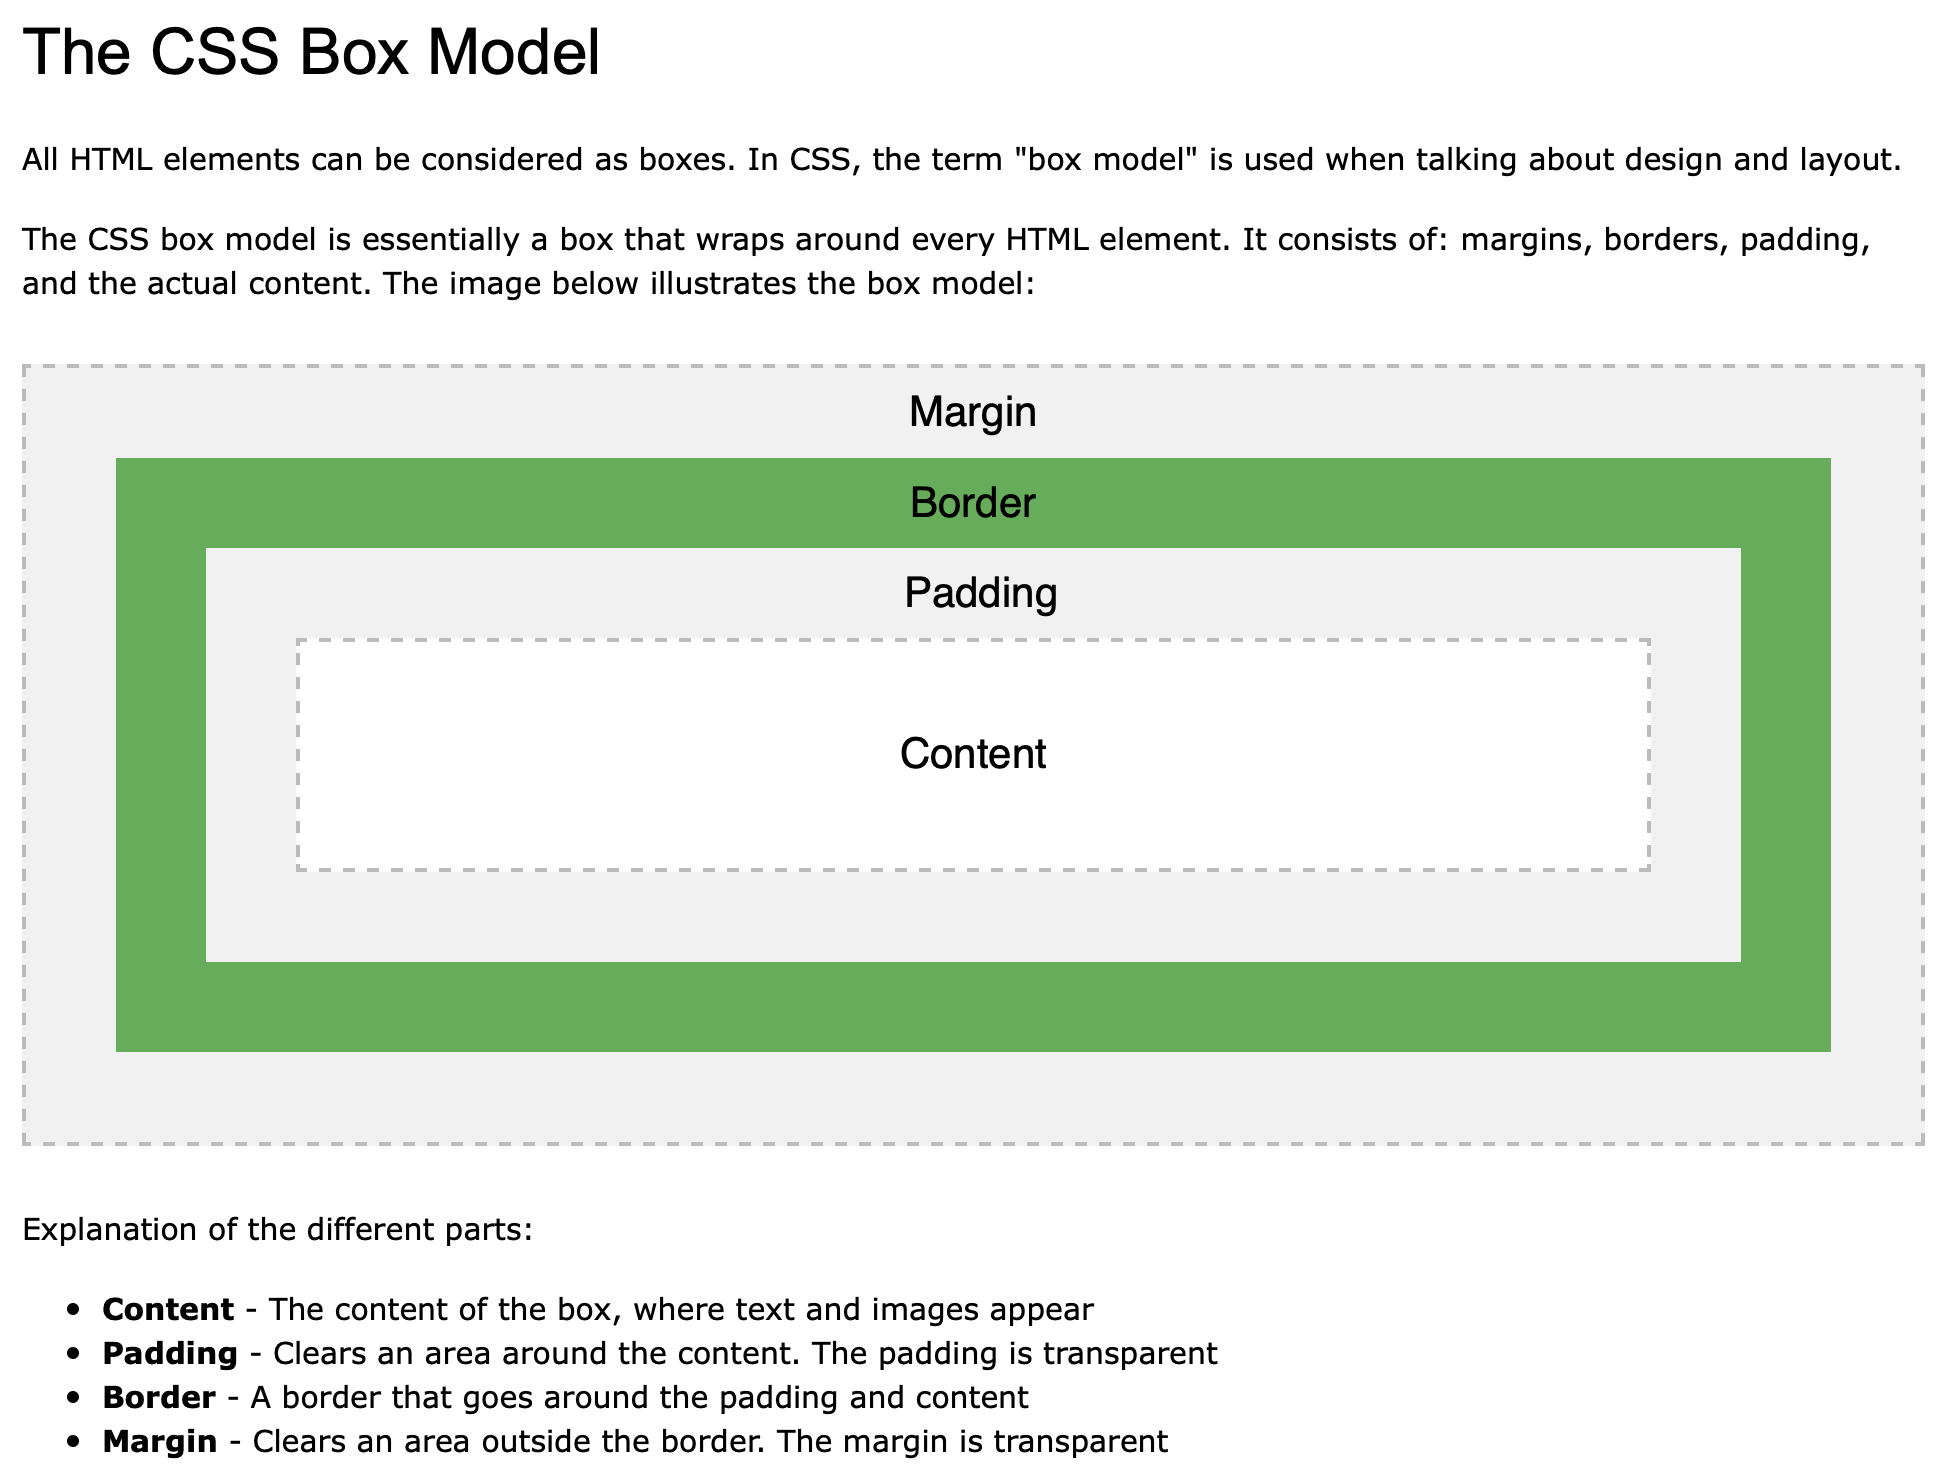
<p>The CSS box model is essentially a box that wraps around every HTML element. It consists of: borders, padding, margins, and the actual content.</p>

<div>This text is the content of the box. We have added a 50px padding, 20px margin and a 15px green border. Ut enim ad minim veniam, quis nostrud exercitation ullamco laboris nisi ut aliquip ex ea commodo consequat. Duis aute irure dolor in reprehenderit in voluptate velit esse cillum dolore eu fugiat nulla pariatur. Excepteur sint occaecat cupidatat non proident, sunt in culpa qui officia deserunt mollit anim id est laborum.</div>

</body>
</html>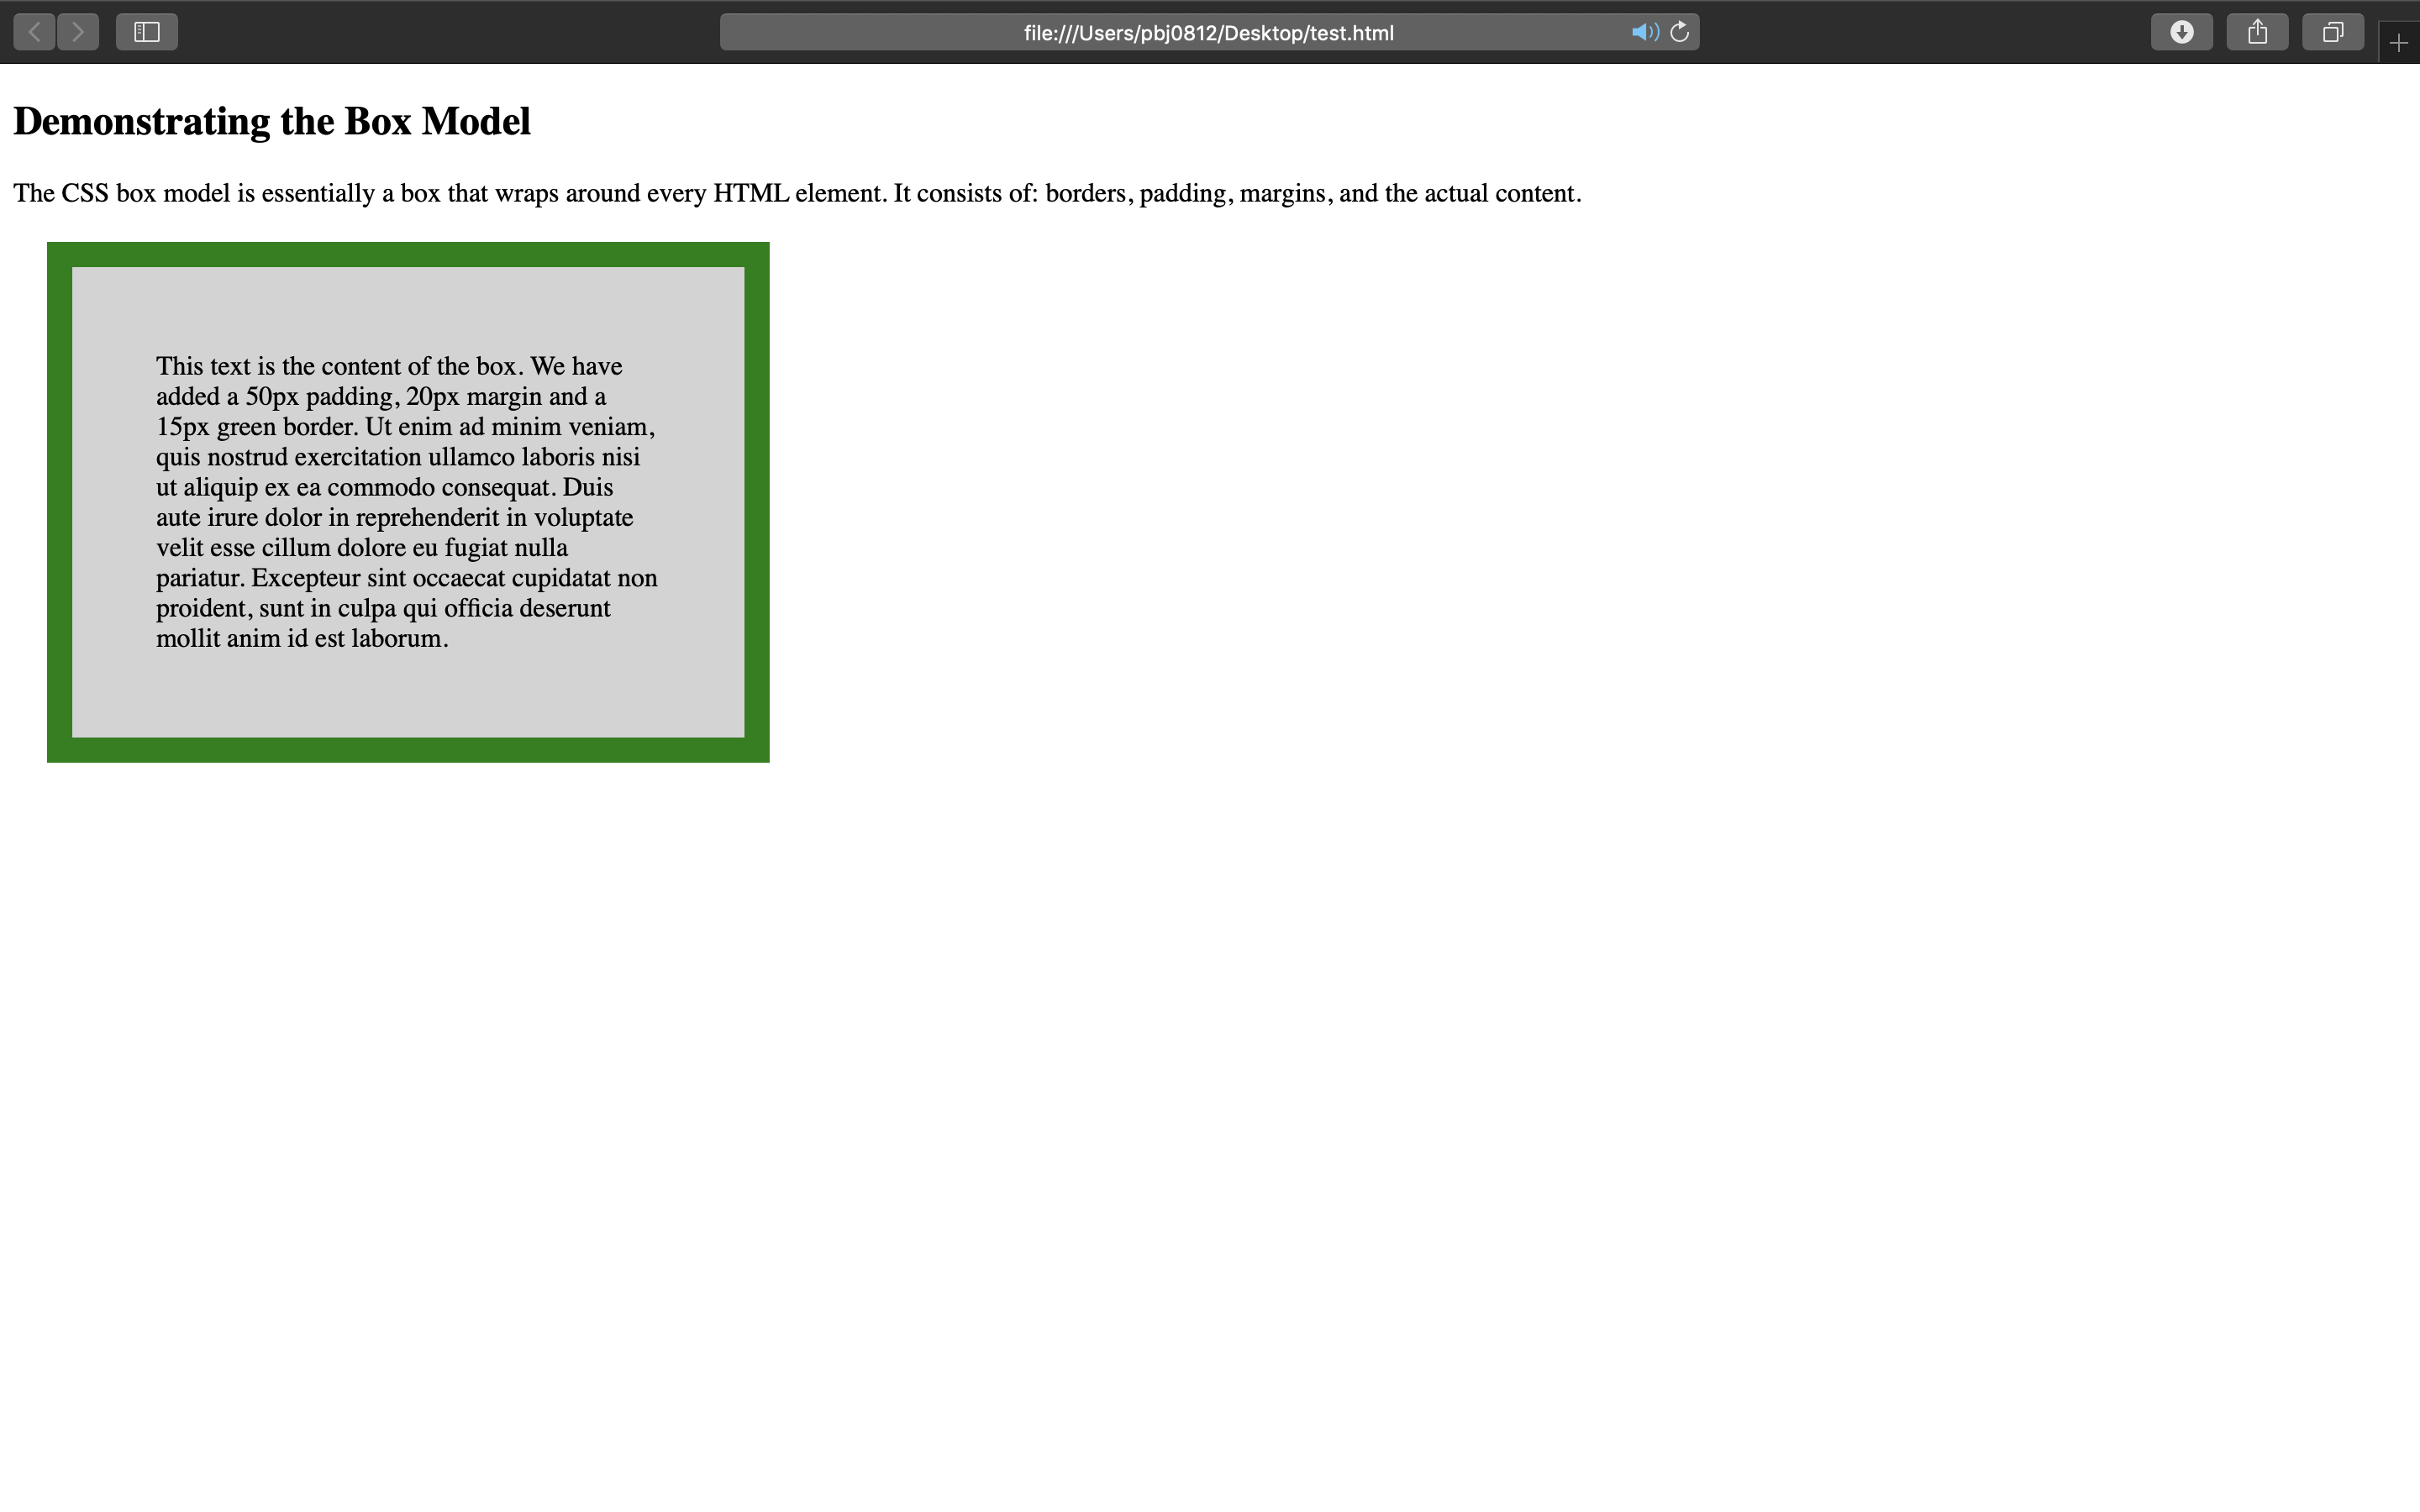
15) outline
<!DOCTYPE html>
<html>
<head>
<style>
p {outline-color:red;}

p.dotted {outline-style: dotted;}
p.dashed {outline-style: dashed;}
p.solid {outline-style: solid;}
p.double {outline-style: double;}
p.groove {outline-style: groove;}
p.ridge {outline-style: ridge;}
p.inset {outline-style: inset;}
p.outset {outline-style: outset;}
</style>
</head>
<body>

<h2>The outline-style Property</h2>

<p class="dotted">A dotted outline</p>
<p class="dashed">A dashed outline</p>
<p class="solid">A solid outline</p>
<p class="double">A double outline</p>
<p class="groove">A groove outline. The effect depends on the outline-color value.</p>
<p class="ridge">A ridge outline. The effect depends on the outline-color value.</p>
<p class="inset">An inset outline. The effect depends on the outline-color value.</p>
<p class="outset">An outset outline. The effect depends on the outline-color value.</p>

</body>
</html>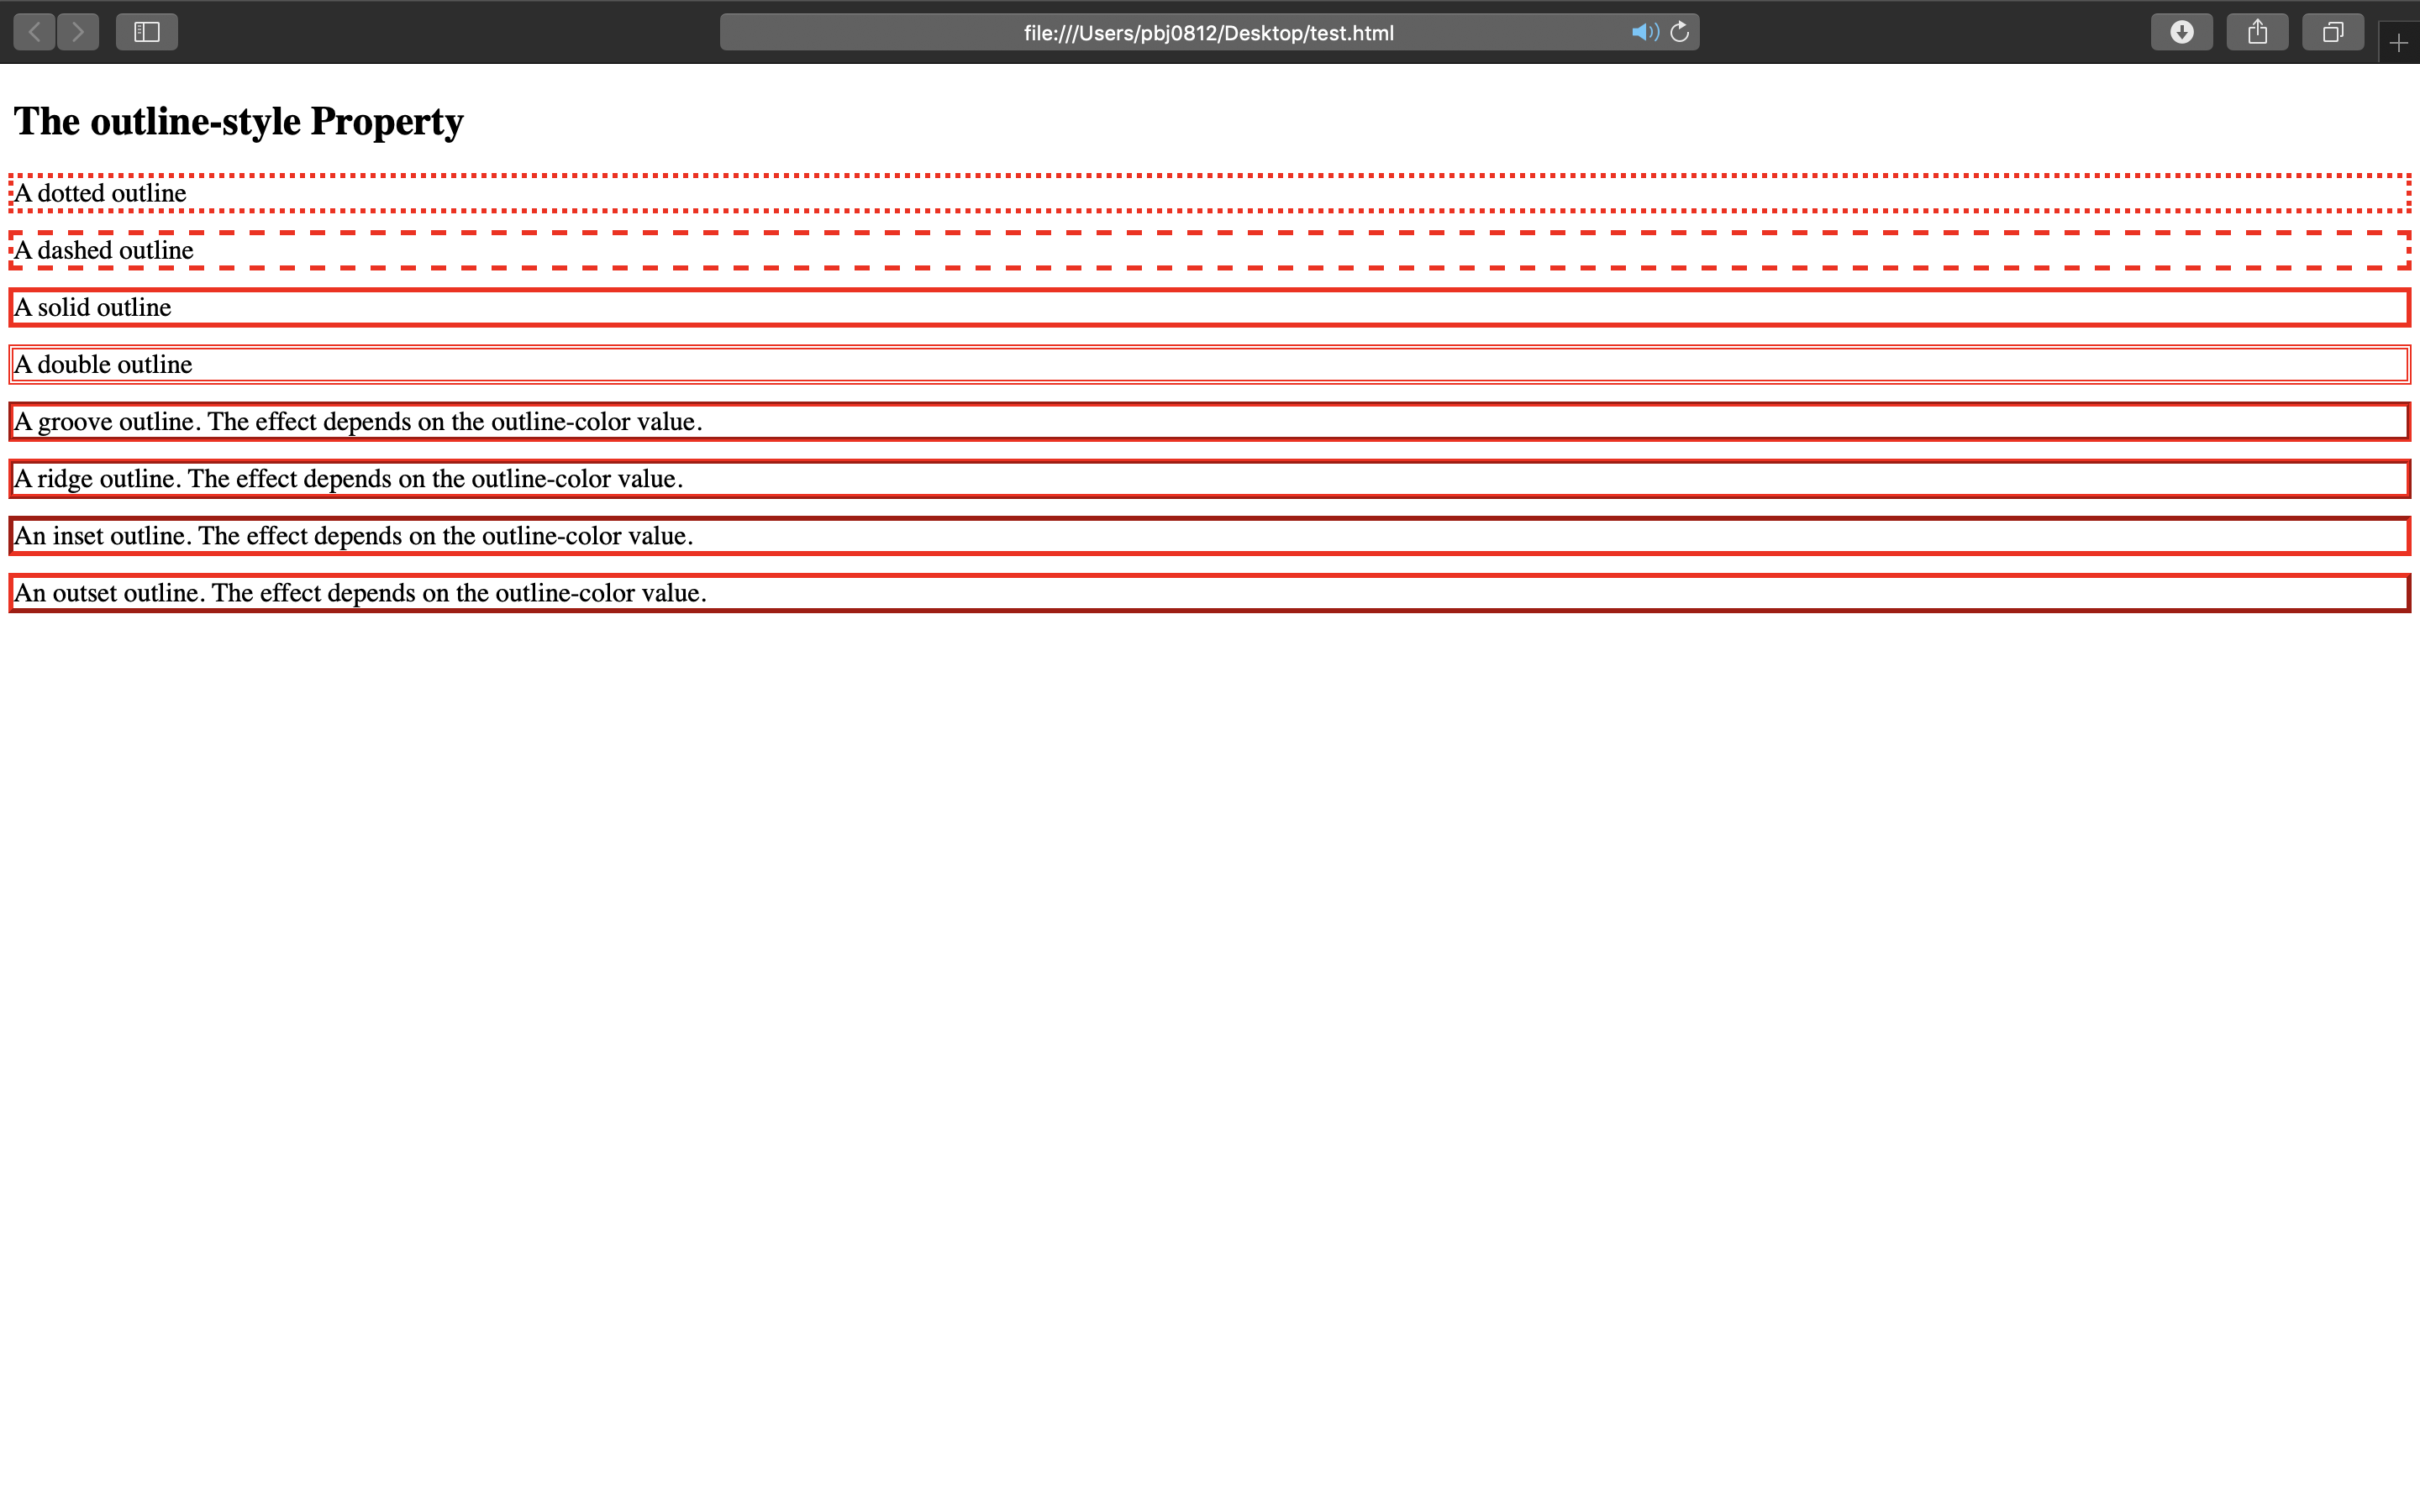
16) text
<!DOCTYPE html>
<html>
<head>
<style>
h1 {
  text-shadow: 2px 2px 5px red;
}
</style>
</head>
<body>

<h1>Text-shadow effect!</h1>

</body>
</html>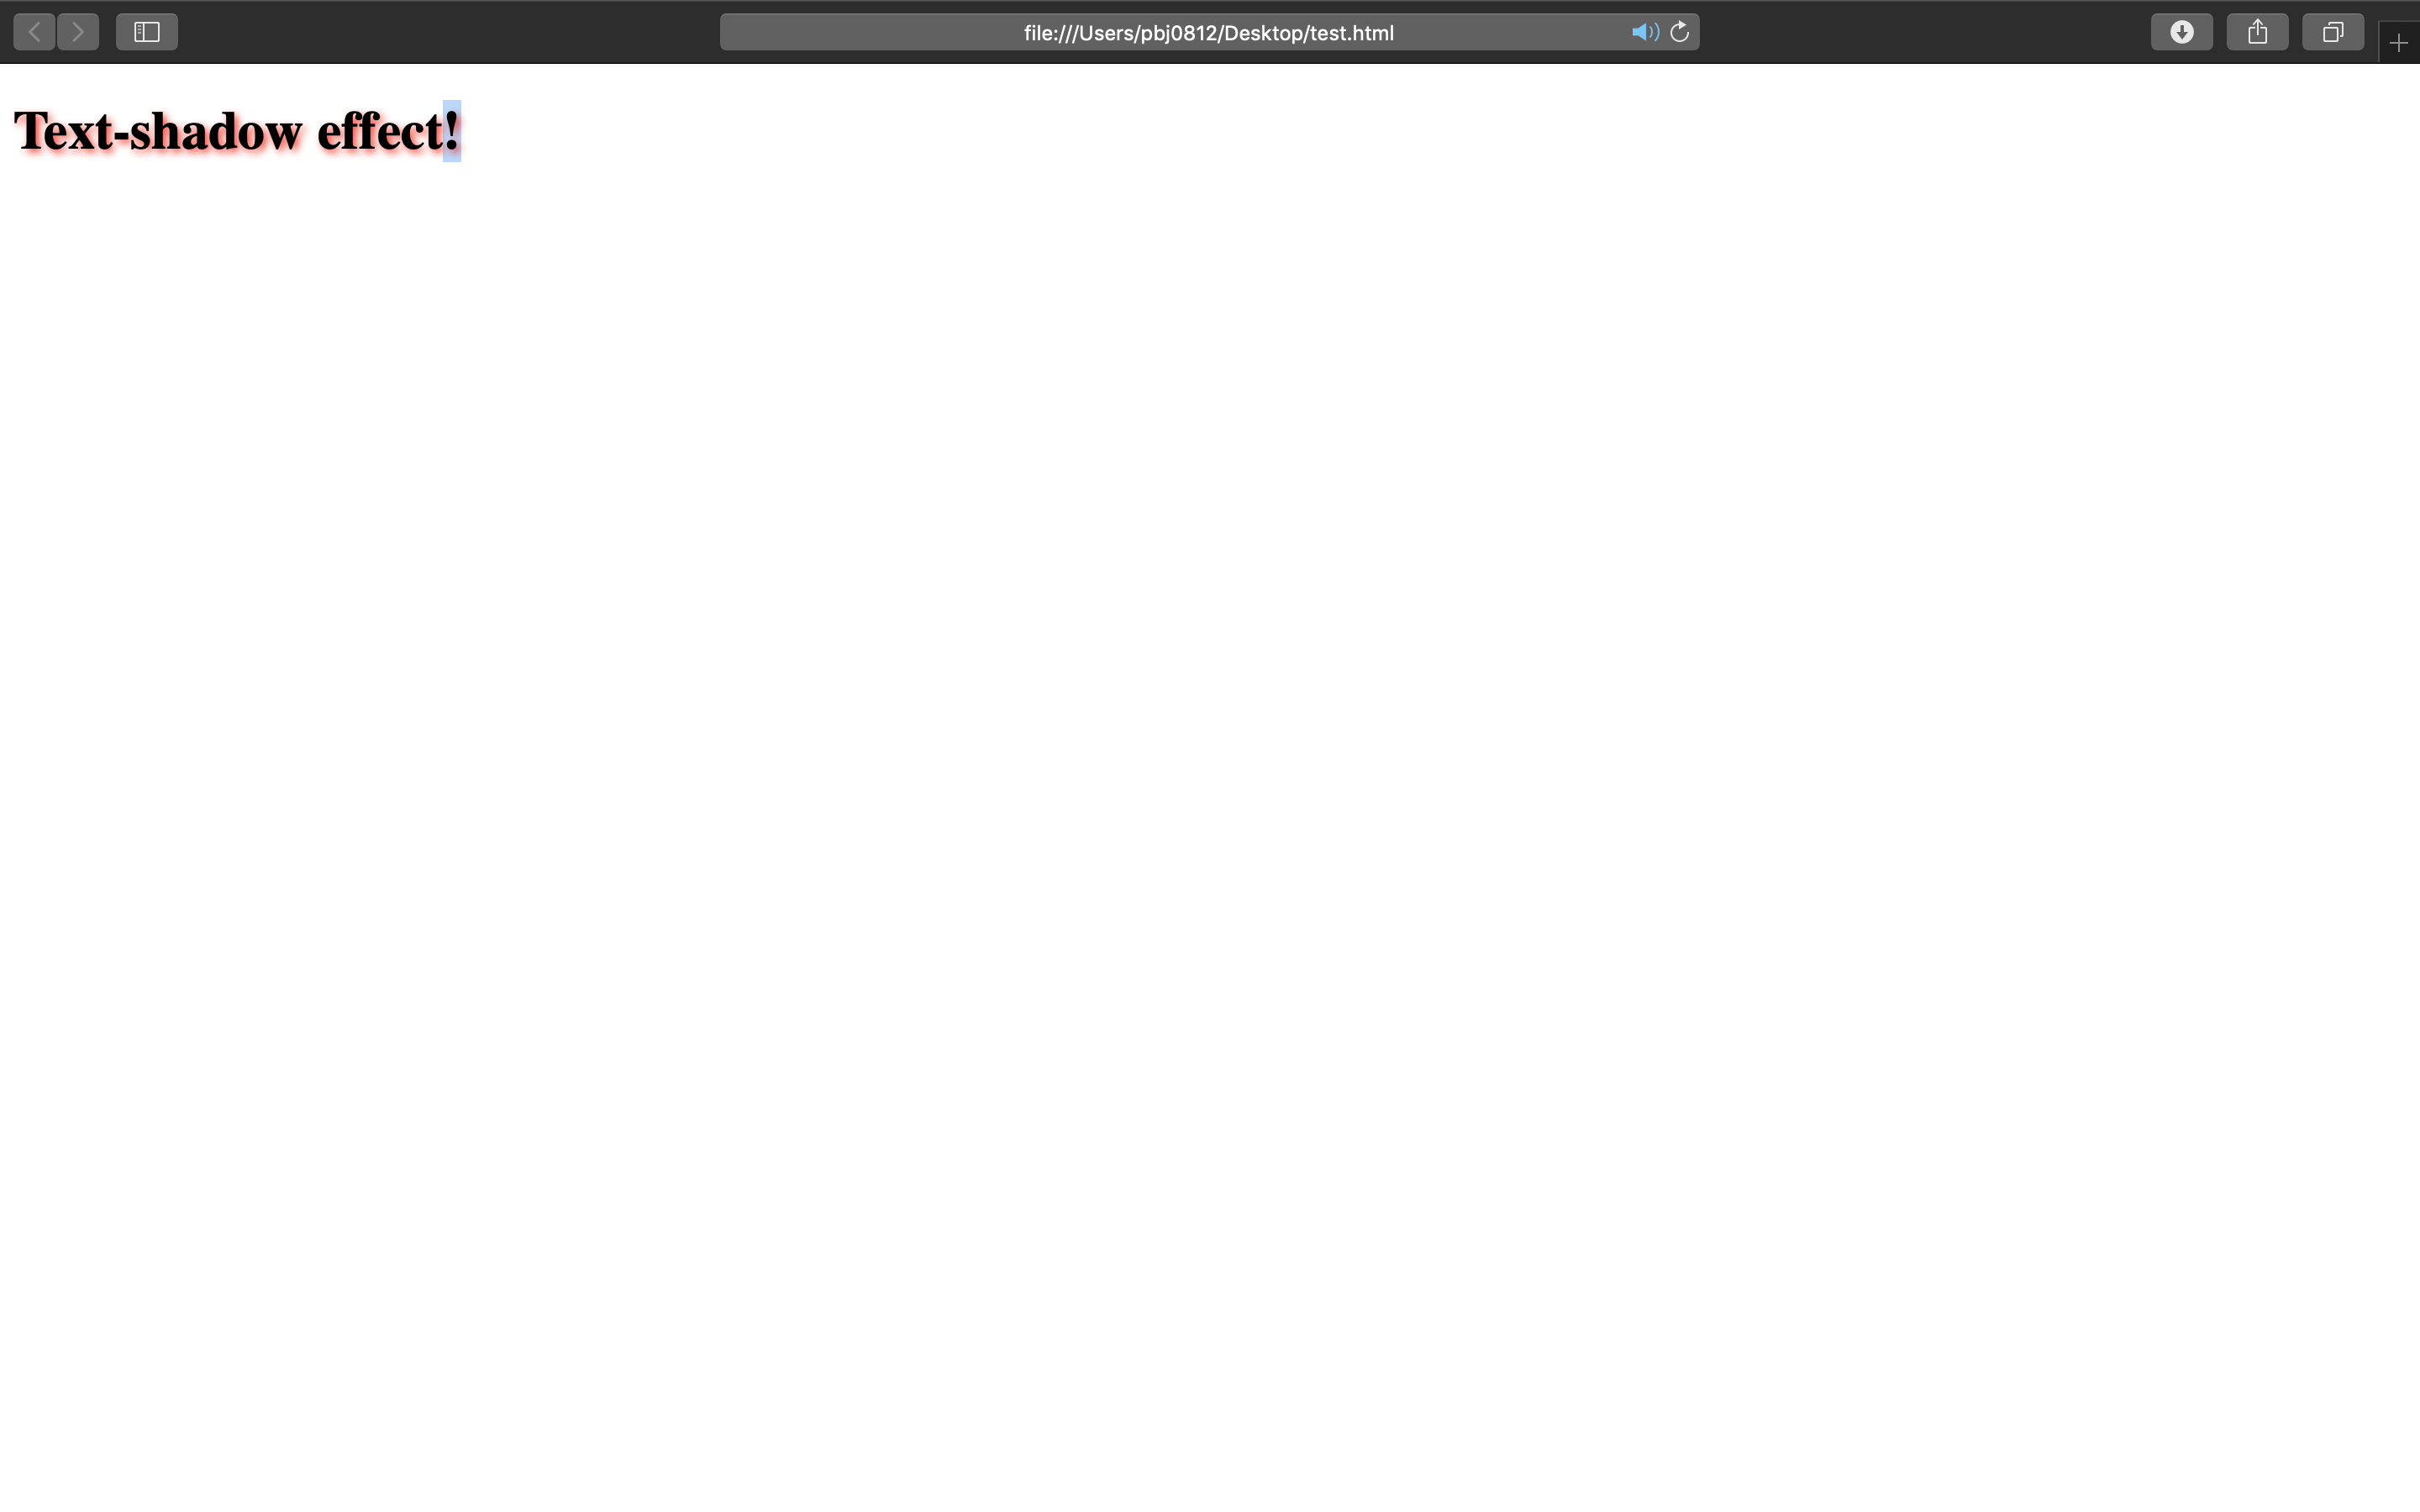
17) font
<!DOCTYPE html>
<html>
<head>
<style>
p.impact {
  font-family: Impact, Charcoal, sans-serif;
}
</style>
</head>
<body>

<h1>CSS font-family</h1>
<p class="impact">This is a paragraph, shown with the Impact font.</p>

</body>
</html>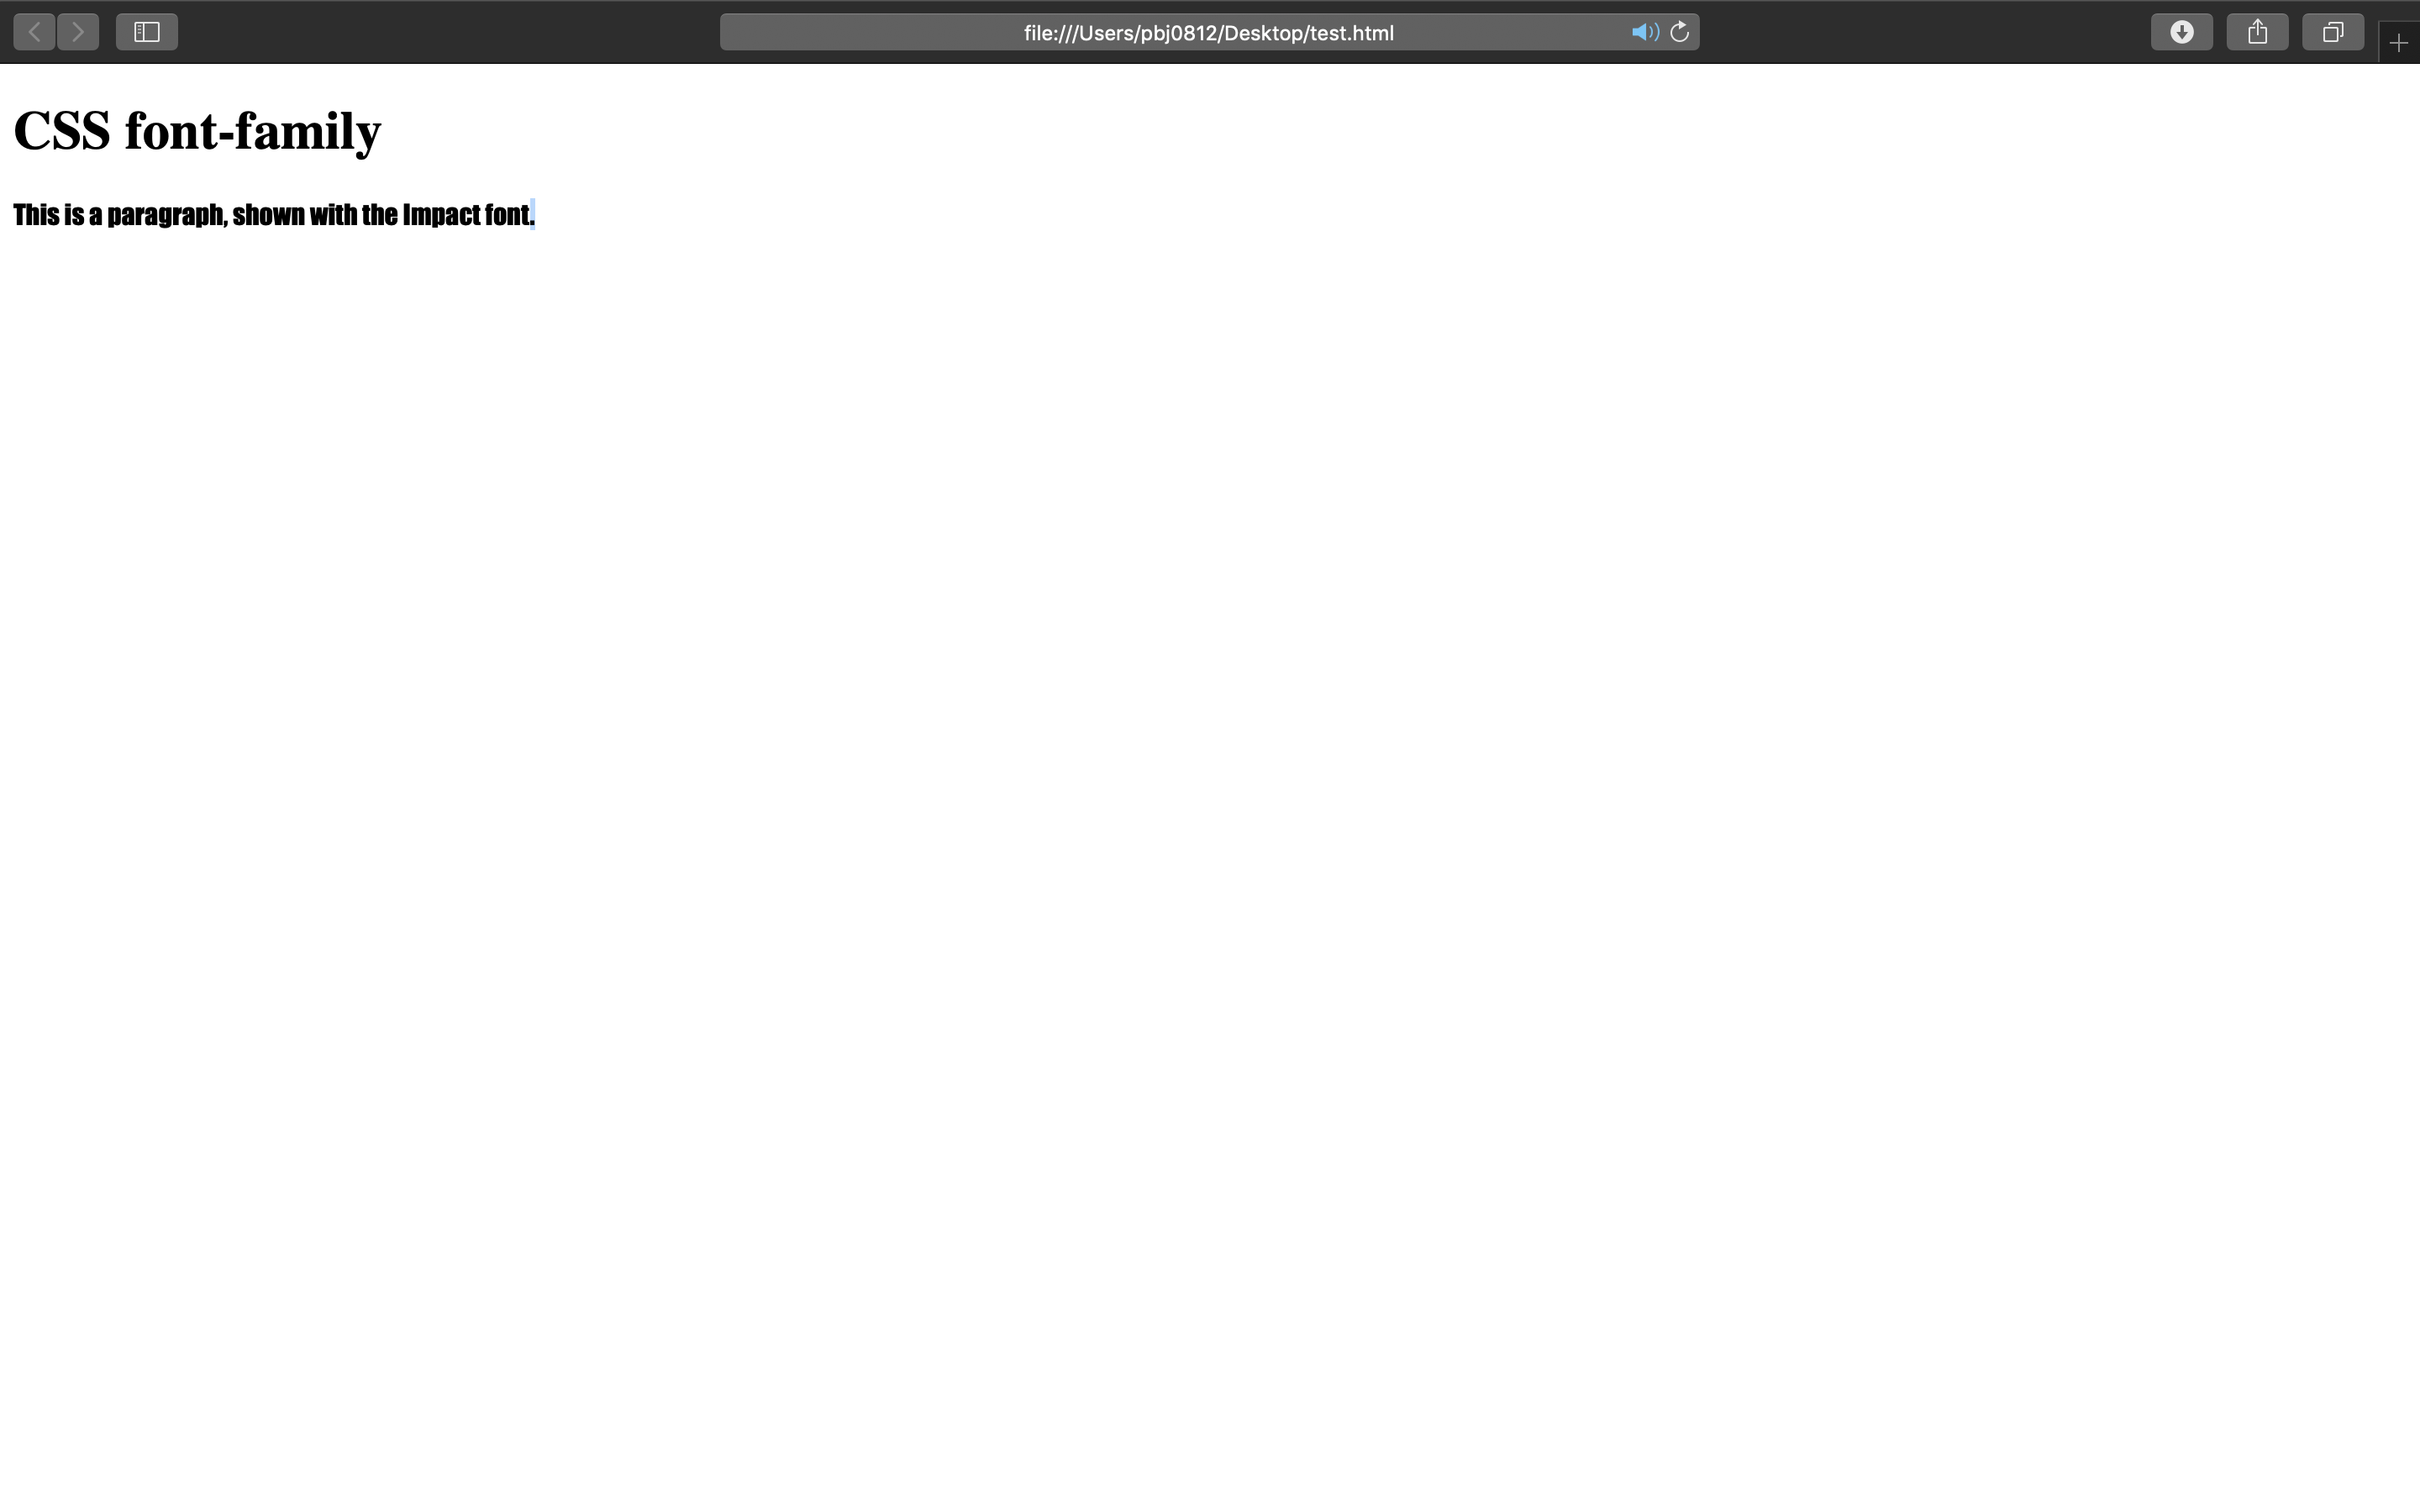
18) icon
<!DOCTYPE html>
<html>
<head>
<title>Font Awesome Icons</title>
<meta name="viewport" content="width=device-width, initial-scale=1">
<script src="https://kit.fontawesome.com/a076d05399.js"></script>
<!--Get your own code at fontawesome.com-->
</head>
<body>

<p>Some Font Awesome icons:</p>
<i class="fas fa-cloud"></i>
<i class="fas fa-heart"></i>
<i class="fas fa-car"></i>
<i class="fas fa-file"></i>
<i class="fas fa-bars"></i>

<p>Styled Font Awesome icons (size and color):</p>
<i class="fas fa-cloud" style="font-size:24px;"></i>
<i class="fas fa-cloud" style="font-size:36px;"></i>
<i class="fas fa-cloud" style="font-size:48px;color:red;"></i>
<i class="fas fa-cloud" style="font-size:60px;color:lightblue;"></i>

</body>
</html>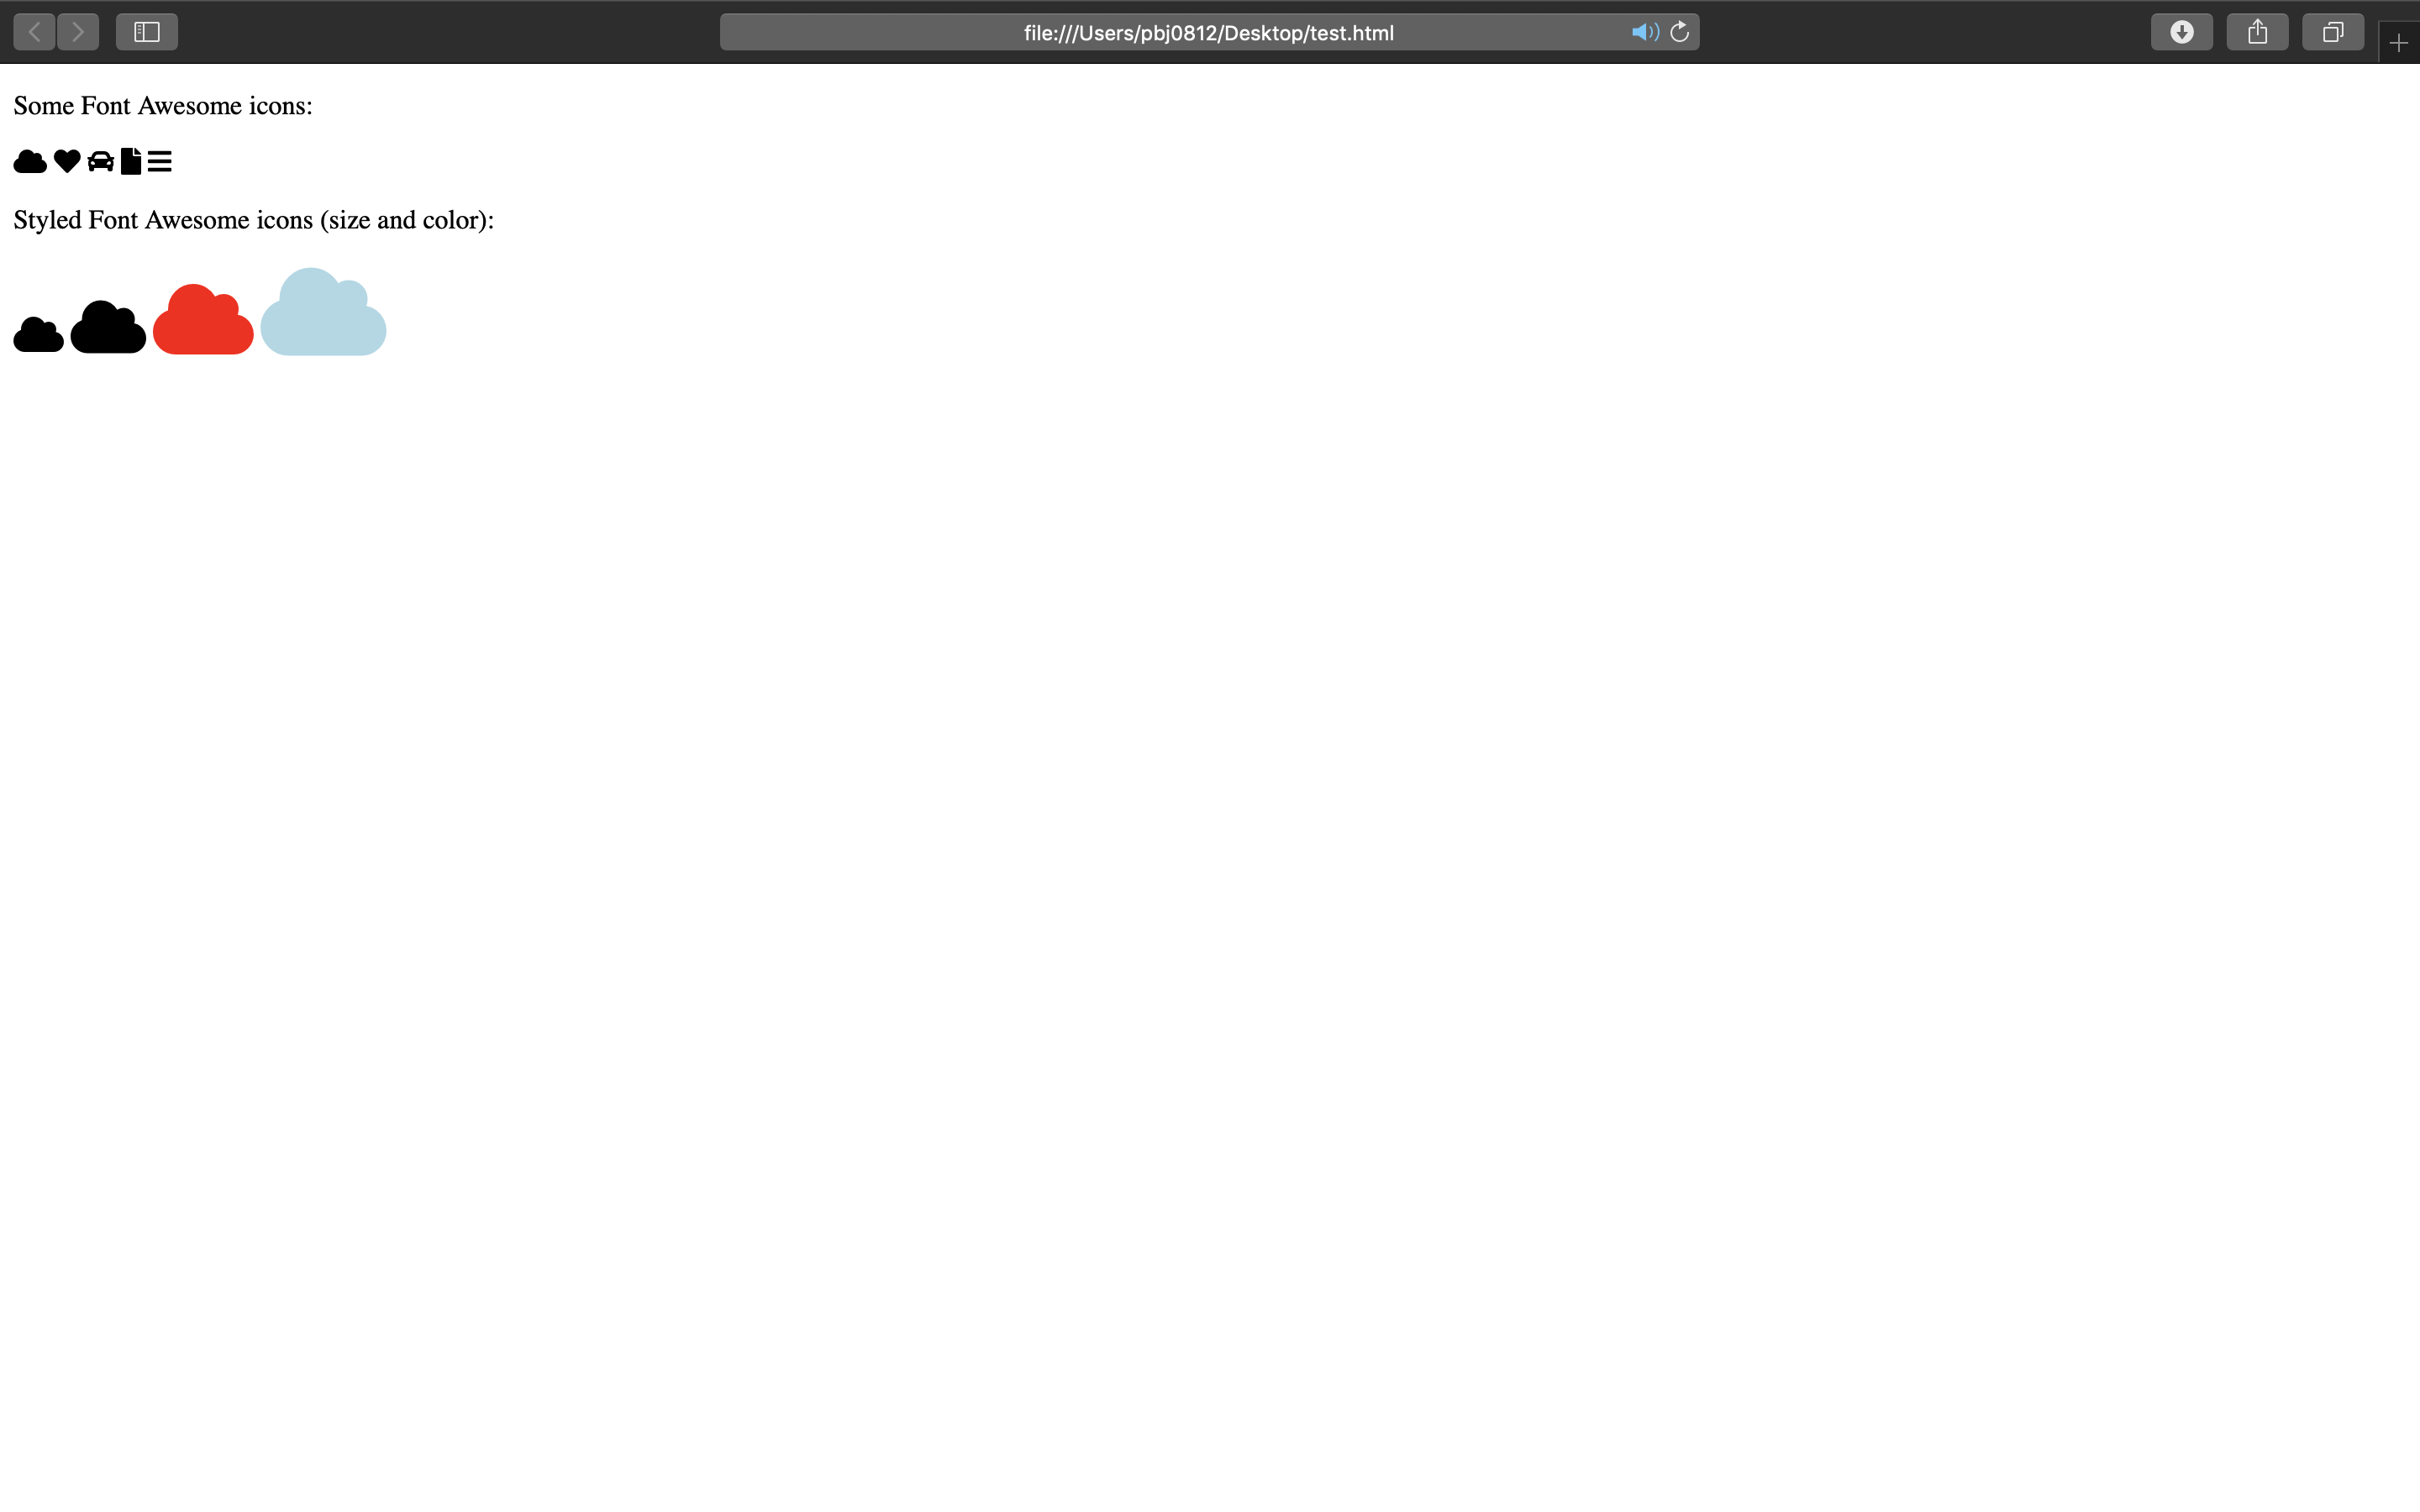
19) link
- hover를 통해 마우스 오버시 분홍색으로 변경
<!DOCTYPE html>
<html>
<head>
<style>
/* unvisited link */
a:link {
  color: red;
}

/* visited link */
a:visited {
  color: green;
}

/* mouse over link */
a:hover {
  color: hotpink;
}

/* selected link */
a:active {
  color: blue;
}
</style>
</head>
<body>

<p><b><a href="default.asp" target="_blank">This is a link</a></b></p>
<p><b>Note:</b> a:hover MUST come after a:link and a:visited in the CSS definition in order to be effective.</p>
<p><b>Note:</b> a:active MUST come after a:hover in the CSS definition in order to be effective.</p>

</body>
</html>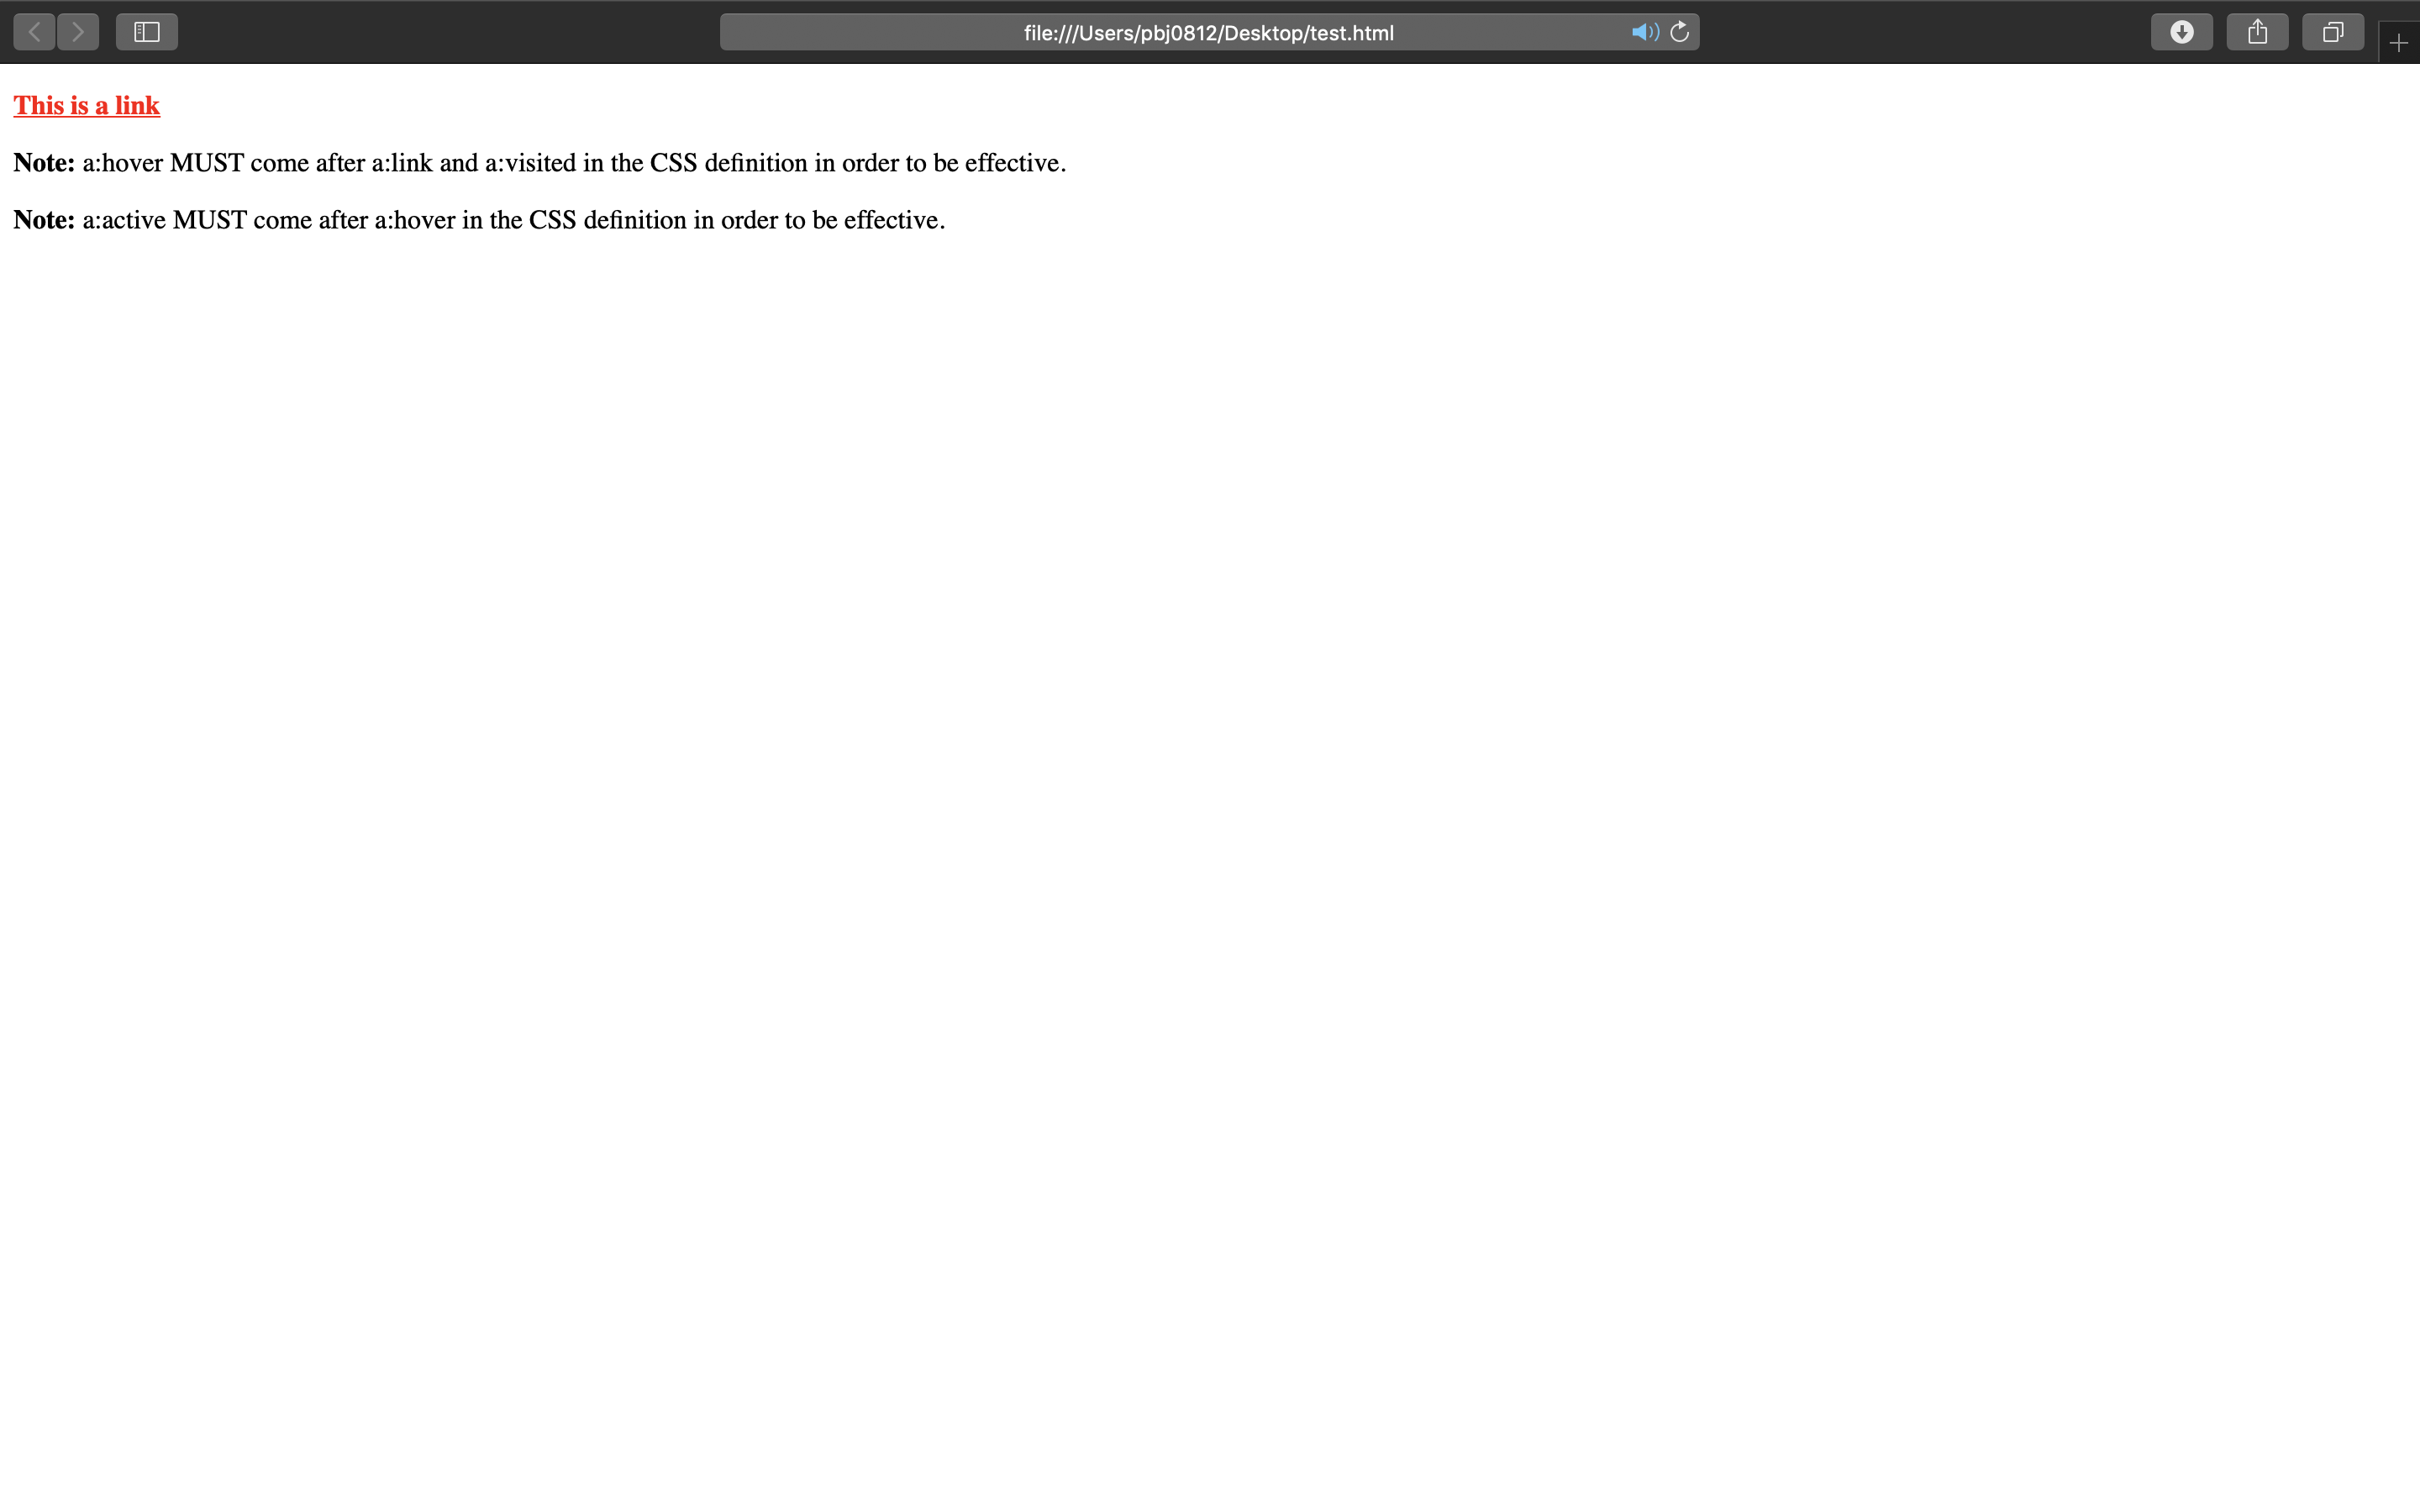
20) list
<!DOCTYPE html>
<html>
<head>
<style>
ul.demo {
  list-style-type: none;
  margin: 0;
  padding: 0;
}
</style>
</head>
<body>

<p>Default list:</p>
<ul>
  <li>Coffee</li>
  <li>Tea</li>
  <li>Coca Cola</li>
</ul>

<p>Remove bullets, margin and padding:</p>
<ul class="demo">
  <li>Coffee</li>
  <li>Tea</li>
  <li>Coca Cola</li>
</ul>

</body>
</html>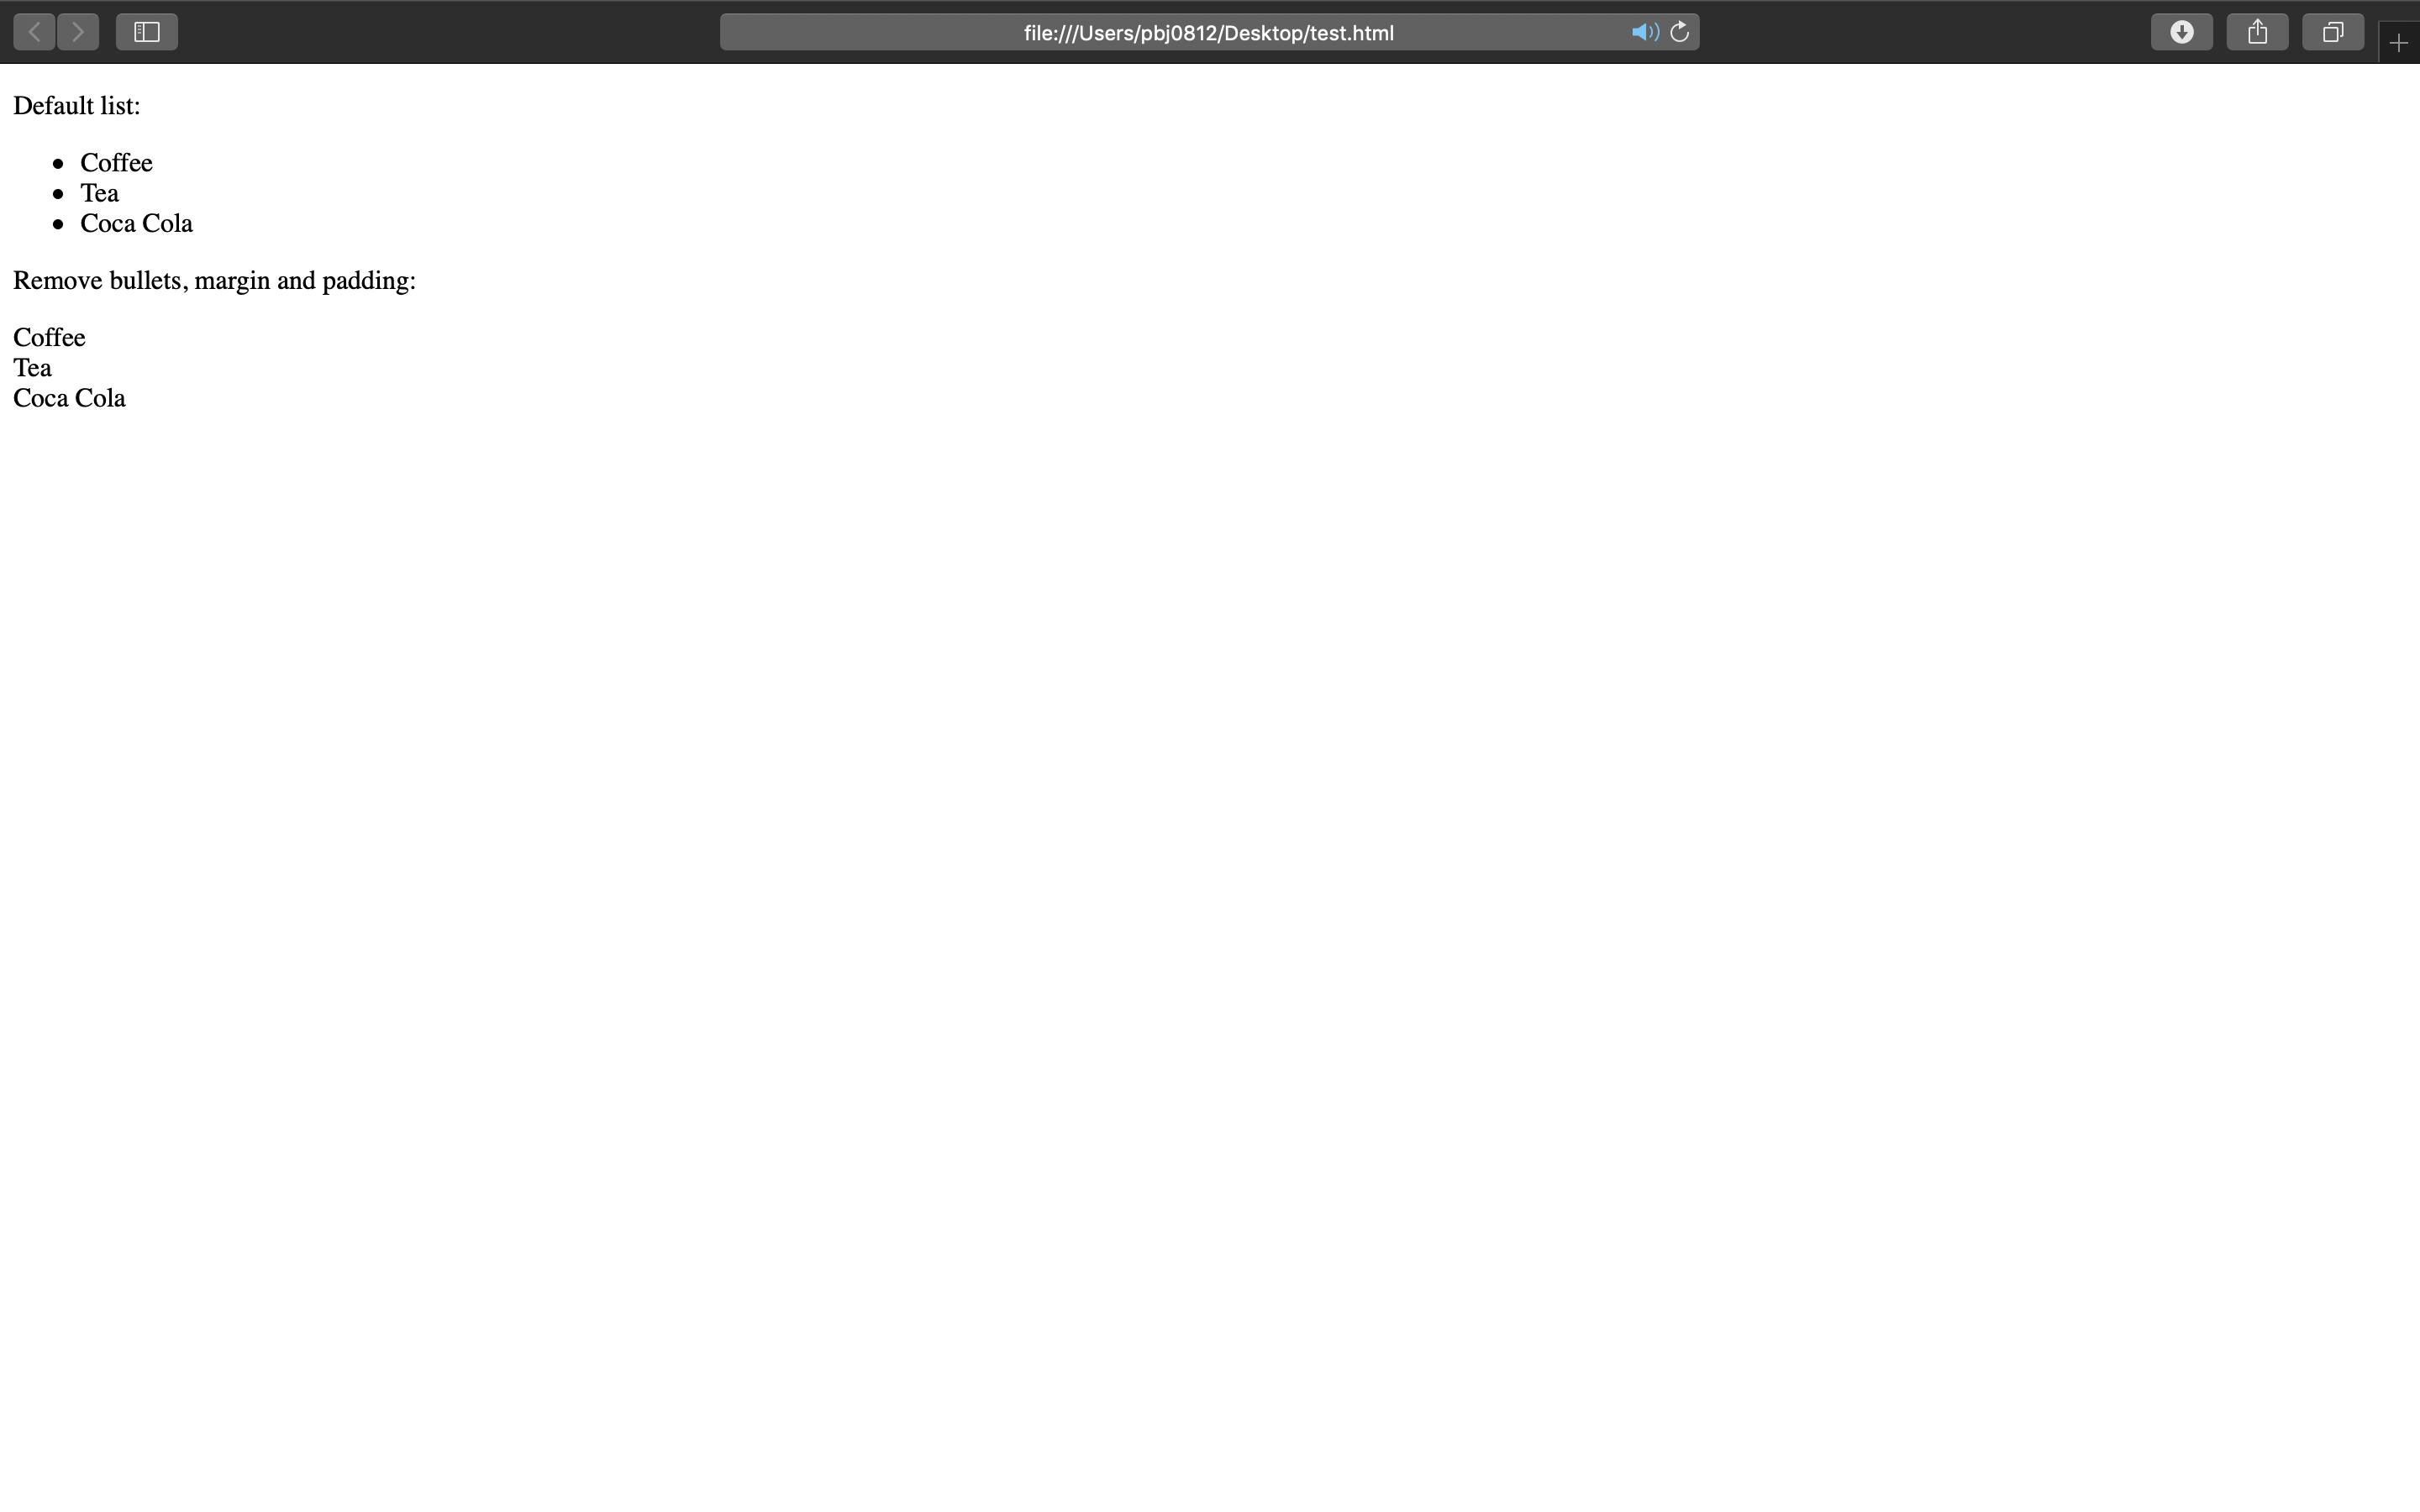
21) table
<!DOCTYPE html>
<html>
<head>
<style>
table {
  border-collapse: collapse;
  border: 1px solid black;
}
</style>
</head>
<body>

<h2>Single Border Around The Table:</h2>

<table>
  <tr>
    <th>Firstname</th>
    <th>Lastname</th>
  </tr>
  <tr>
    <td>Peter</td>
    <td>Griffin</td>
  </tr>
  <tr>
    <td>Lois</td>
    <td>Griffin</td>
  </tr>
</table>

</body>
</html>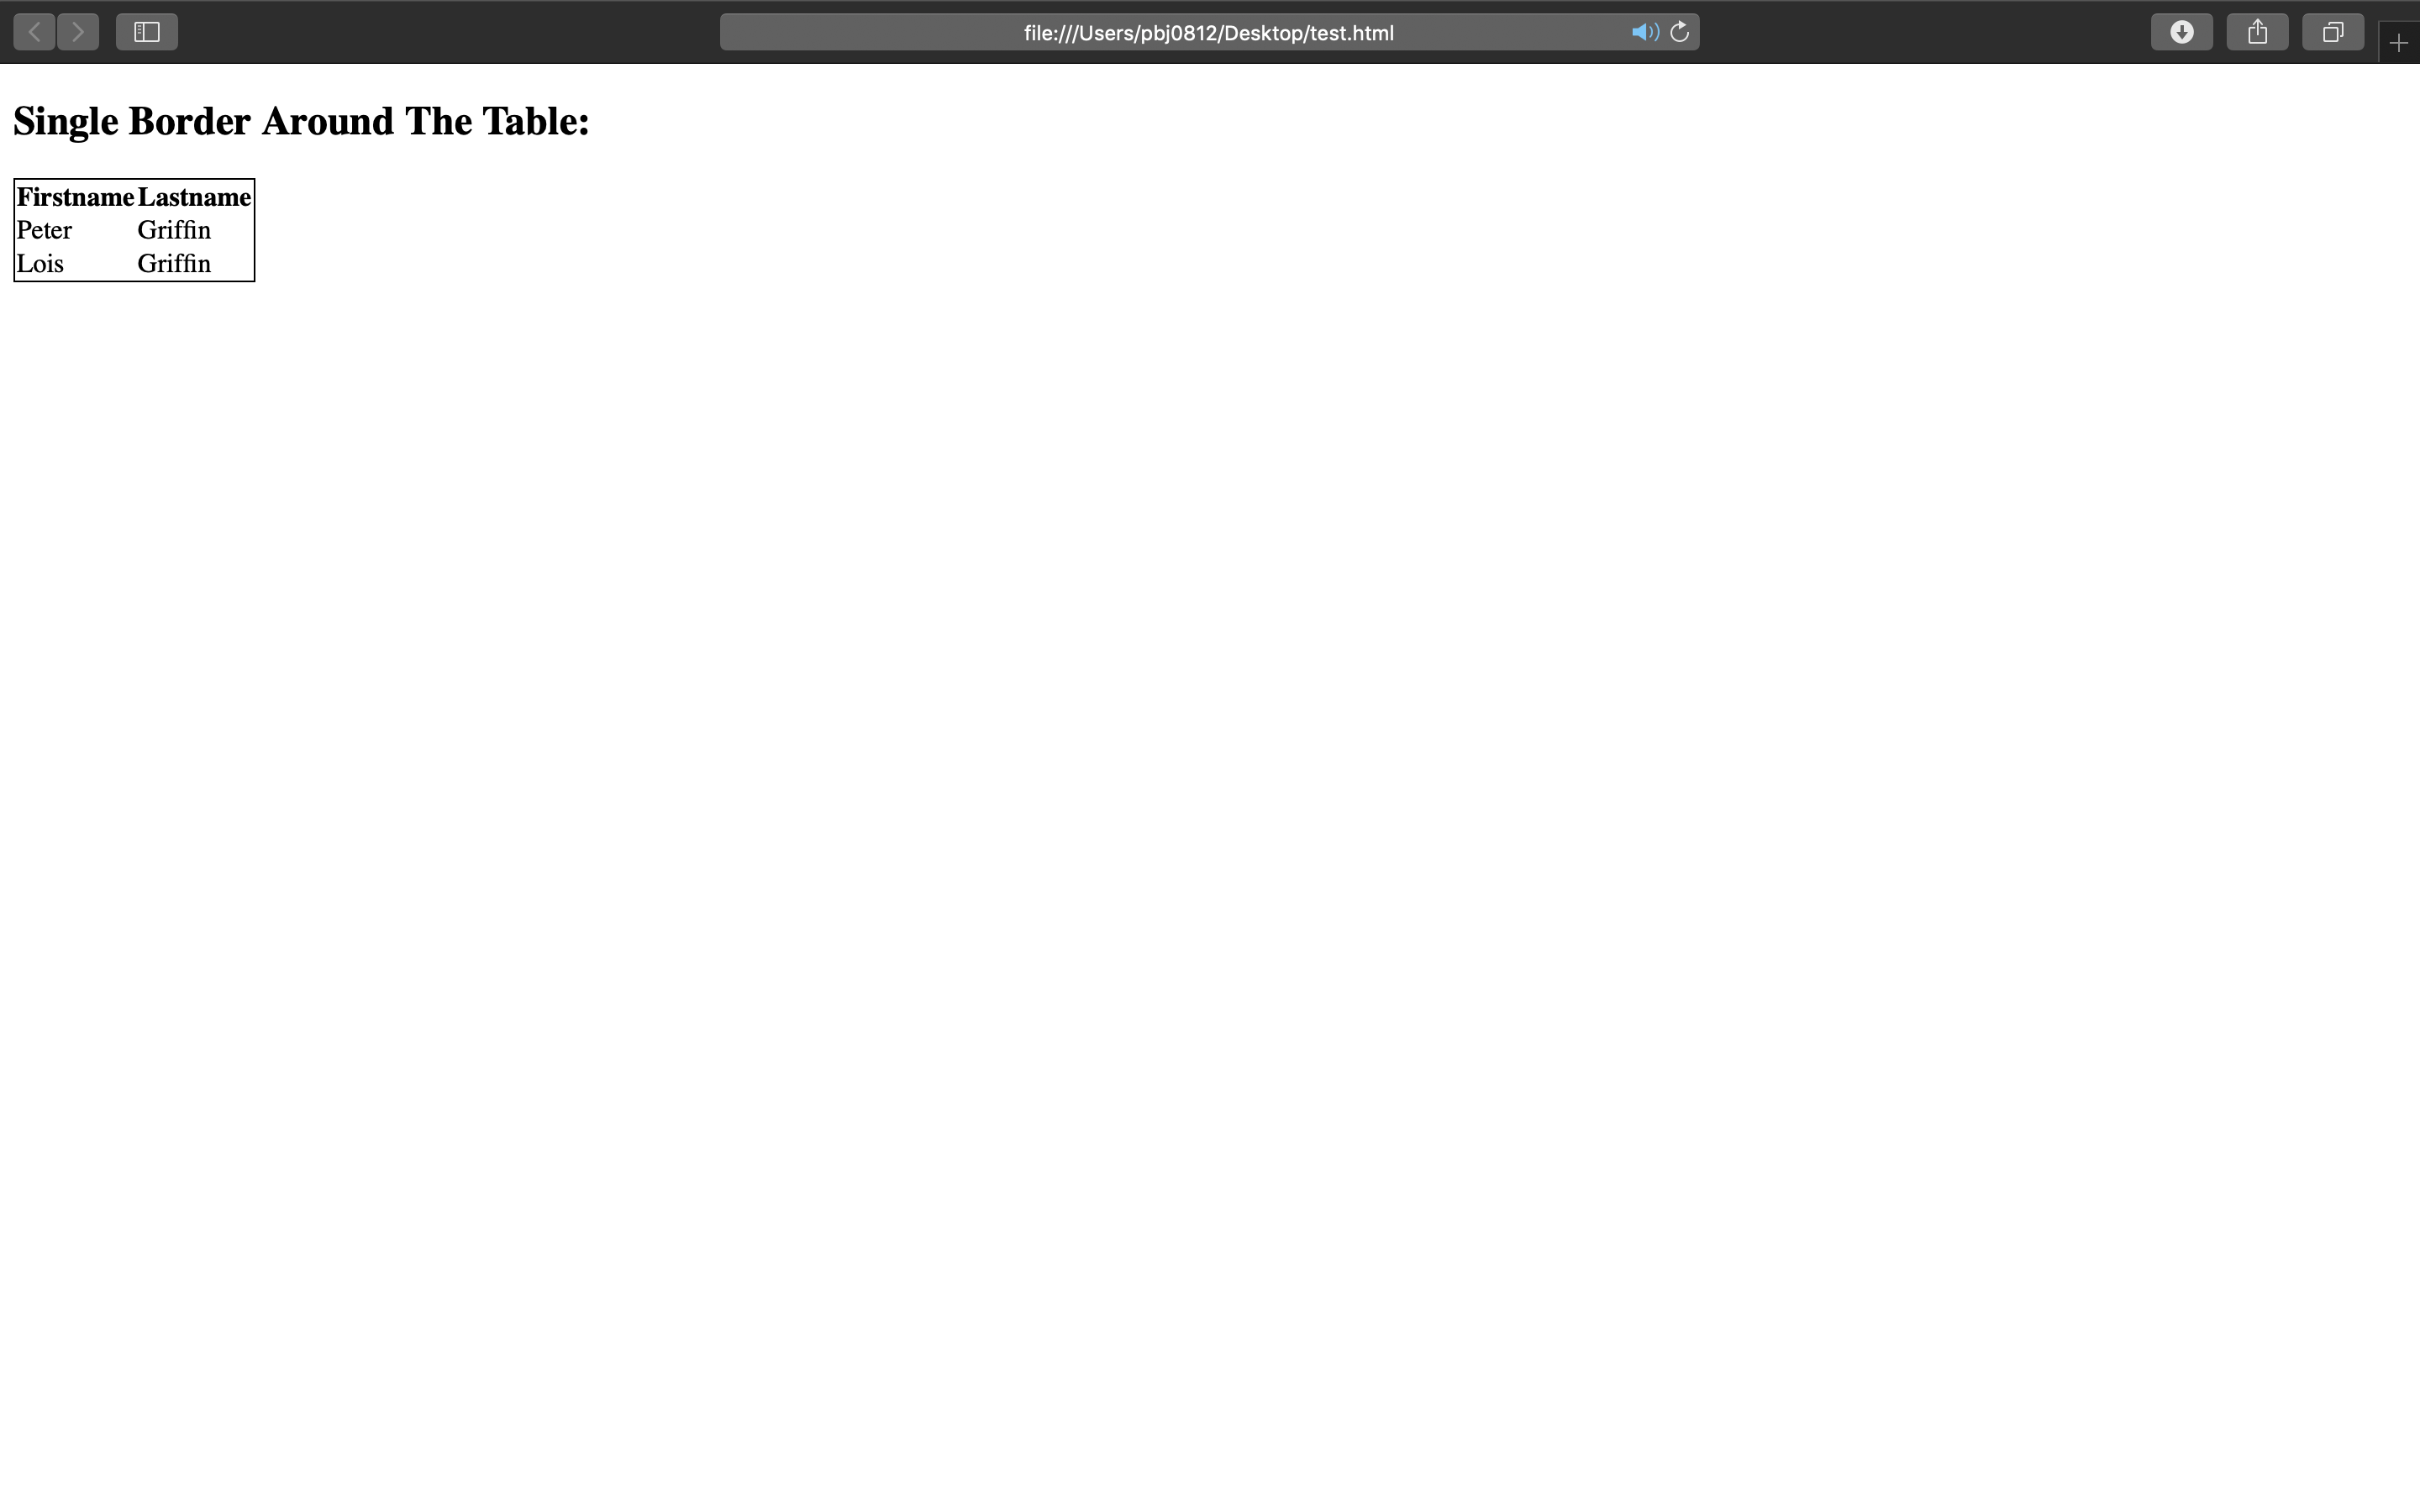
22) display
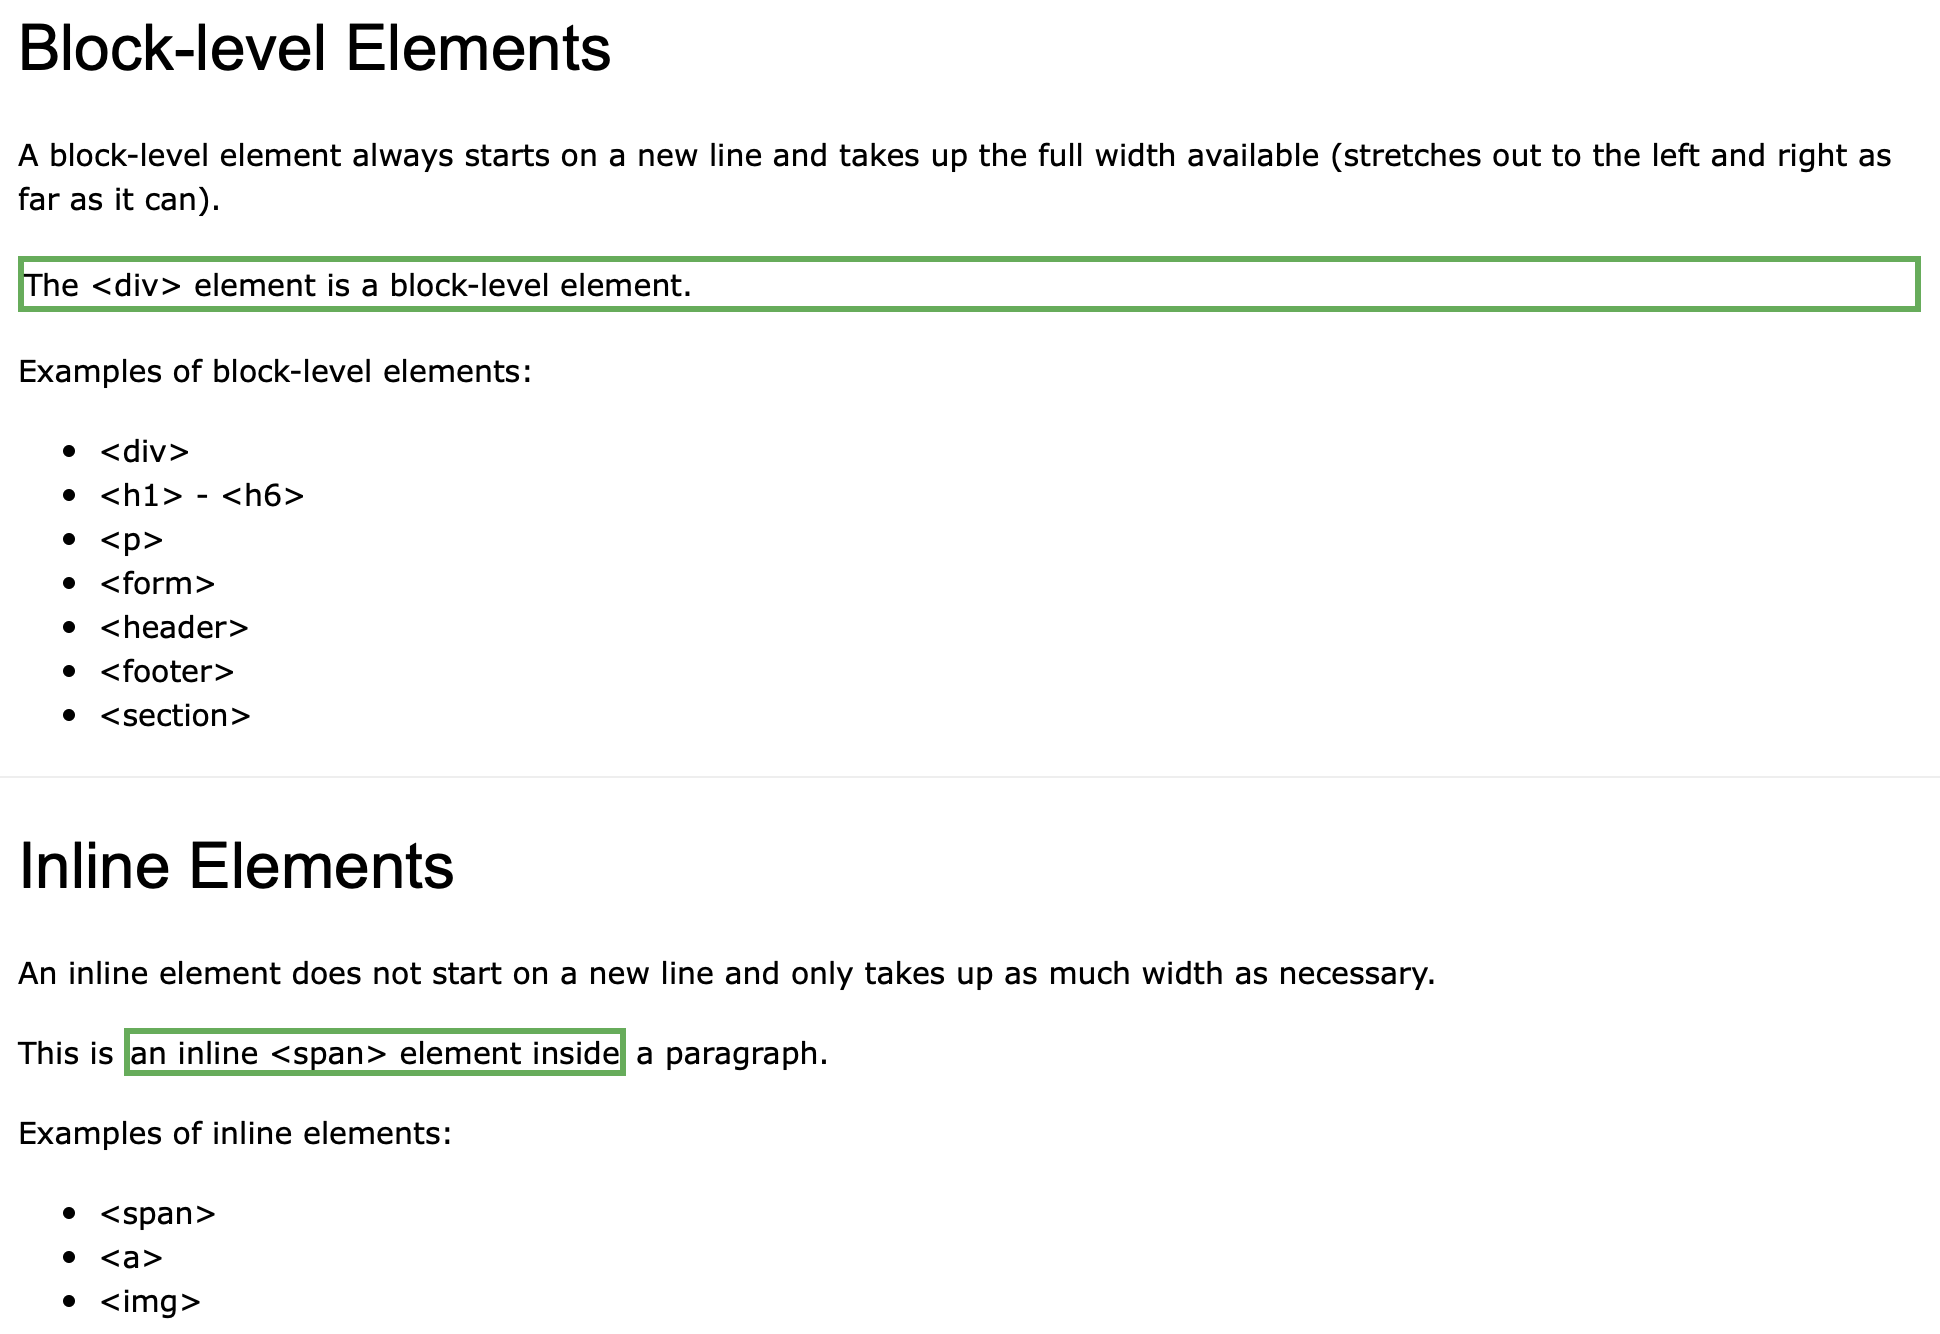
23) max-width
<!DOCTYPE html>
<html>
<head>
<style>
div.ex1 {
  width:500px;
  margin: auto;
  border: 3px solid #73AD21;
}

div.ex2 {
  max-width:500px;
  margin: auto;
  border: 3px solid #73AD21;
}
</style>
</head>
<body>

<div class="ex1">This div element has width: 500px;</div>
<br>

<div class="ex2">This div element has max-width: 500px;</div>

<p><strong>Tip:</strong> Drag the browser window to smaller than 500px wide, to see the difference between
the two divs!</p>

</body>
</html>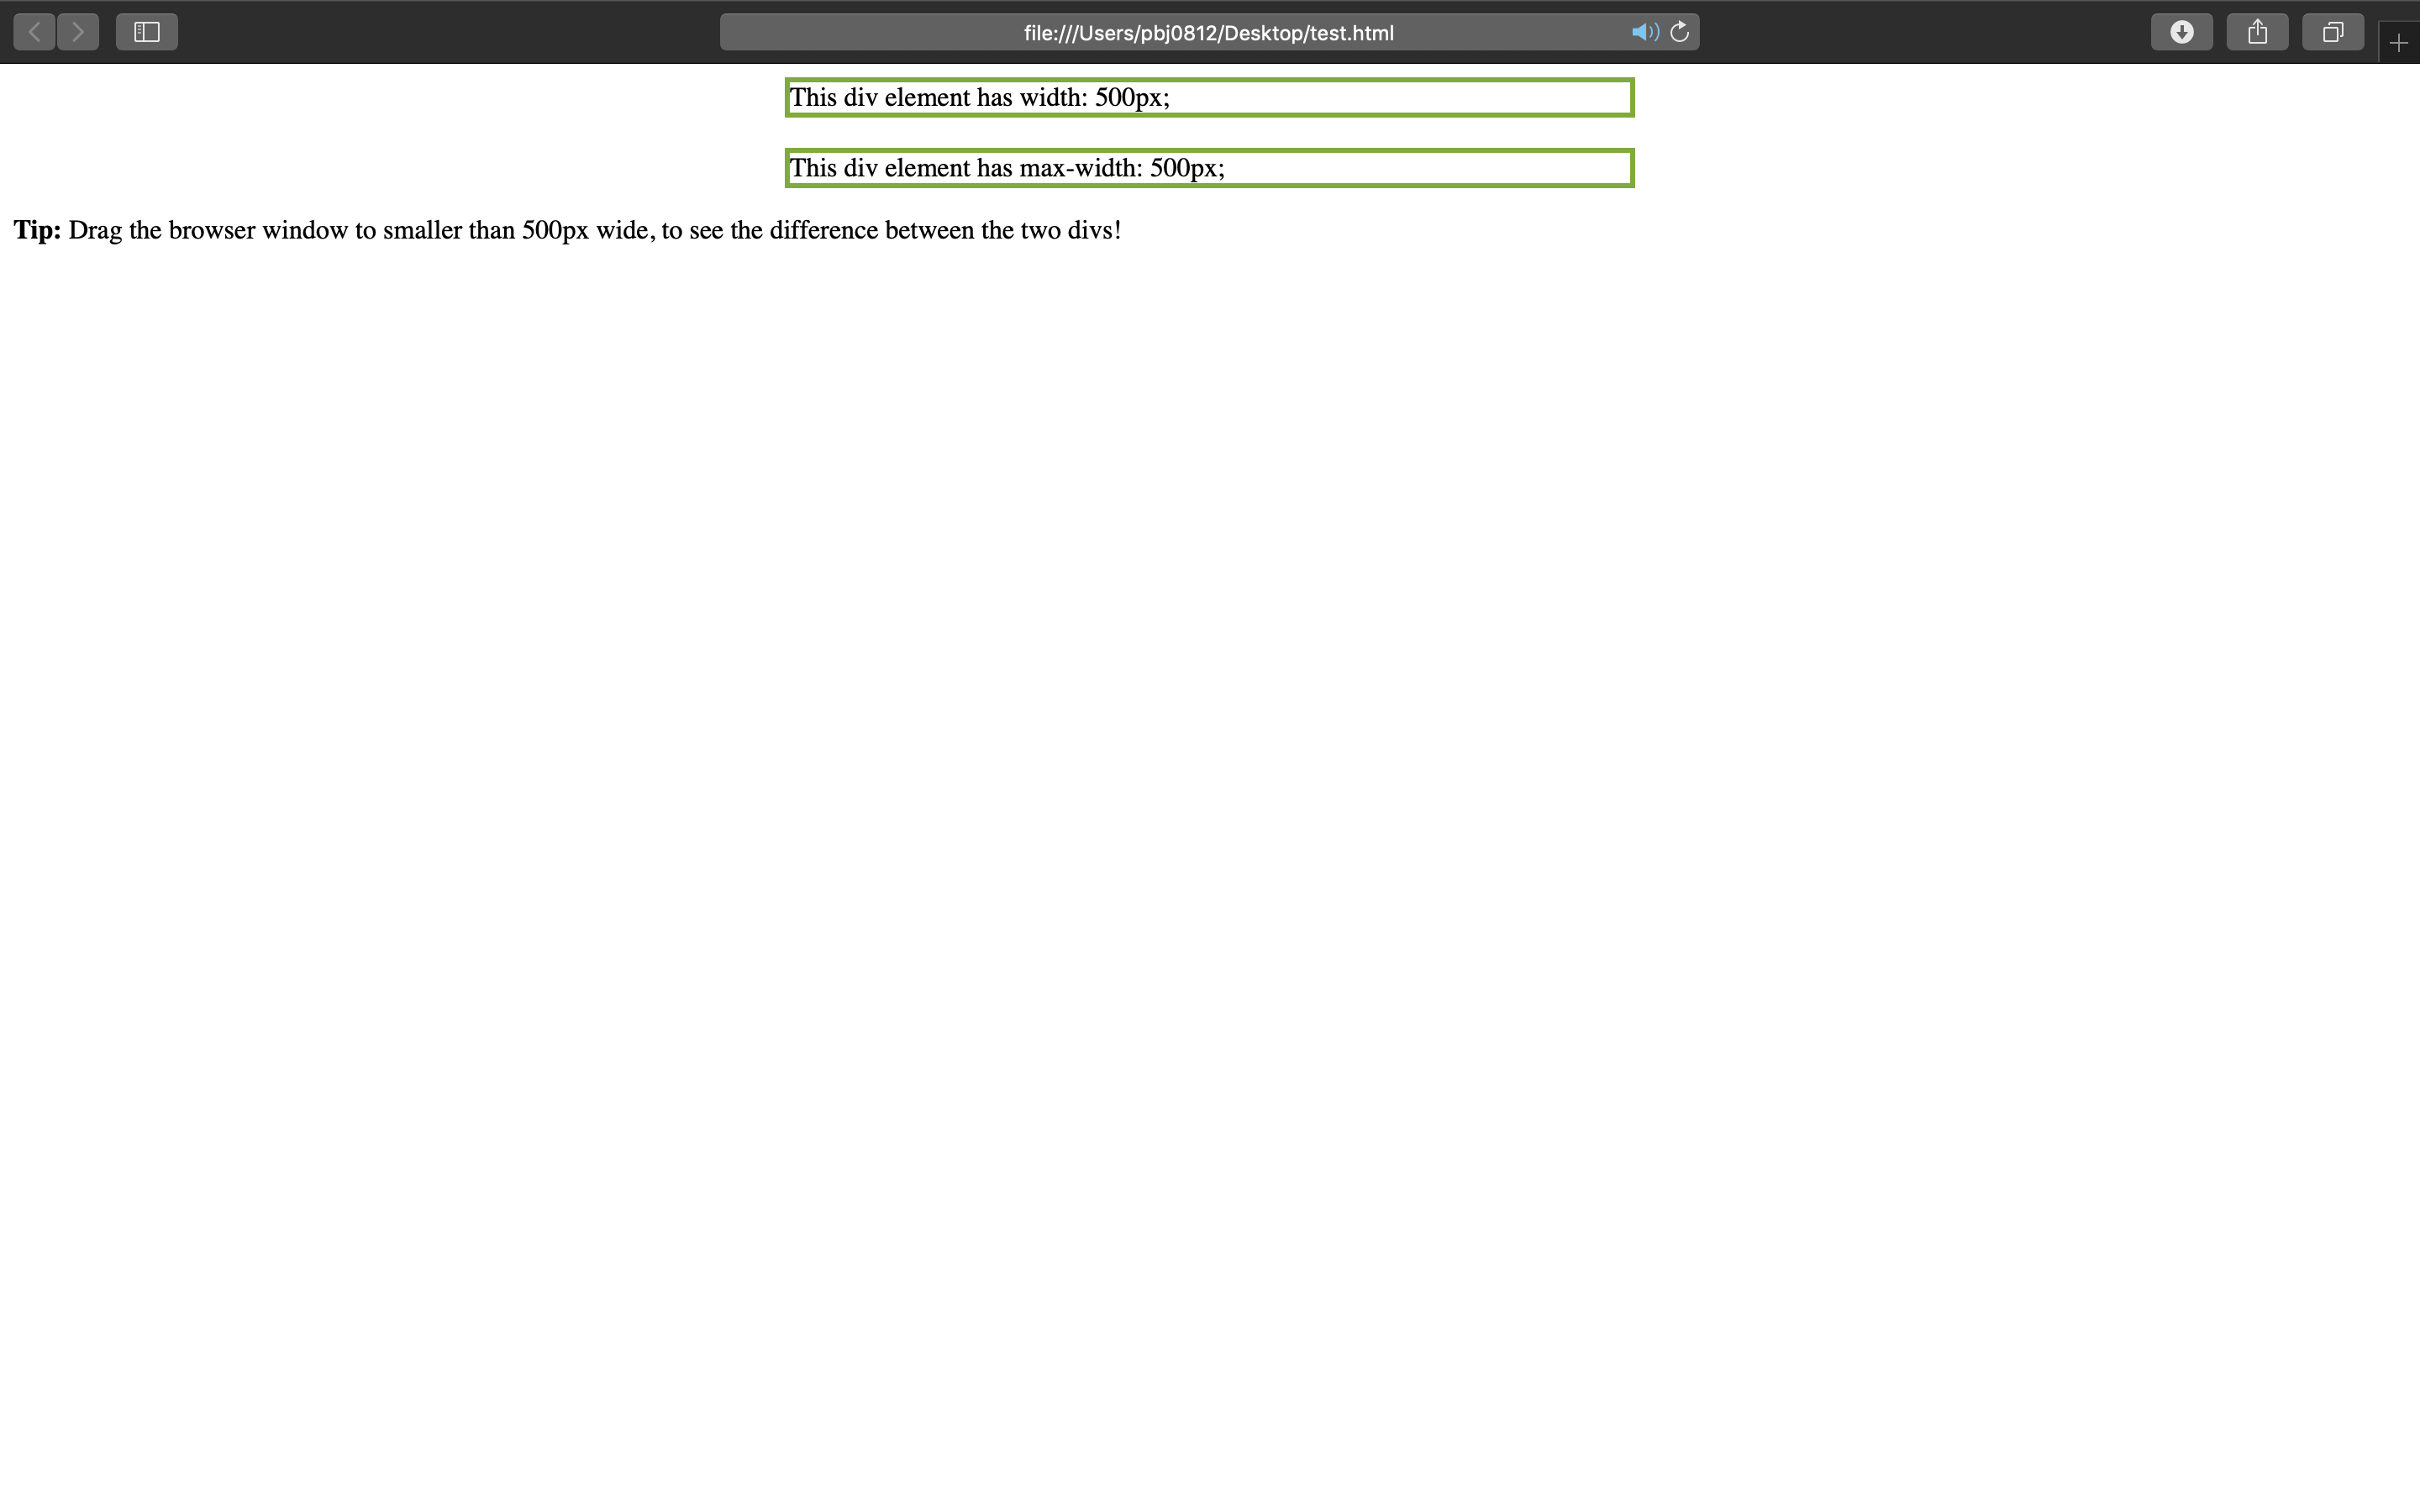
24) position
- z-index를 -1에서 1로 변경시 그림이 앞으로 이동
<!DOCTYPE html>
<html>
<head>
<style>
img {
  position: absolute;
  left: 0px;
  top: 0px;
  z-index: -1;
}
</style>
</head>
<body>

<h1>This is a heading</h1>
<img src="iu.jpg" width="100" height="140">
<p>Because the image has a z-index of -1, it will be placed behind the text.</p>

</body>
</html>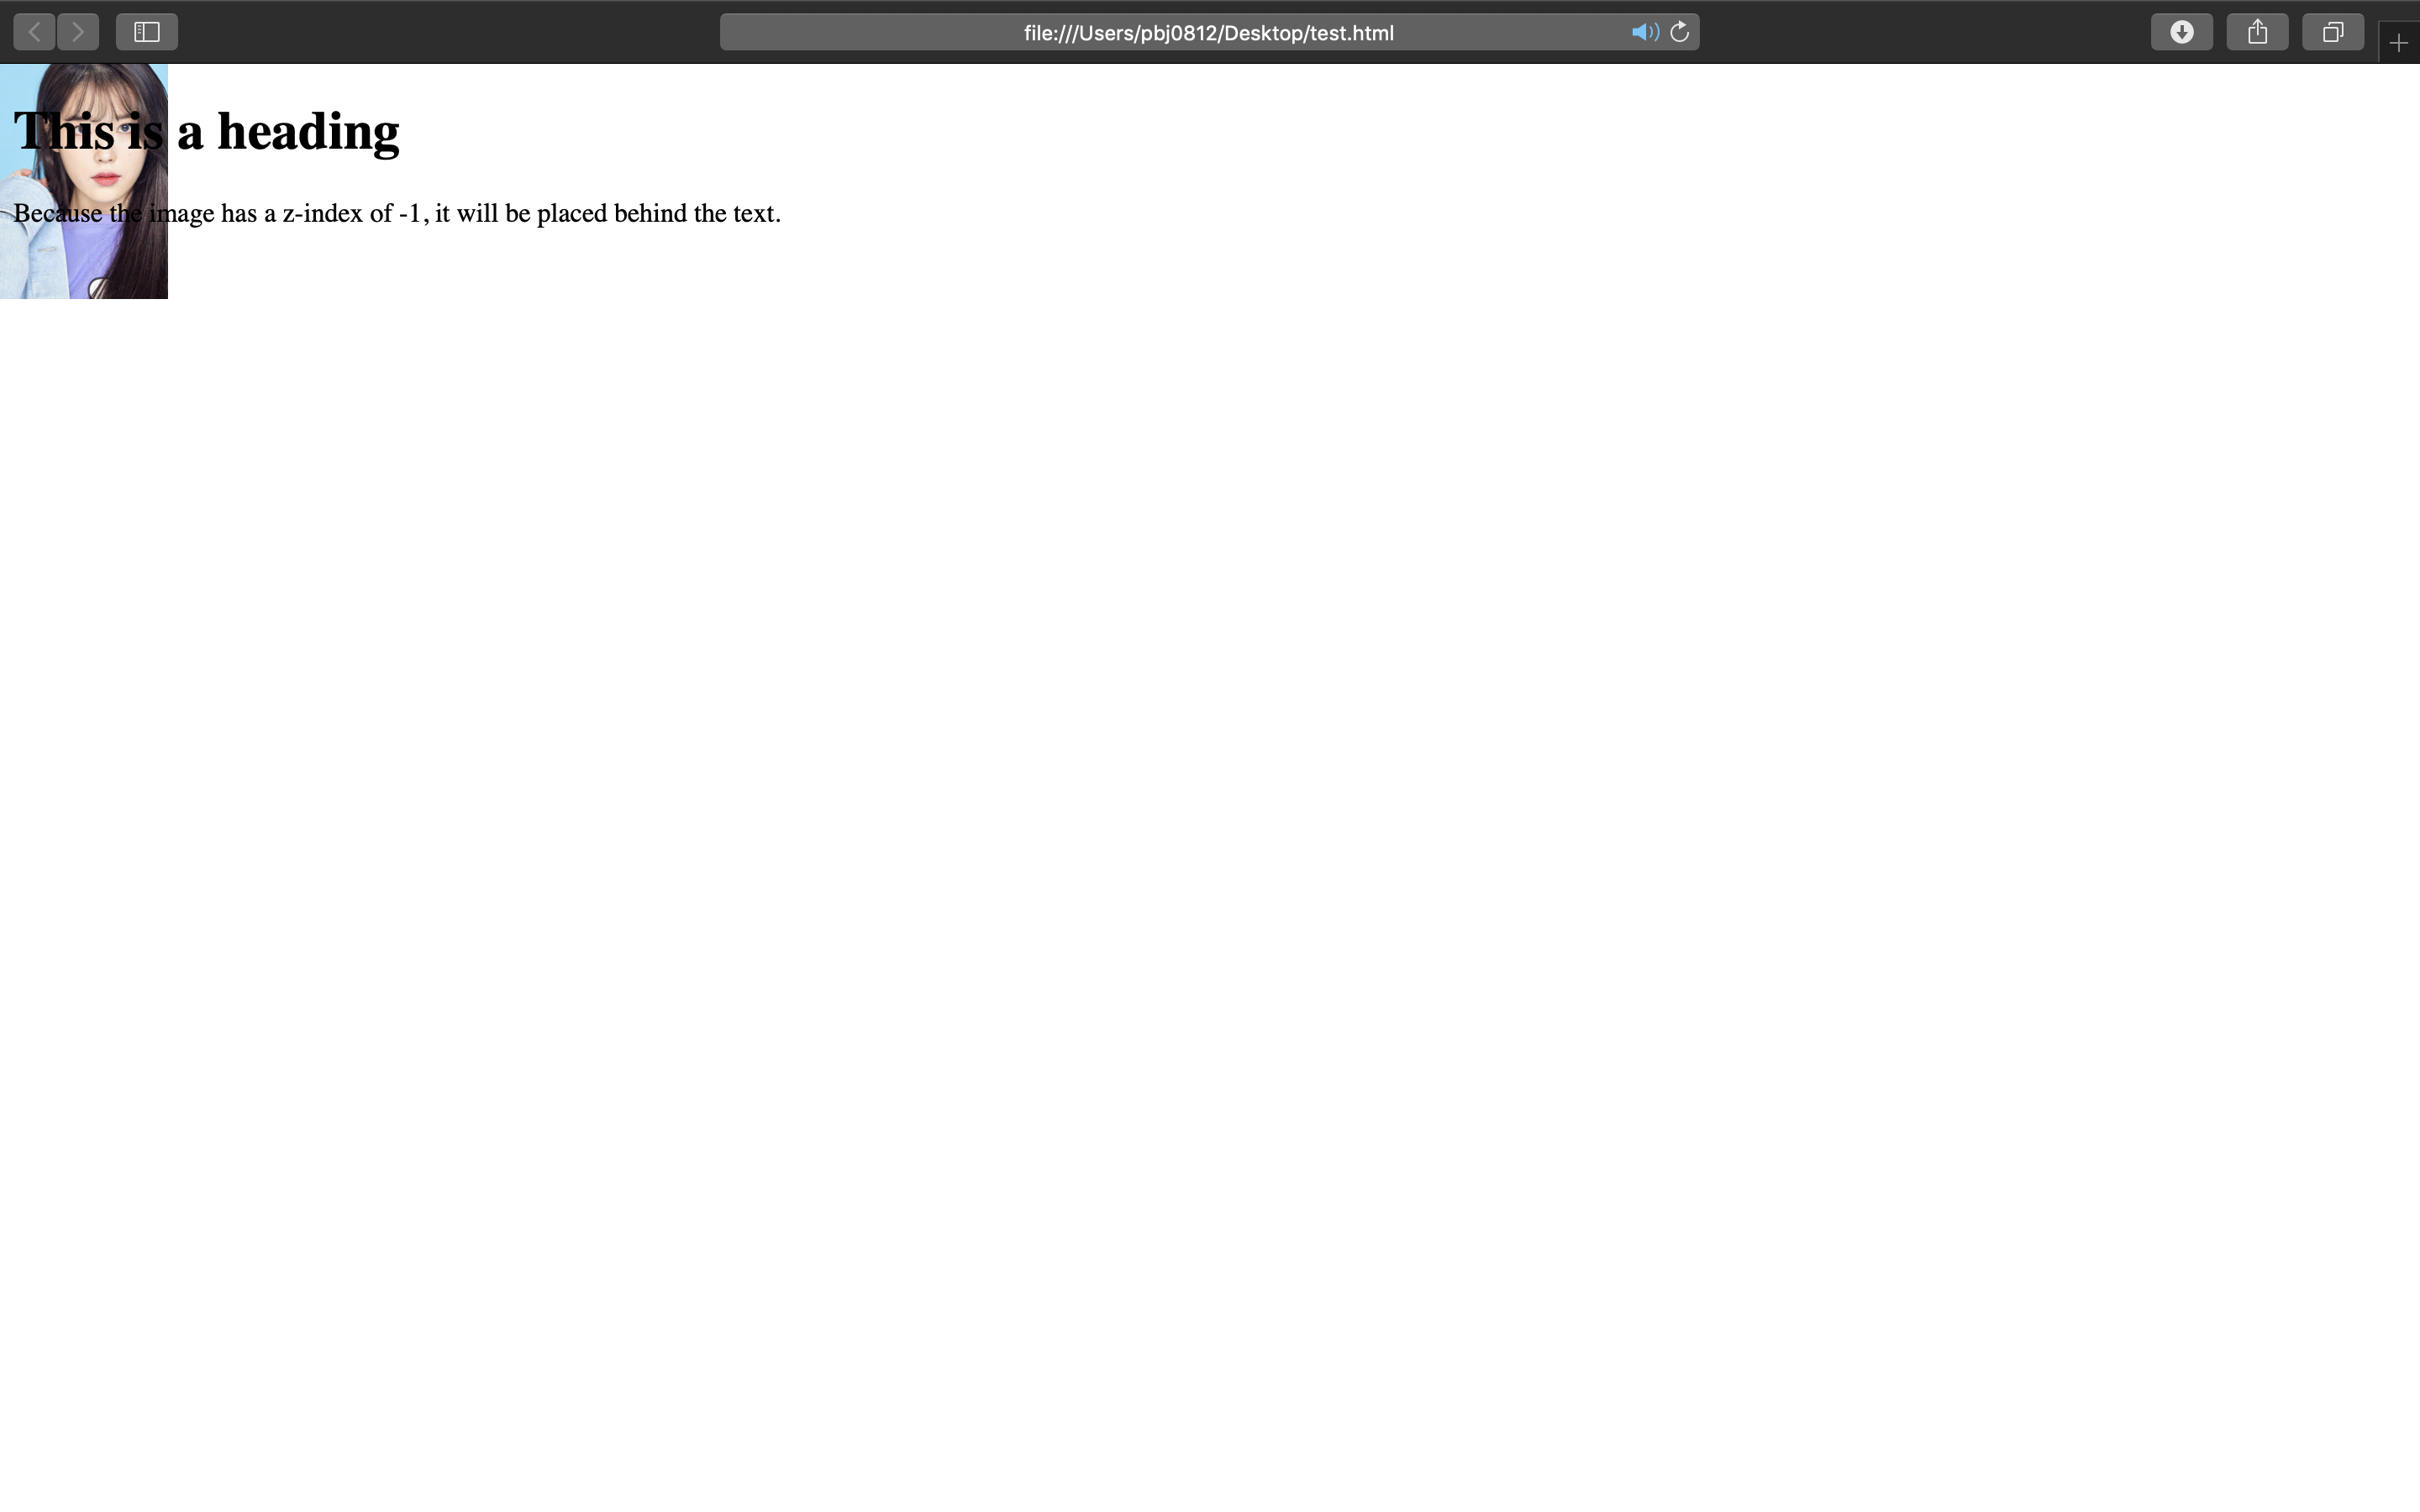
25) overflow
- 스크롤 생성
<!DOCTYPE html>
<html>
<head>
<style>
div {
  background-color: #eee;
  width: 200px;
  height: 50px;
  border: 1px dotted black;
  overflow-x: hidden;
  overflow-y: scroll;
}
</style>
</head>
<body>

<h2>CSS Overflow</h2>
<p>You can also change the overflow of content horizontally or vertically.</p>
<p>overflow-x specifies what to do with the left/right edges of the content.<br>
overflow-y specifies what to do with the top/bottom edges of the content.</p>

<div>You can use the overflow property when you want to have better control of the layout. The overflow property specifies what happens if content overflows an element's box.</div>

</body>
</html>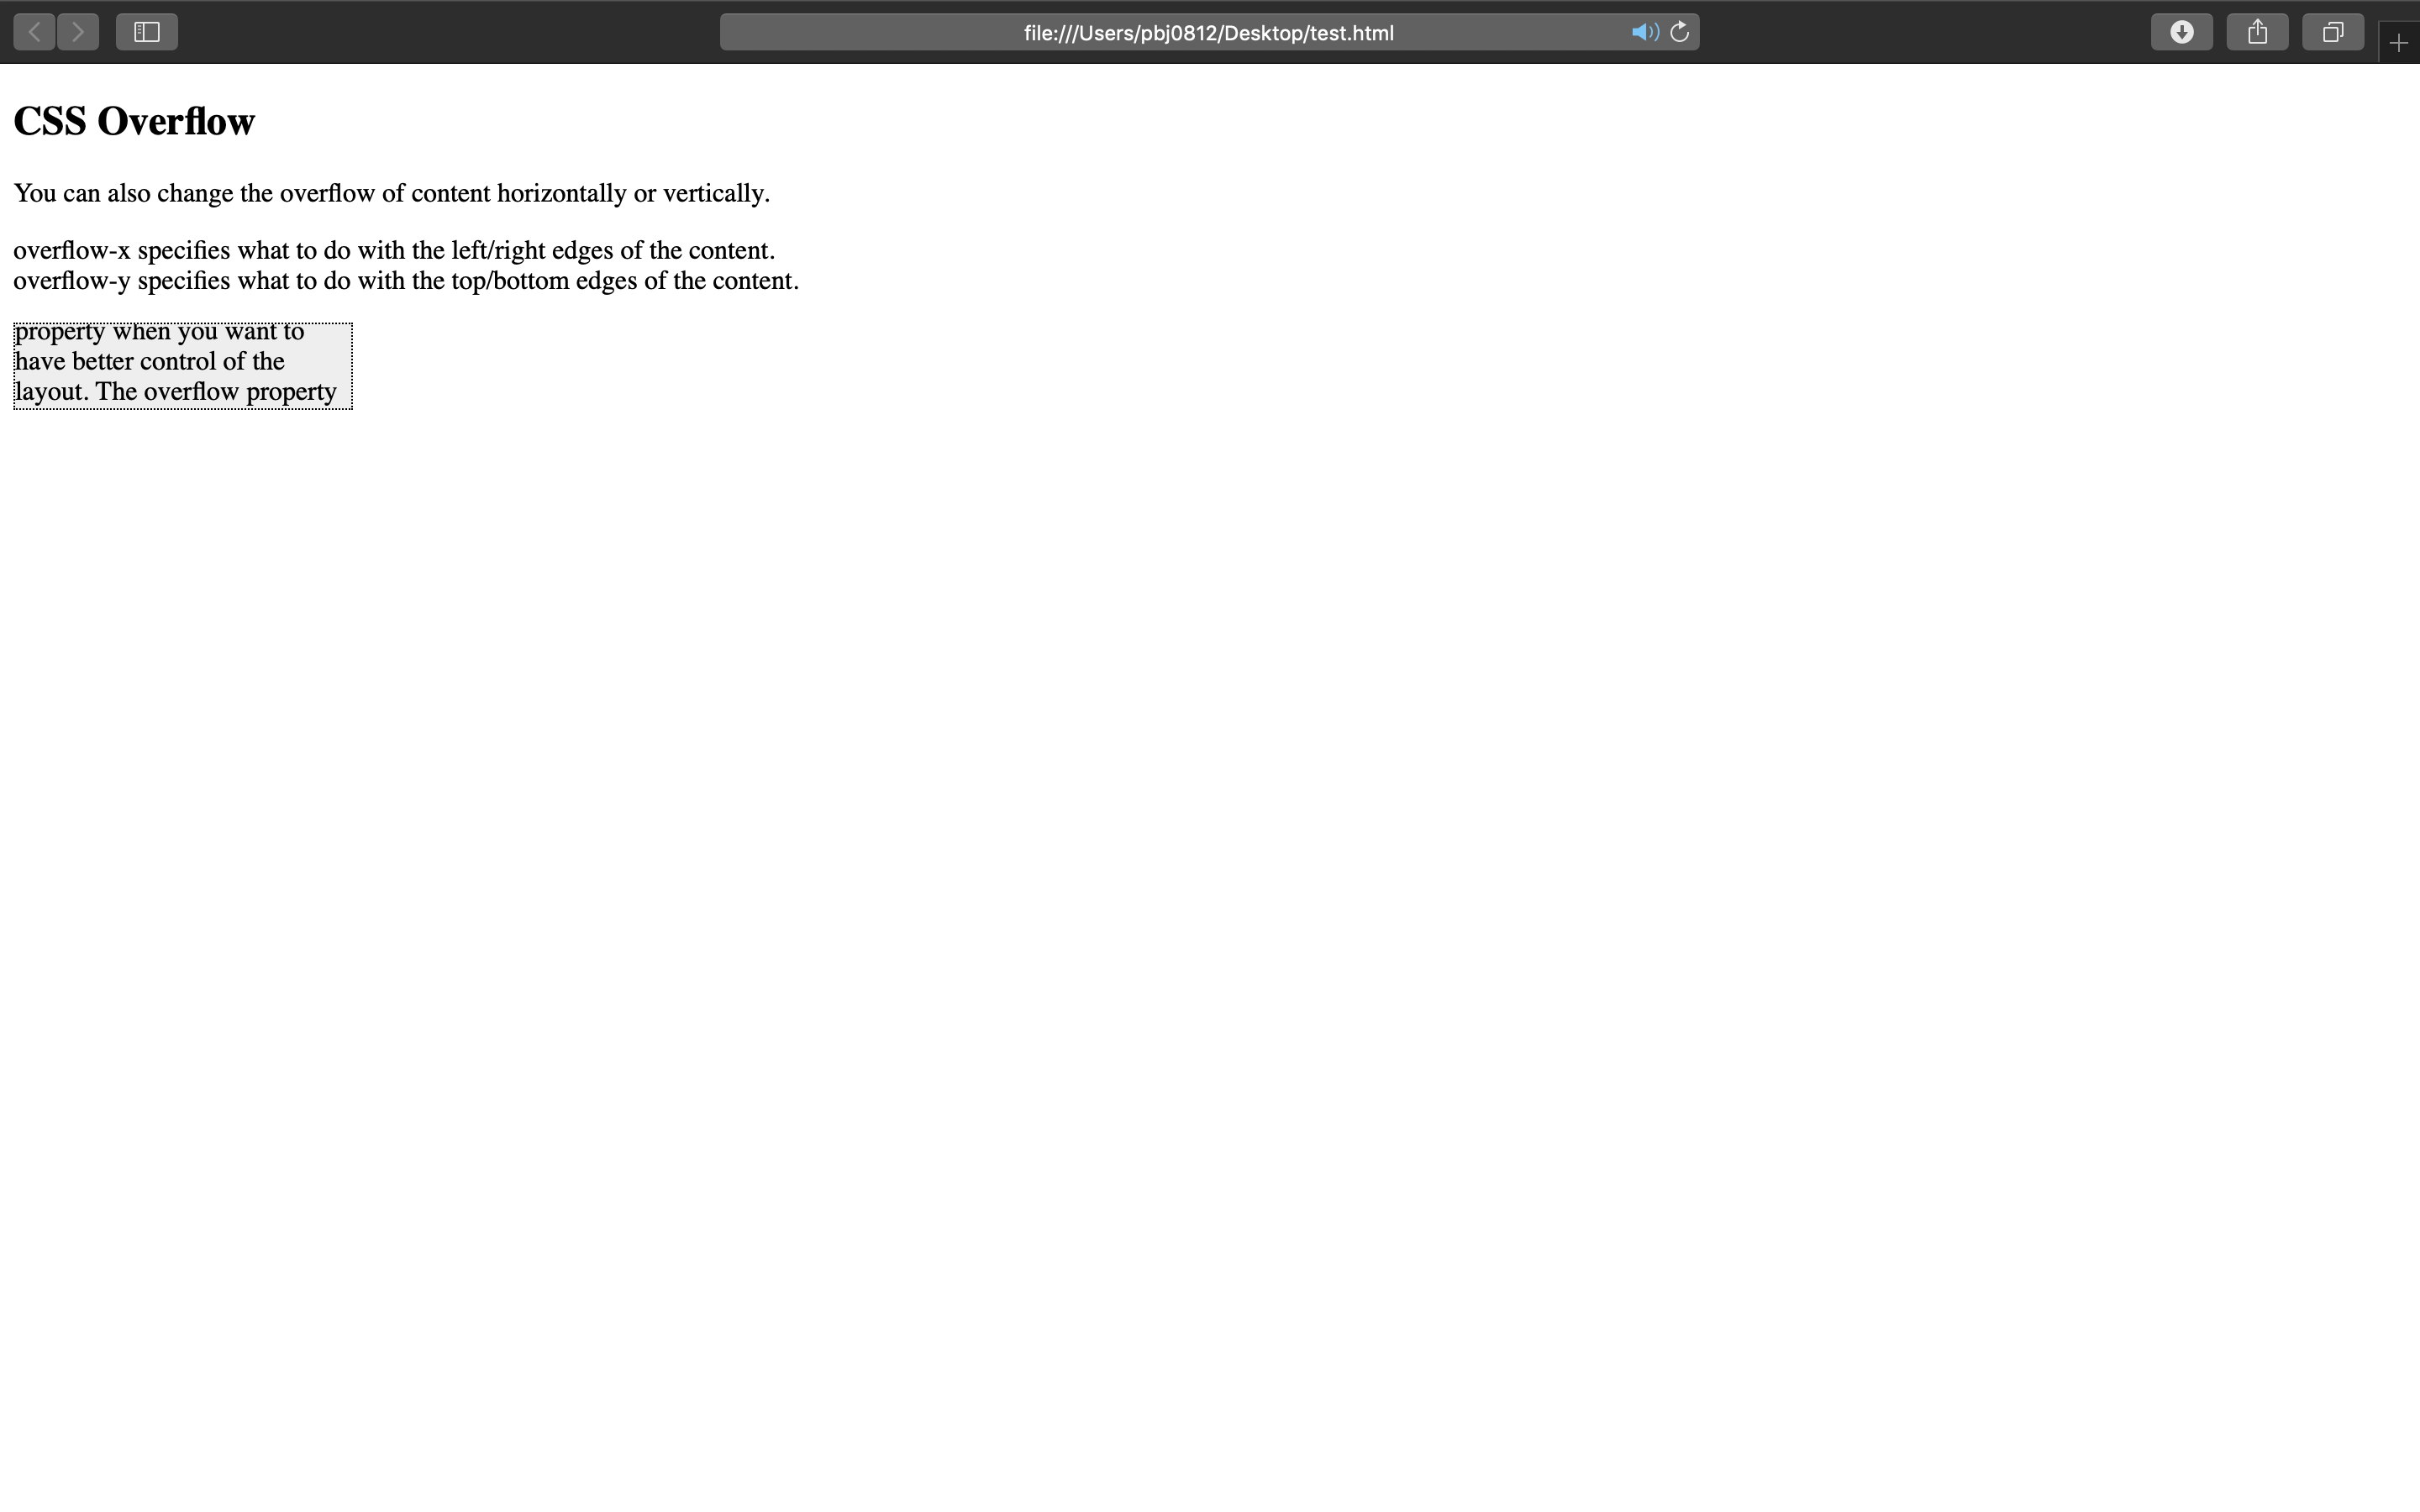
26) float
- 그림간의 정렬 등에 사용
<!DOCTYPE html>
<html>
<head>
<style>
img {
  float: left;
}
</style>
</head>
<body>

<p>In this example, the image will float to the left in the paragraph, and the text in the paragraph will wrap around the image.</p>

<p><img src="iu.jpg" alt="Pineapple" style="width:170px;height:170px;margin-right:15px;">
Lorem ipsum dolor sit amet, consectetur adipiscing elit. Phasellus imperdiet, nulla et dictum interdum, nisi lorem egestas odio, vitae scelerisque enim ligula venenatis dolor. Maecenas nisl est, ultrices nec congue eget, auctor vitae massa. Fusce luctus vestibulum augue ut aliquet. Mauris ante ligula, facilisis sed ornare eu, lobortis in odio. Praesent convallis urna a lacus interdum ut hendrerit risus congue. Nunc sagittis dictum nisi, sed ullamcorper ipsum dignissim ac. In at libero sed nunc venenatis imperdiet sed ornare turpis. Donec vitae dui eget tellus gravida venenatis. Integer fringilla congue eros non fermentum. Sed dapibus pulvinar nibh tempor porta. Cras ac leo purus. Mauris quis diam velit.</p>

</body>
</html>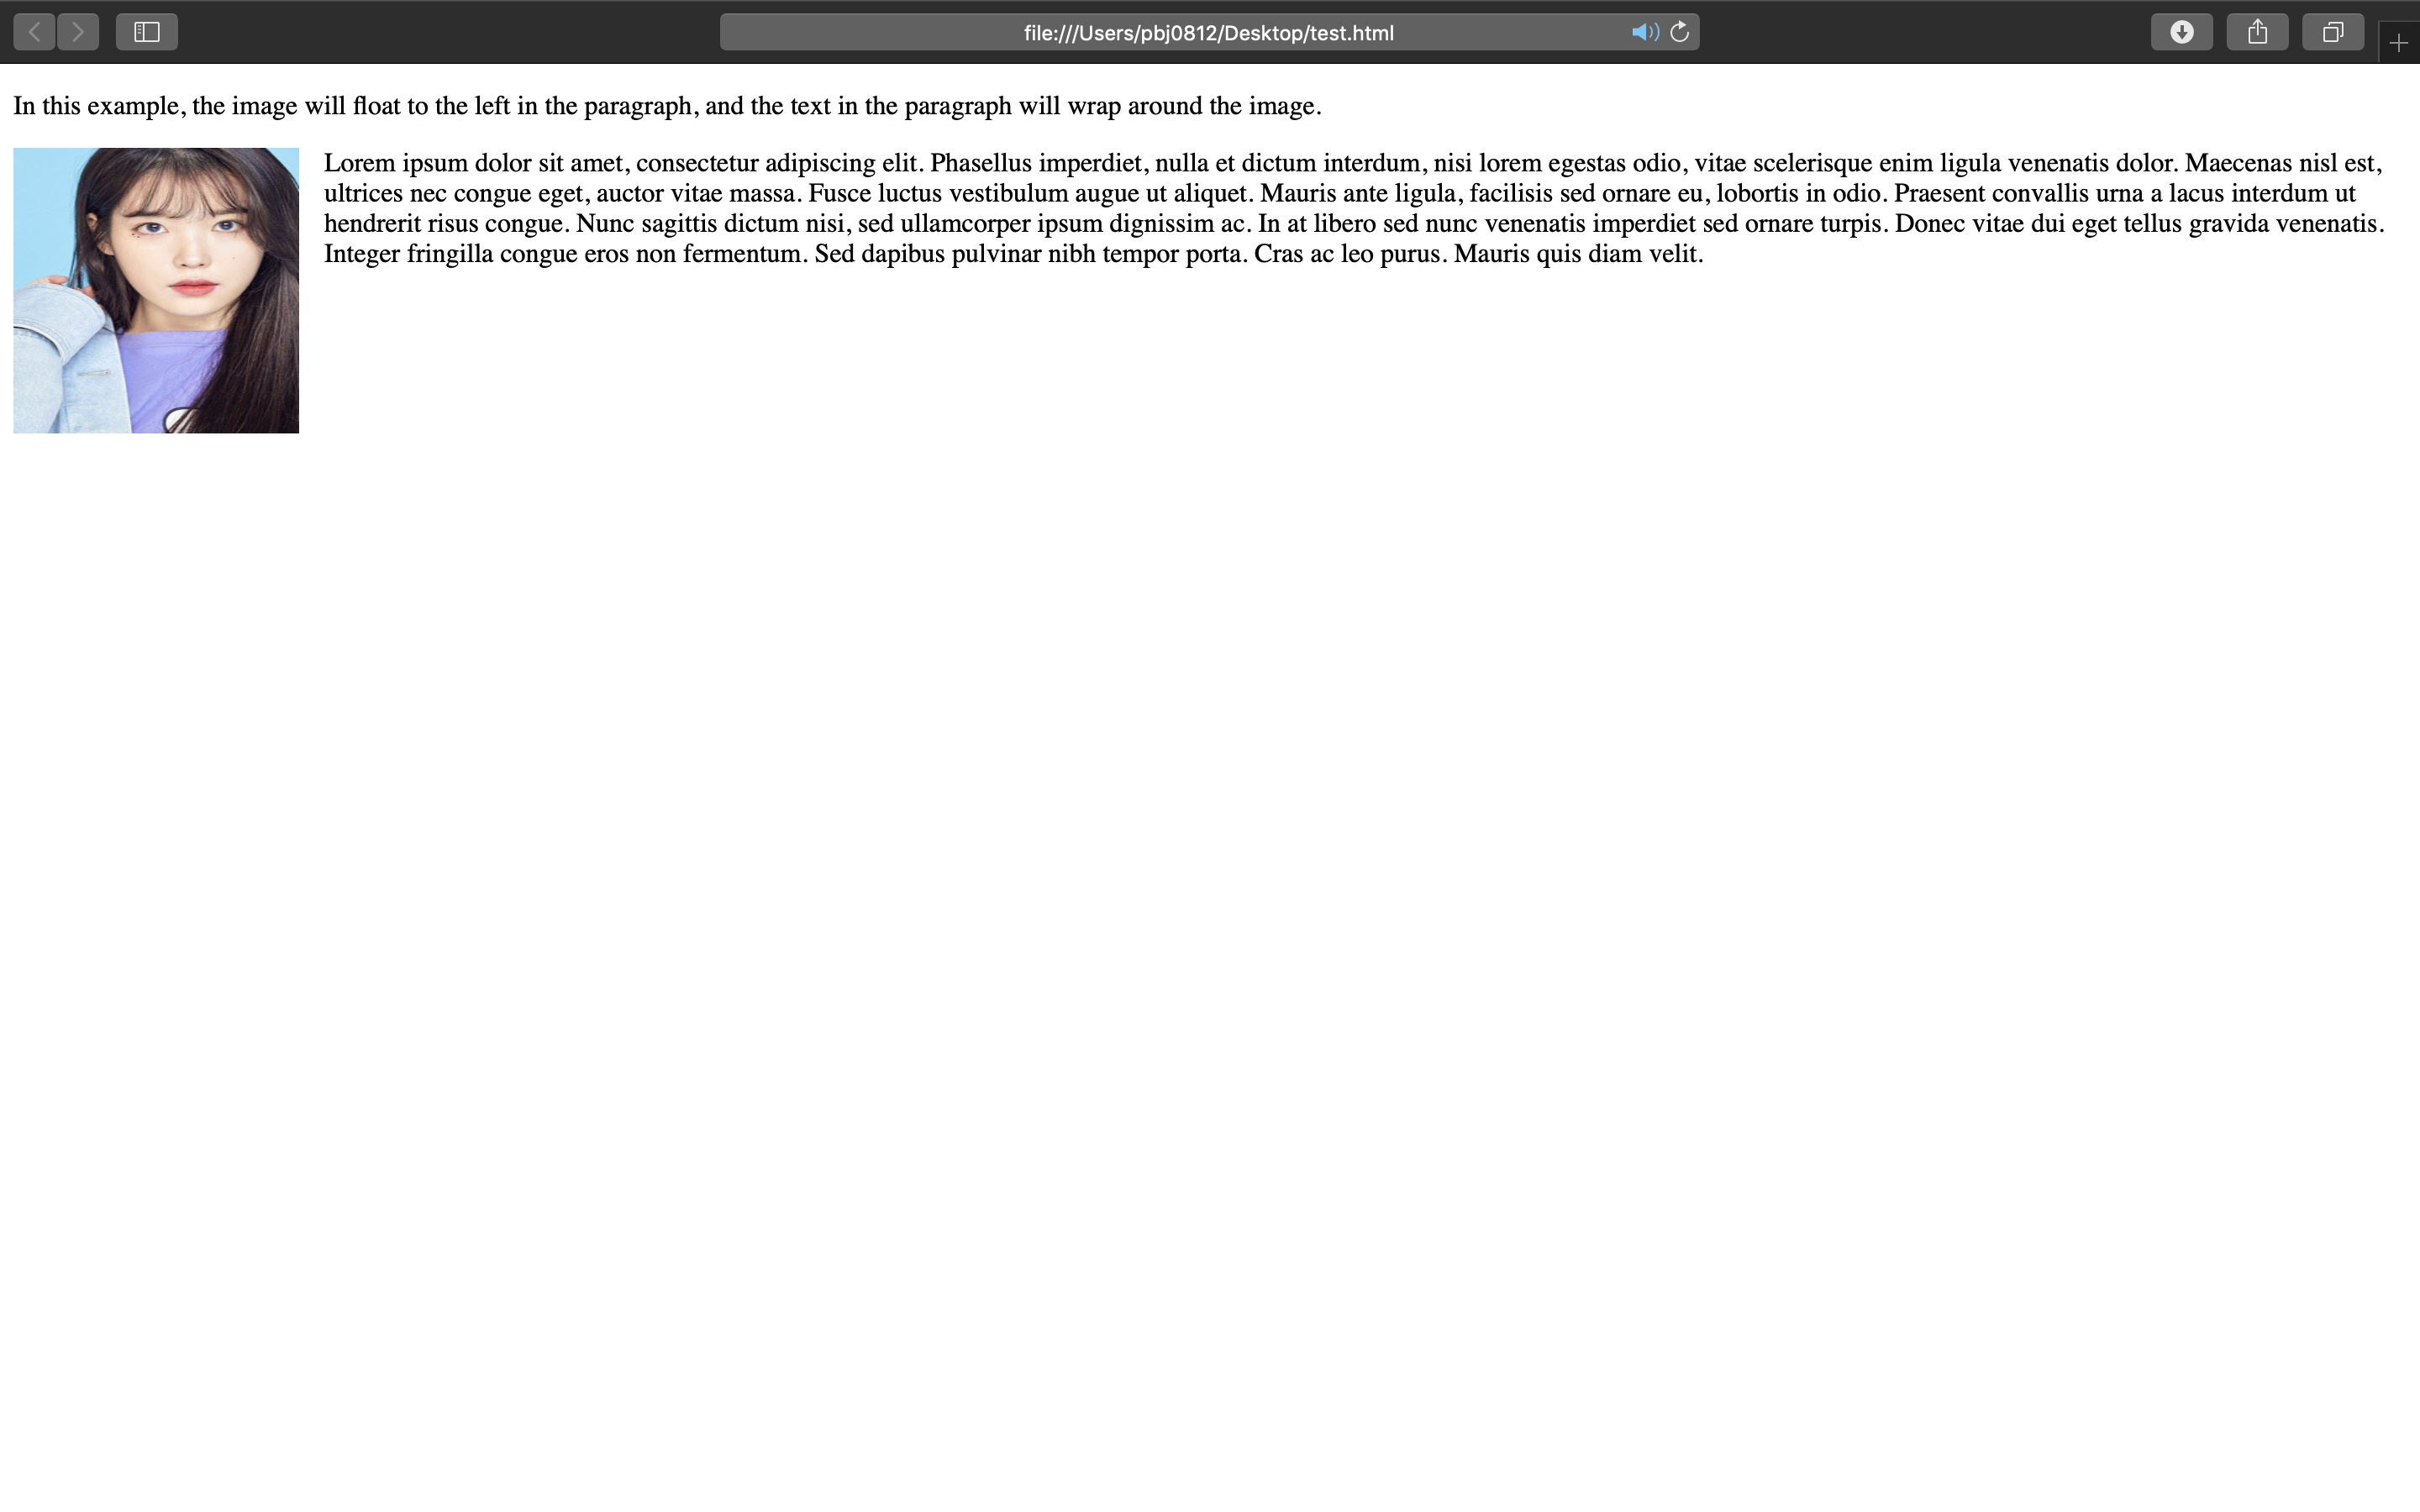
27) inline-block
<!DOCTYPE html>
<html>
<head>
<style>
span.a {
  display: inline; /* the default for span */
  width: 100px;
  height: 100px;
  padding: 5px;
  border: 1px solid blue;
  background-color: yellow;
}

span.b {
  display: inline-block;
  width: 100px;
  height: 100px;
  padding: 5px;
  border: 1px solid blue;
  background-color: yellow;
}

span.c {
  display: block;
  width: 100px;
  height: 100px;
  padding: 5px;
  border: 1px solid blue;
  background-color: yellow;
}
</style>
</head>
<body>

<h1>The display Property</h1>

<h2>display: inline</h2>
<div>Lorem ipsum dolor sit amet, consectetur adipiscing elit. Vestibulum consequat scelerisque elit sit amet consequat. Aliquam erat volutpat. <span class="a">Aliquam</span> <span class="a">venenatis</span> gravida nisl sit amet facilisis. Nullam cursus fermentum velit sed laoreet. </div>

<h2>display: inline-block</h2>
<div>Lorem ipsum dolor sit amet, consectetur adipiscing elit. Vestibulum consequat scelerisque elit sit amet consequat. Aliquam erat volutpat. <span class="b">Aliquam</span> <span class="b">venenatis</span> gravida nisl sit amet facilisis. Nullam cursus fermentum velit sed laoreet. </div>

<h2>display: block</h2>
<div>Lorem ipsum dolor sit amet, consectetur adipiscing elit. Vestibulum consequat scelerisque elit sit amet consequat. Aliquam erat volutpat. <span class="c">Aliquam</span> <span class="c">venenatis</span> gravida nisl sit amet facilisis. Nullam cursus fermentum velit sed laoreet. </div>

</body>
</html>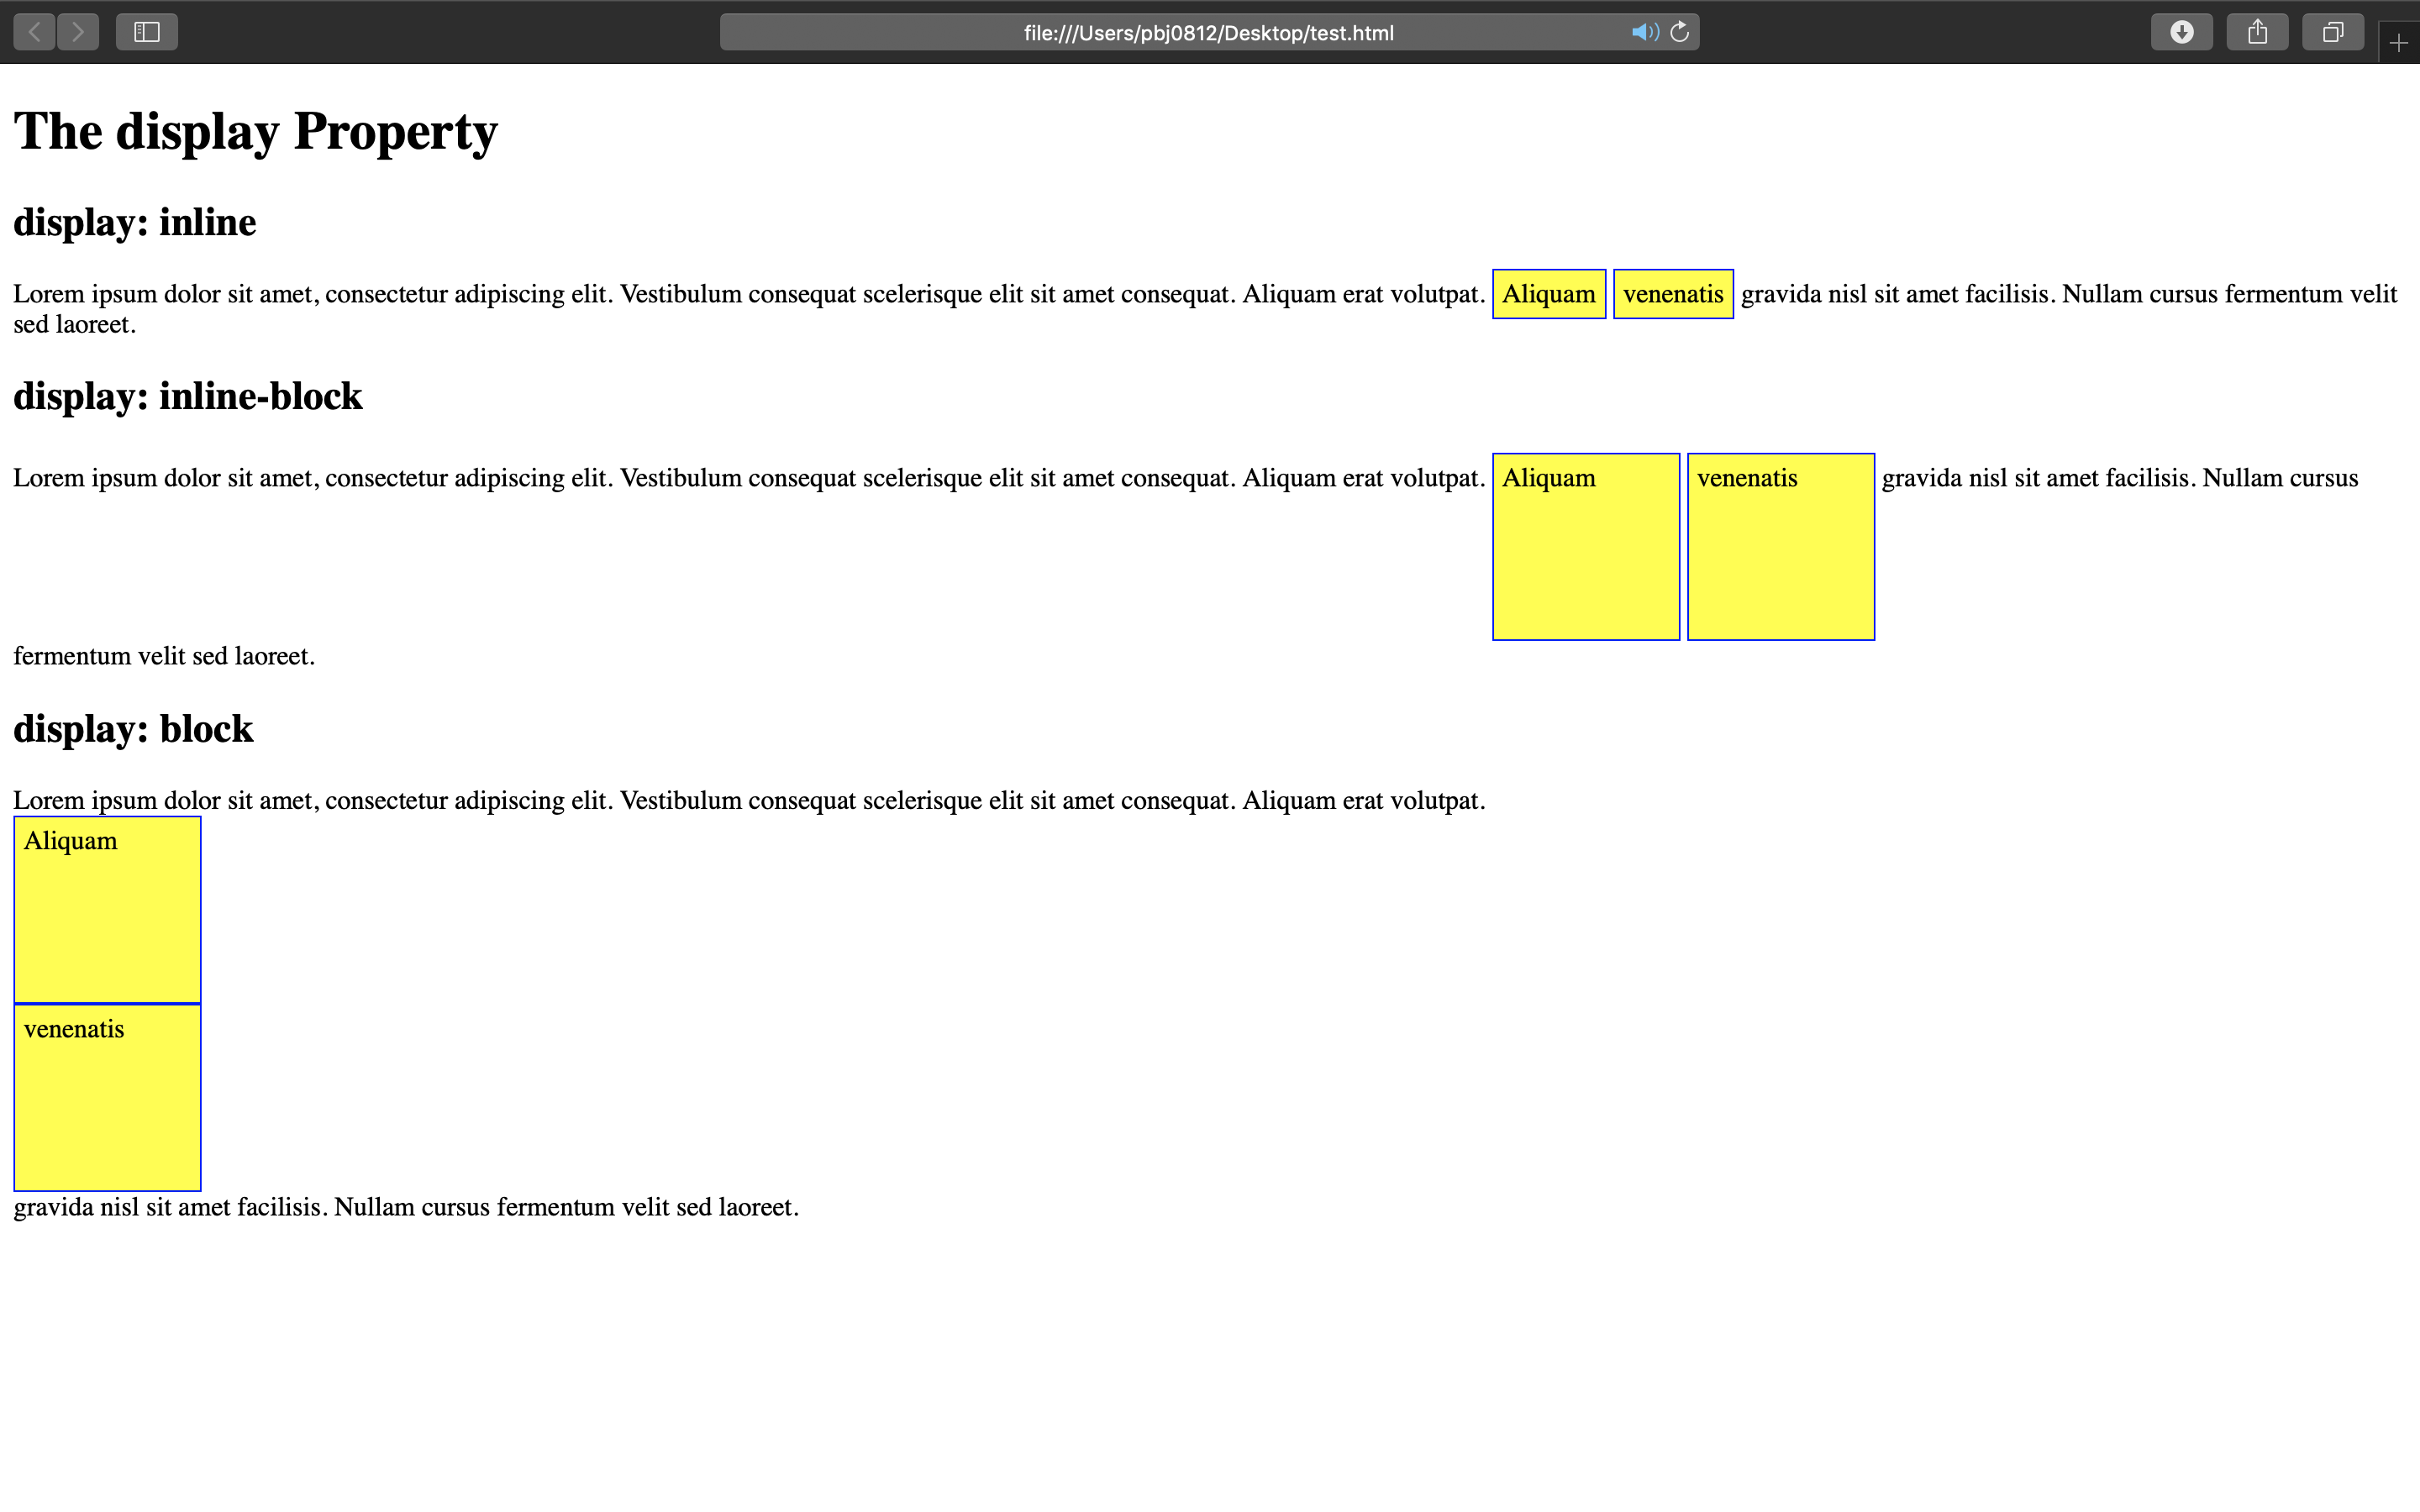
28) align
<!DOCTYPE html>
<html>
<head>
<style>
img {
  display: block;
  margin-left: auto;
  margin-right: auto;
}
</style>
</head>
<body>

<h2>Center an Image</h2>
<p>To center an image, set left and right margin to auto, and make it into a block element.</p>

<img src="iu.jpg" alt="Paris" style="width:40%">

</body>
</html>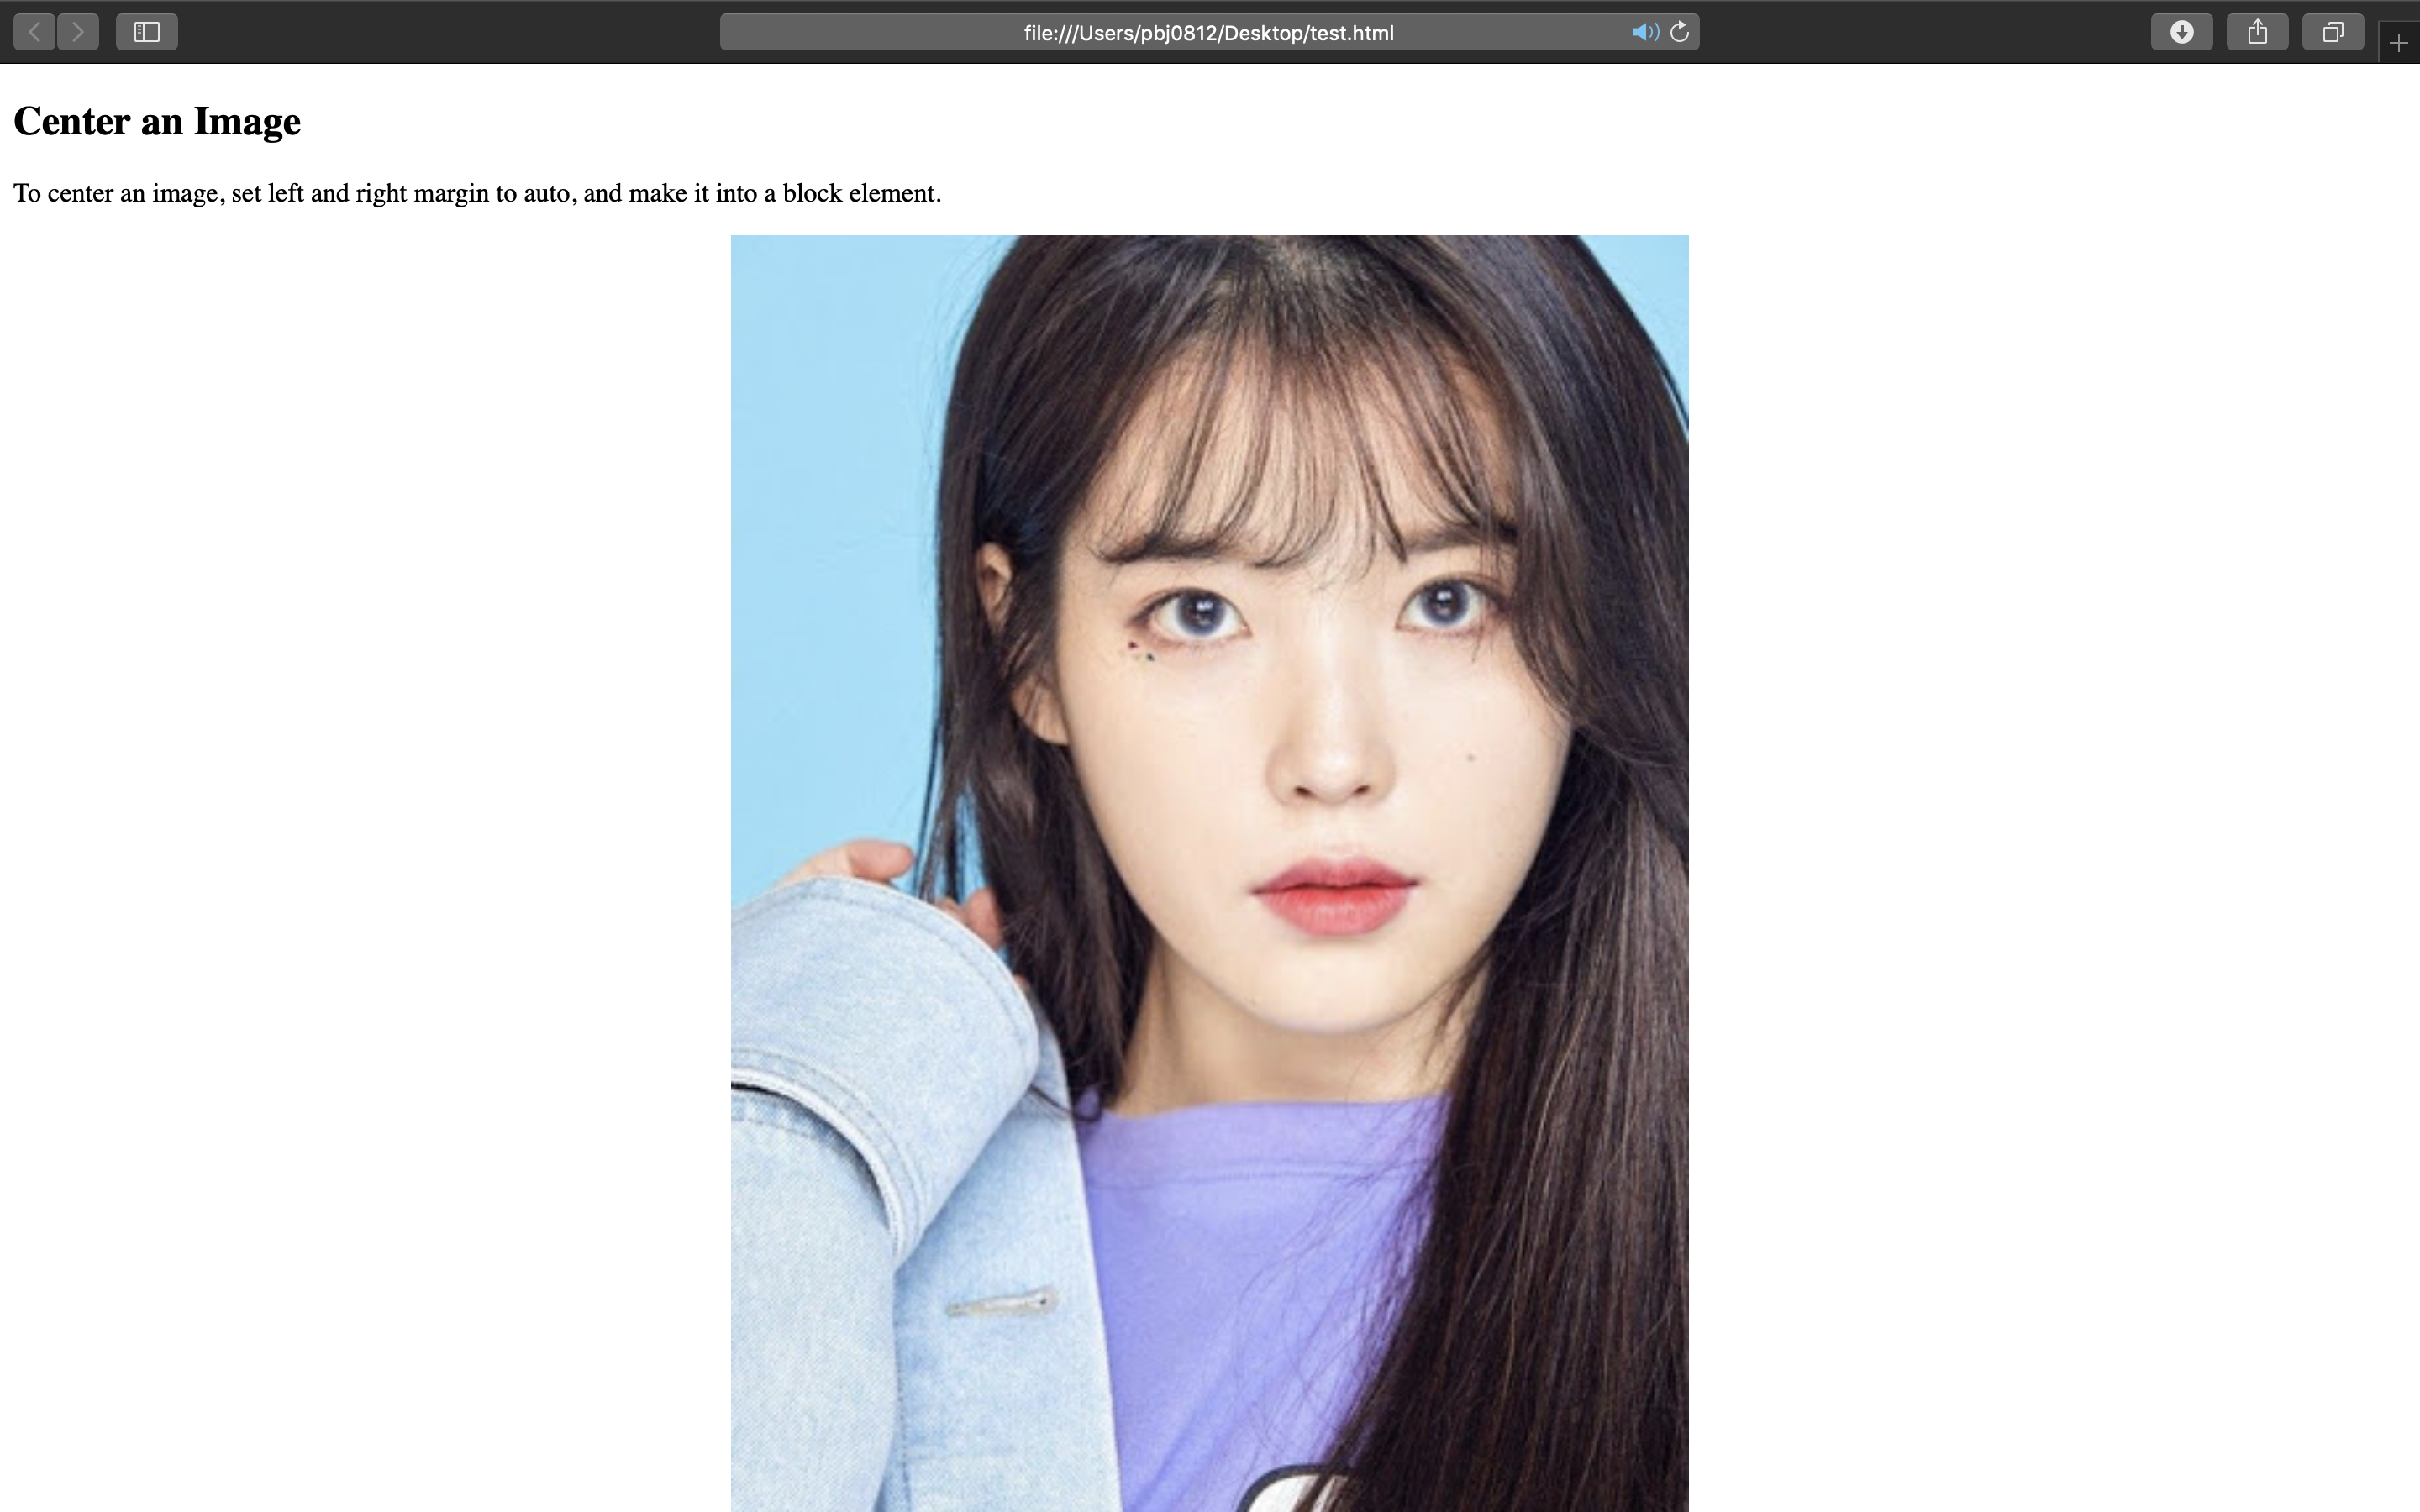
29) combinator
<!DOCTYPE html>
<html>
<head>
<style>
div > p {
  background-color: yellow;
}
</style>
</head>
<body>

<div>
  <p>Paragraph 1 in the div.</p>
  <p>Paragraph 2 in the div.</p>
  <section><p>Paragraph 3 in the div.</p></section> <!-- not Child but Descendant -->
  <p>Paragraph 4 in the div.</p>
</div>

<p>Paragraph 5. Not in a div.</p>
<p>Paragraph 6. Not in a div.</p>

</body>
</html>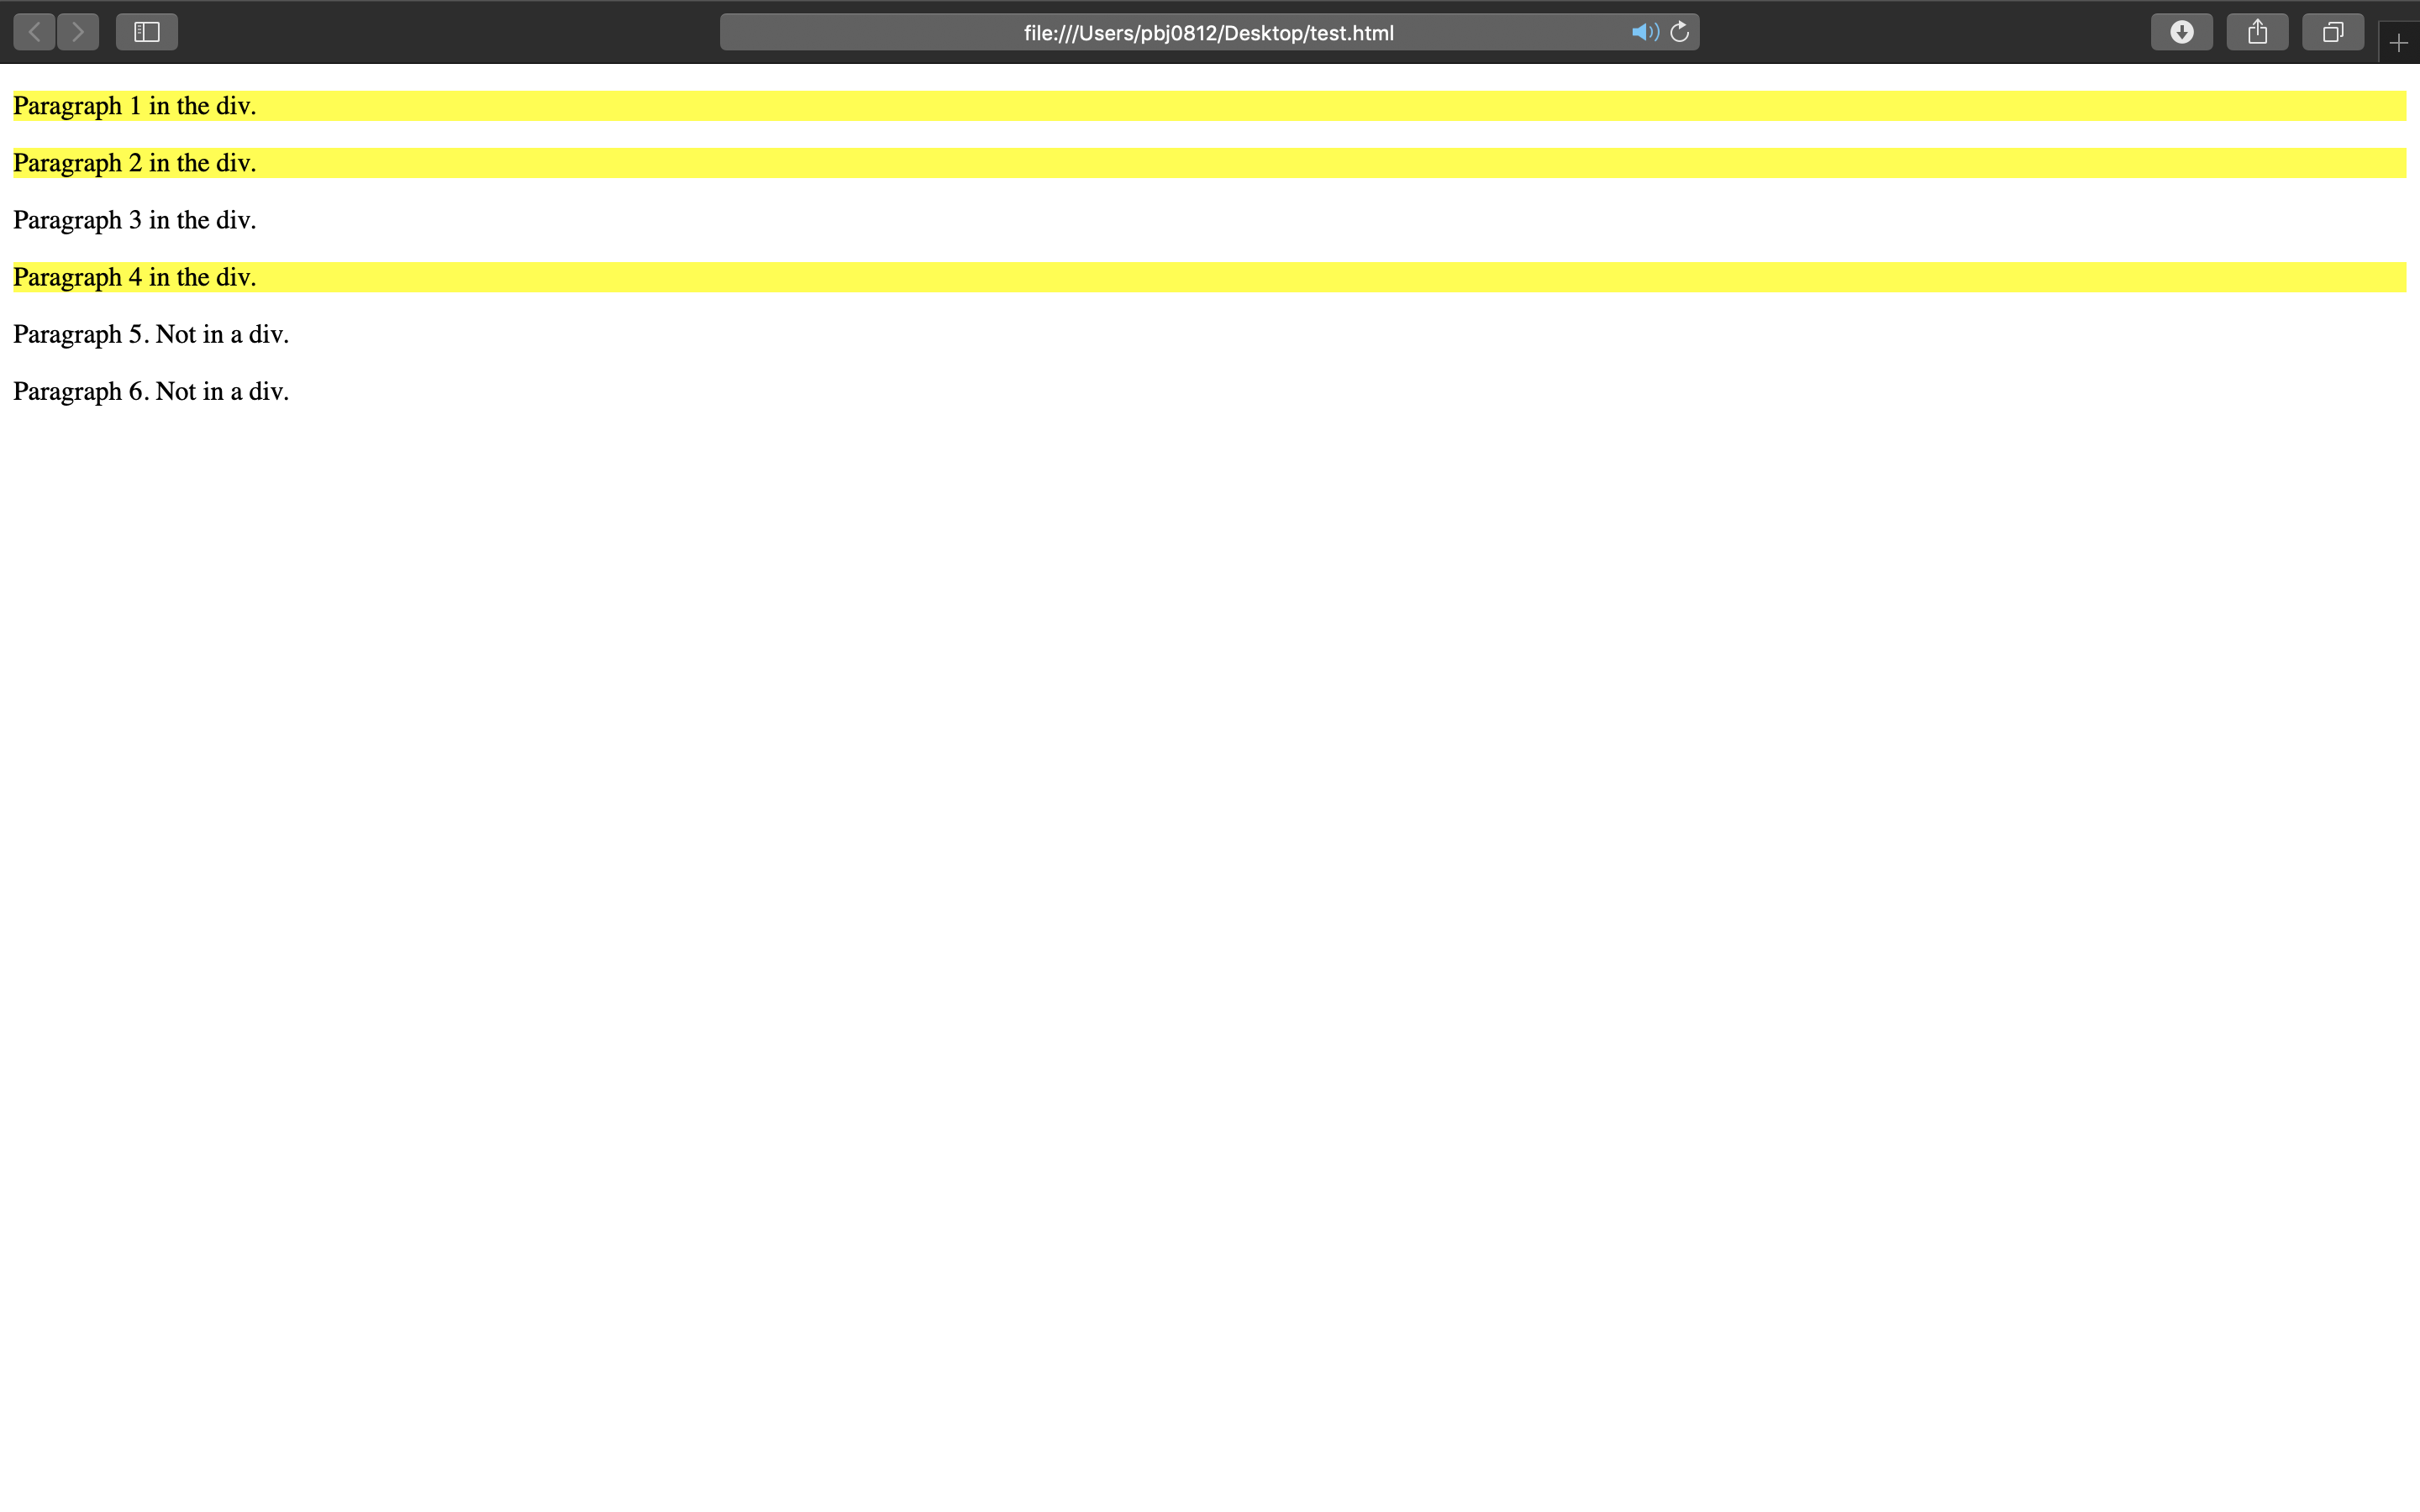
30) pseudo-class
<!DOCTYPE html>
<html>
<head>
<style>
p:first-child i {
  color: blue;
}
</style>
</head>
<body>

<p>I am a <i>strong</i> person. I am a <i>strong</i> person.</p>
<p>I am a <i>strong</i> person. I am a <i>strong</i> person.</p>
<p><b>Note:</b> For :first-child to work in IE8 and earlier, a DOCTYPE must be declared.</p>

</body>
</html>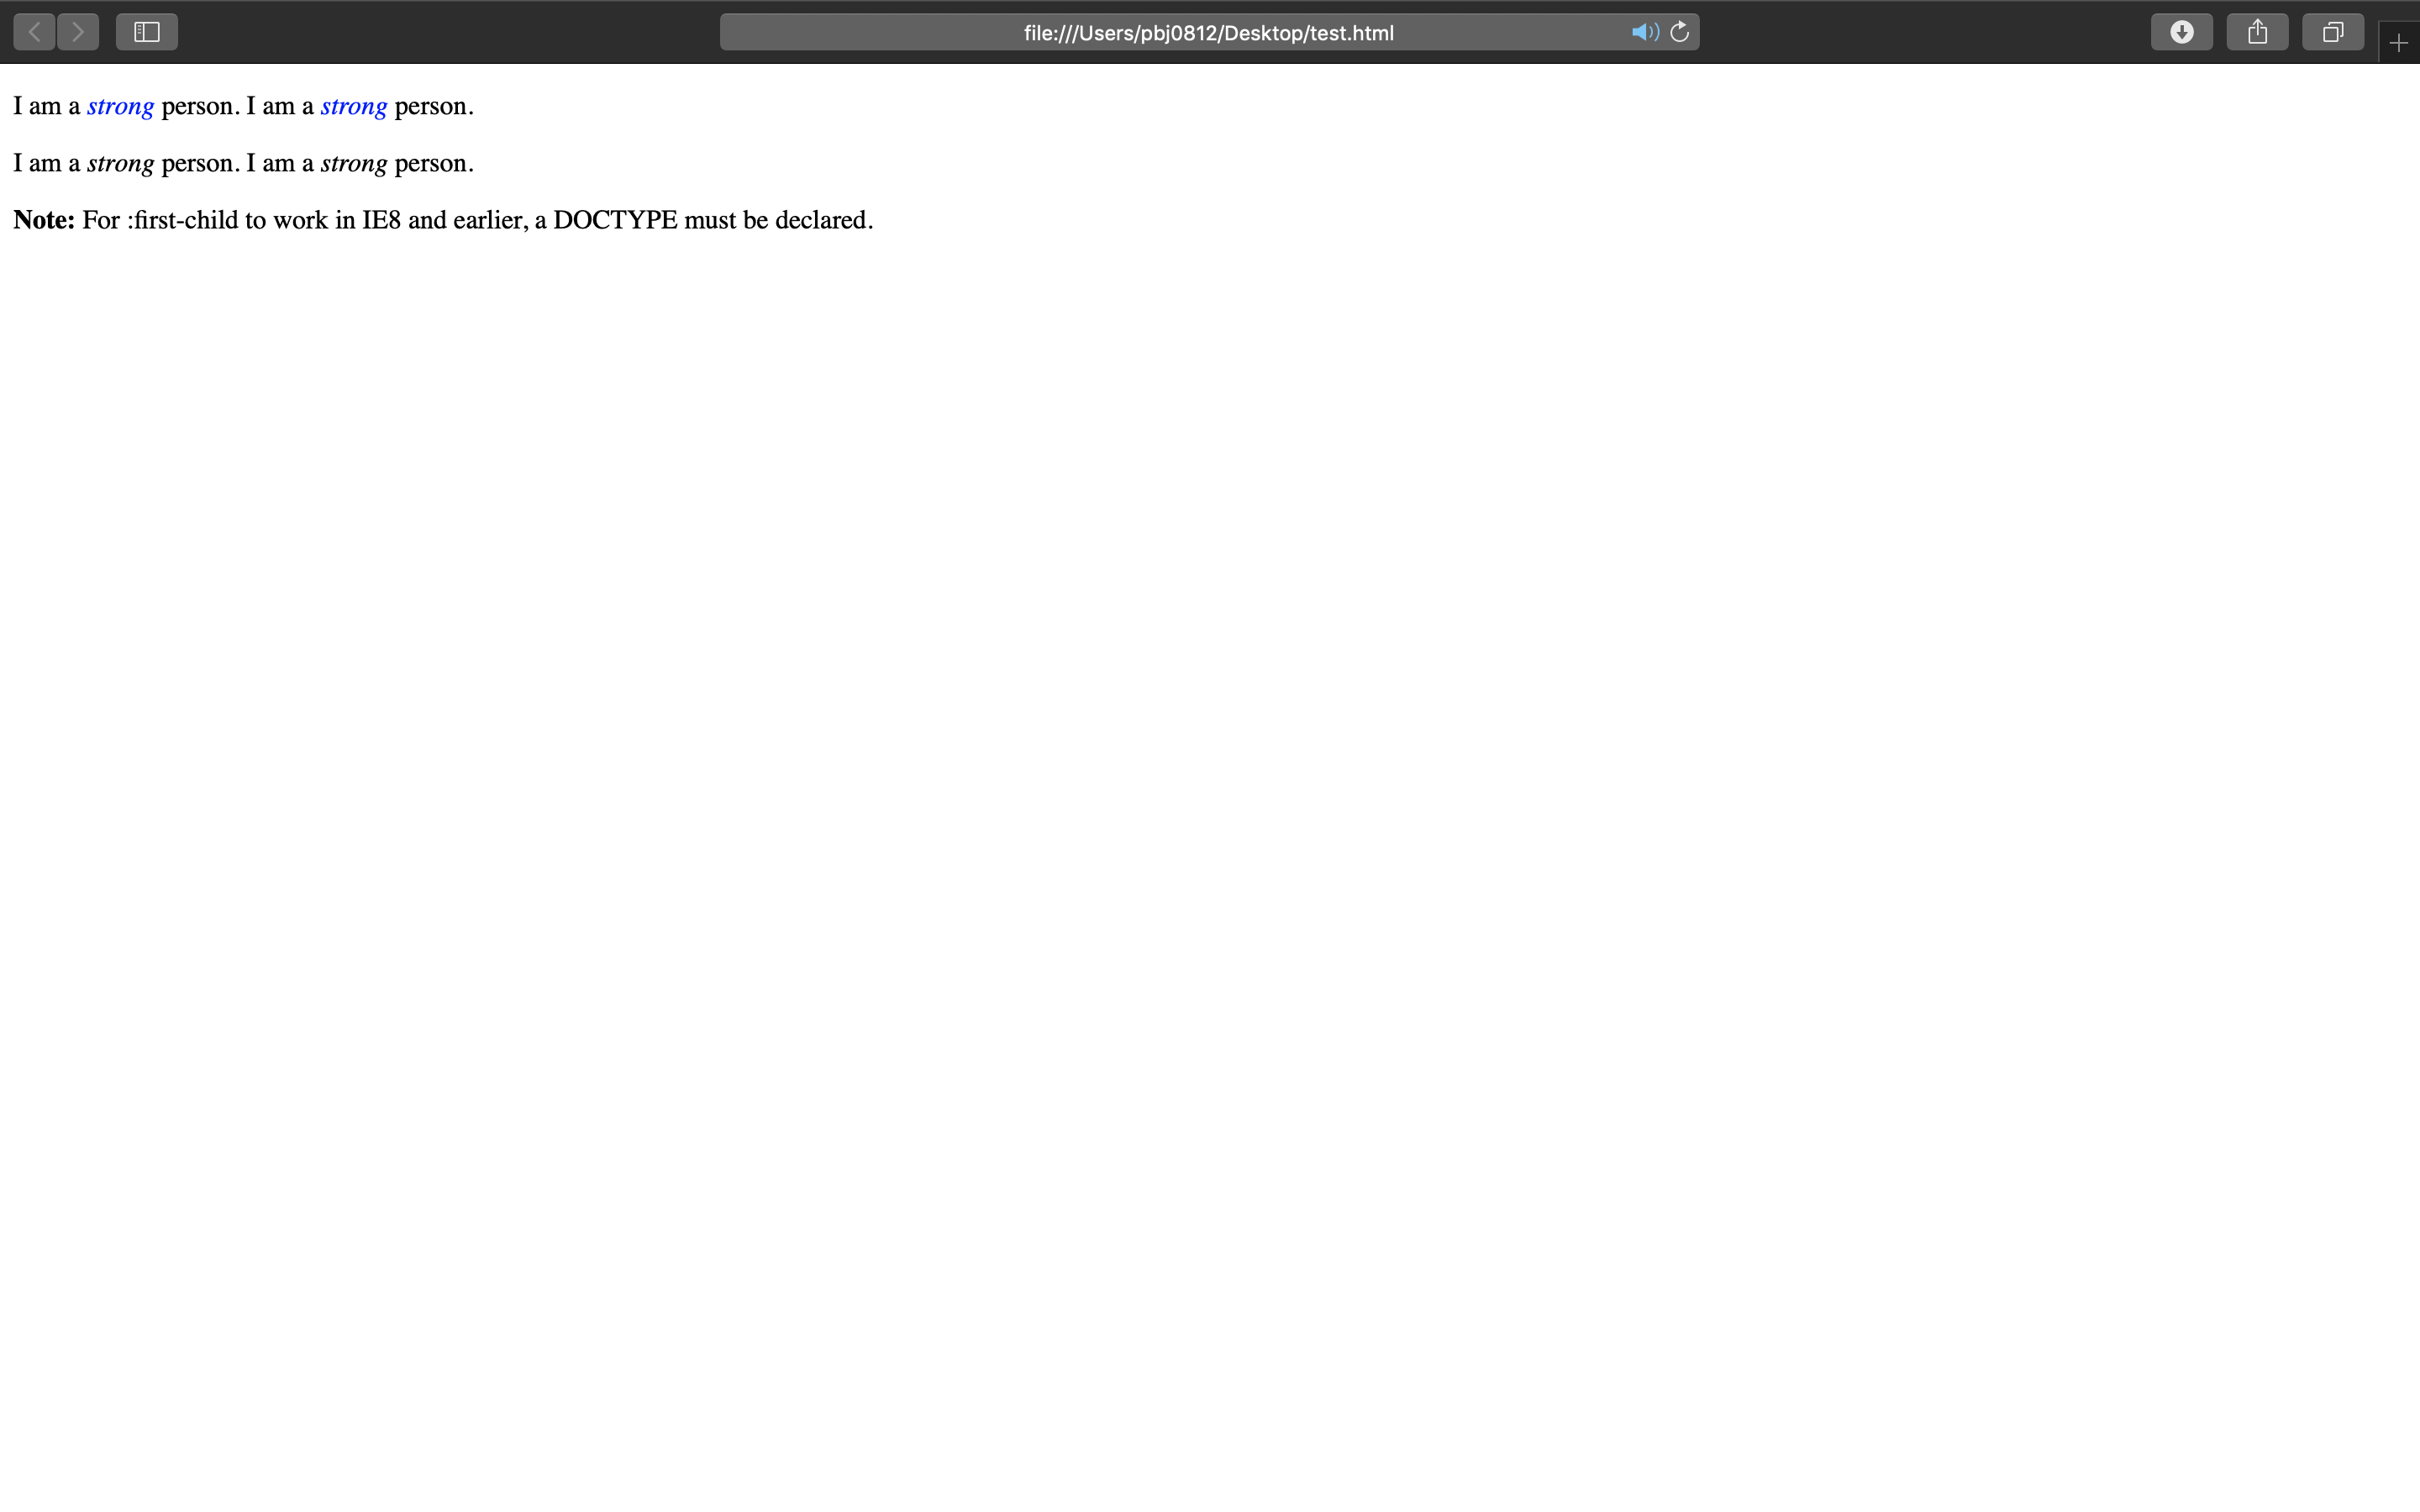
31) pseudo-element
<!DOCTYPE html>
<html>
<head>
<style>
p::first-line {
  color: #ff0000;
  font-variant: small-caps;
}
</style>
</head>
<body>

<p>You can use the ::first-line pseudo-element to add a special effect to the first line of a text. Some more text. And even more, and more, and more, and more, and more, and more, and more, and more, and more, and more, and more, and more.</p>

</body>
</html>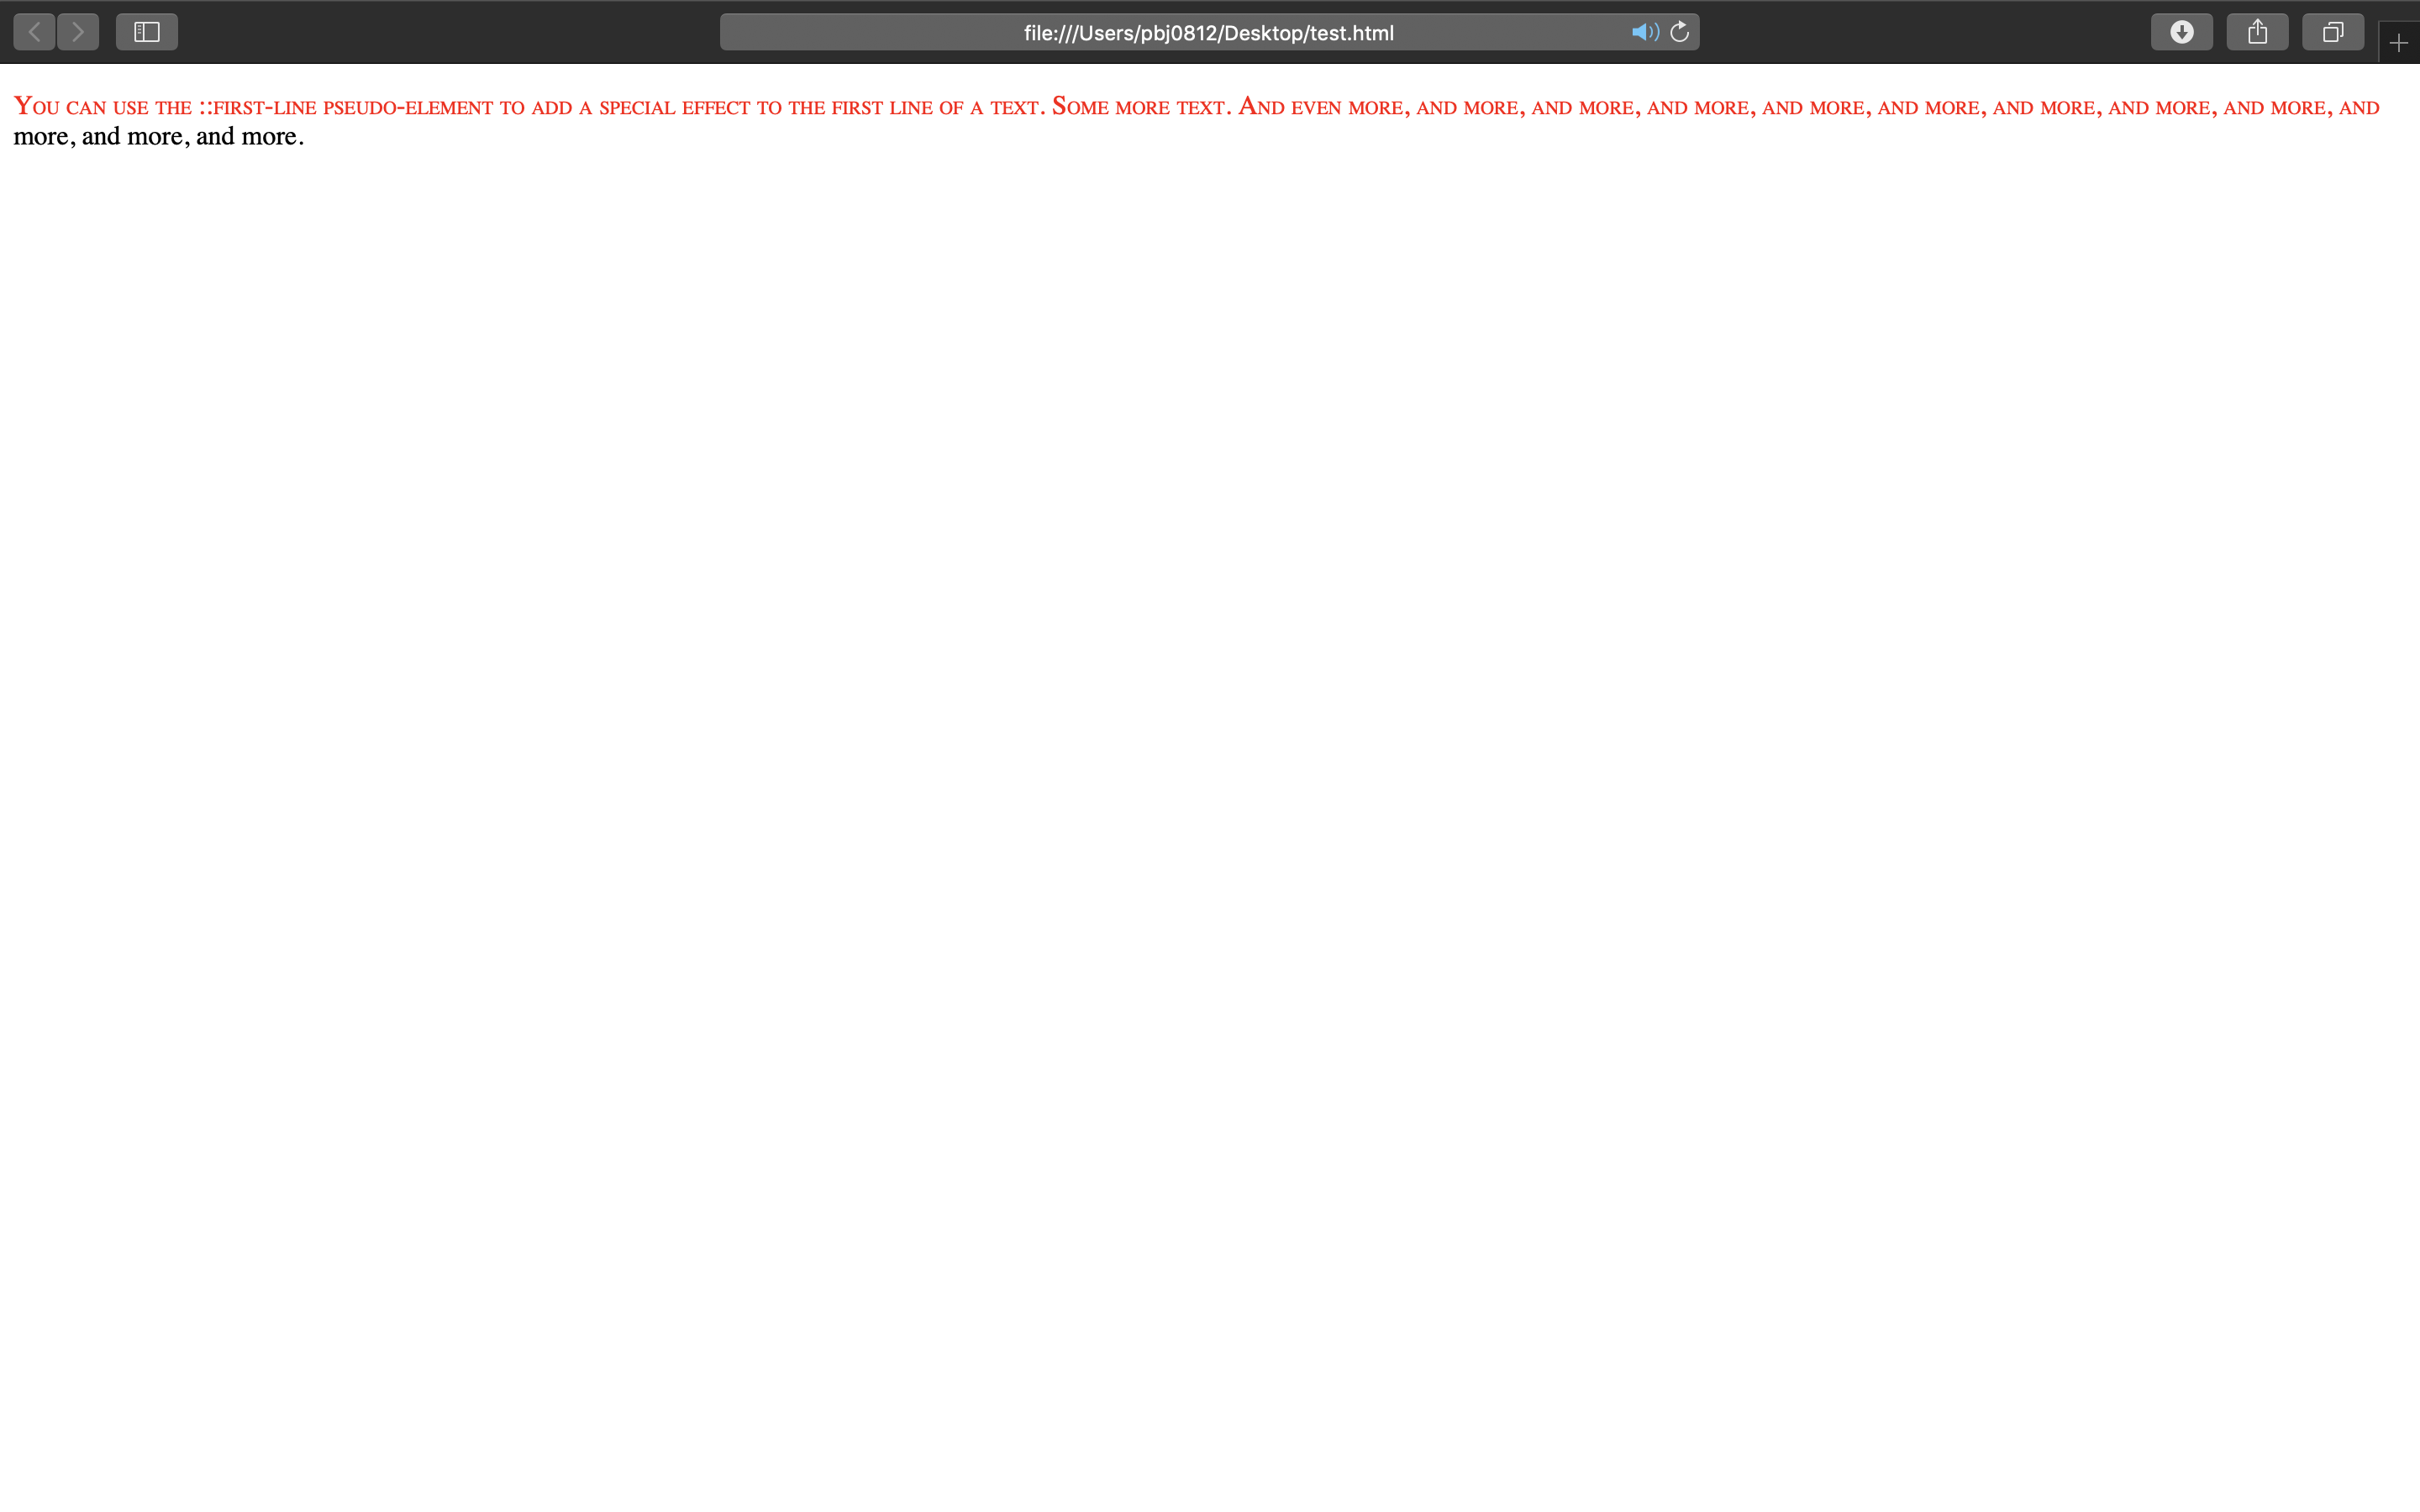
32) opacity
<!DOCTYPE html>
<html>
<head>
<style>
div img {
  opacity: 0.5;
}
</style>
</head>
<body>

<h1>Image Transparency</h1>
<p>The opacity property specifies the transparency of an element. The lower the value, the more transparent:</p>

<p>Image with 50% opacity:</p>
<img src="iu.jpg" alt="Forest" width="170" height="100">
<div>
  <img src="iu.jpg" alt="Forest" width="170" height="100">
</div>
</body>
</html>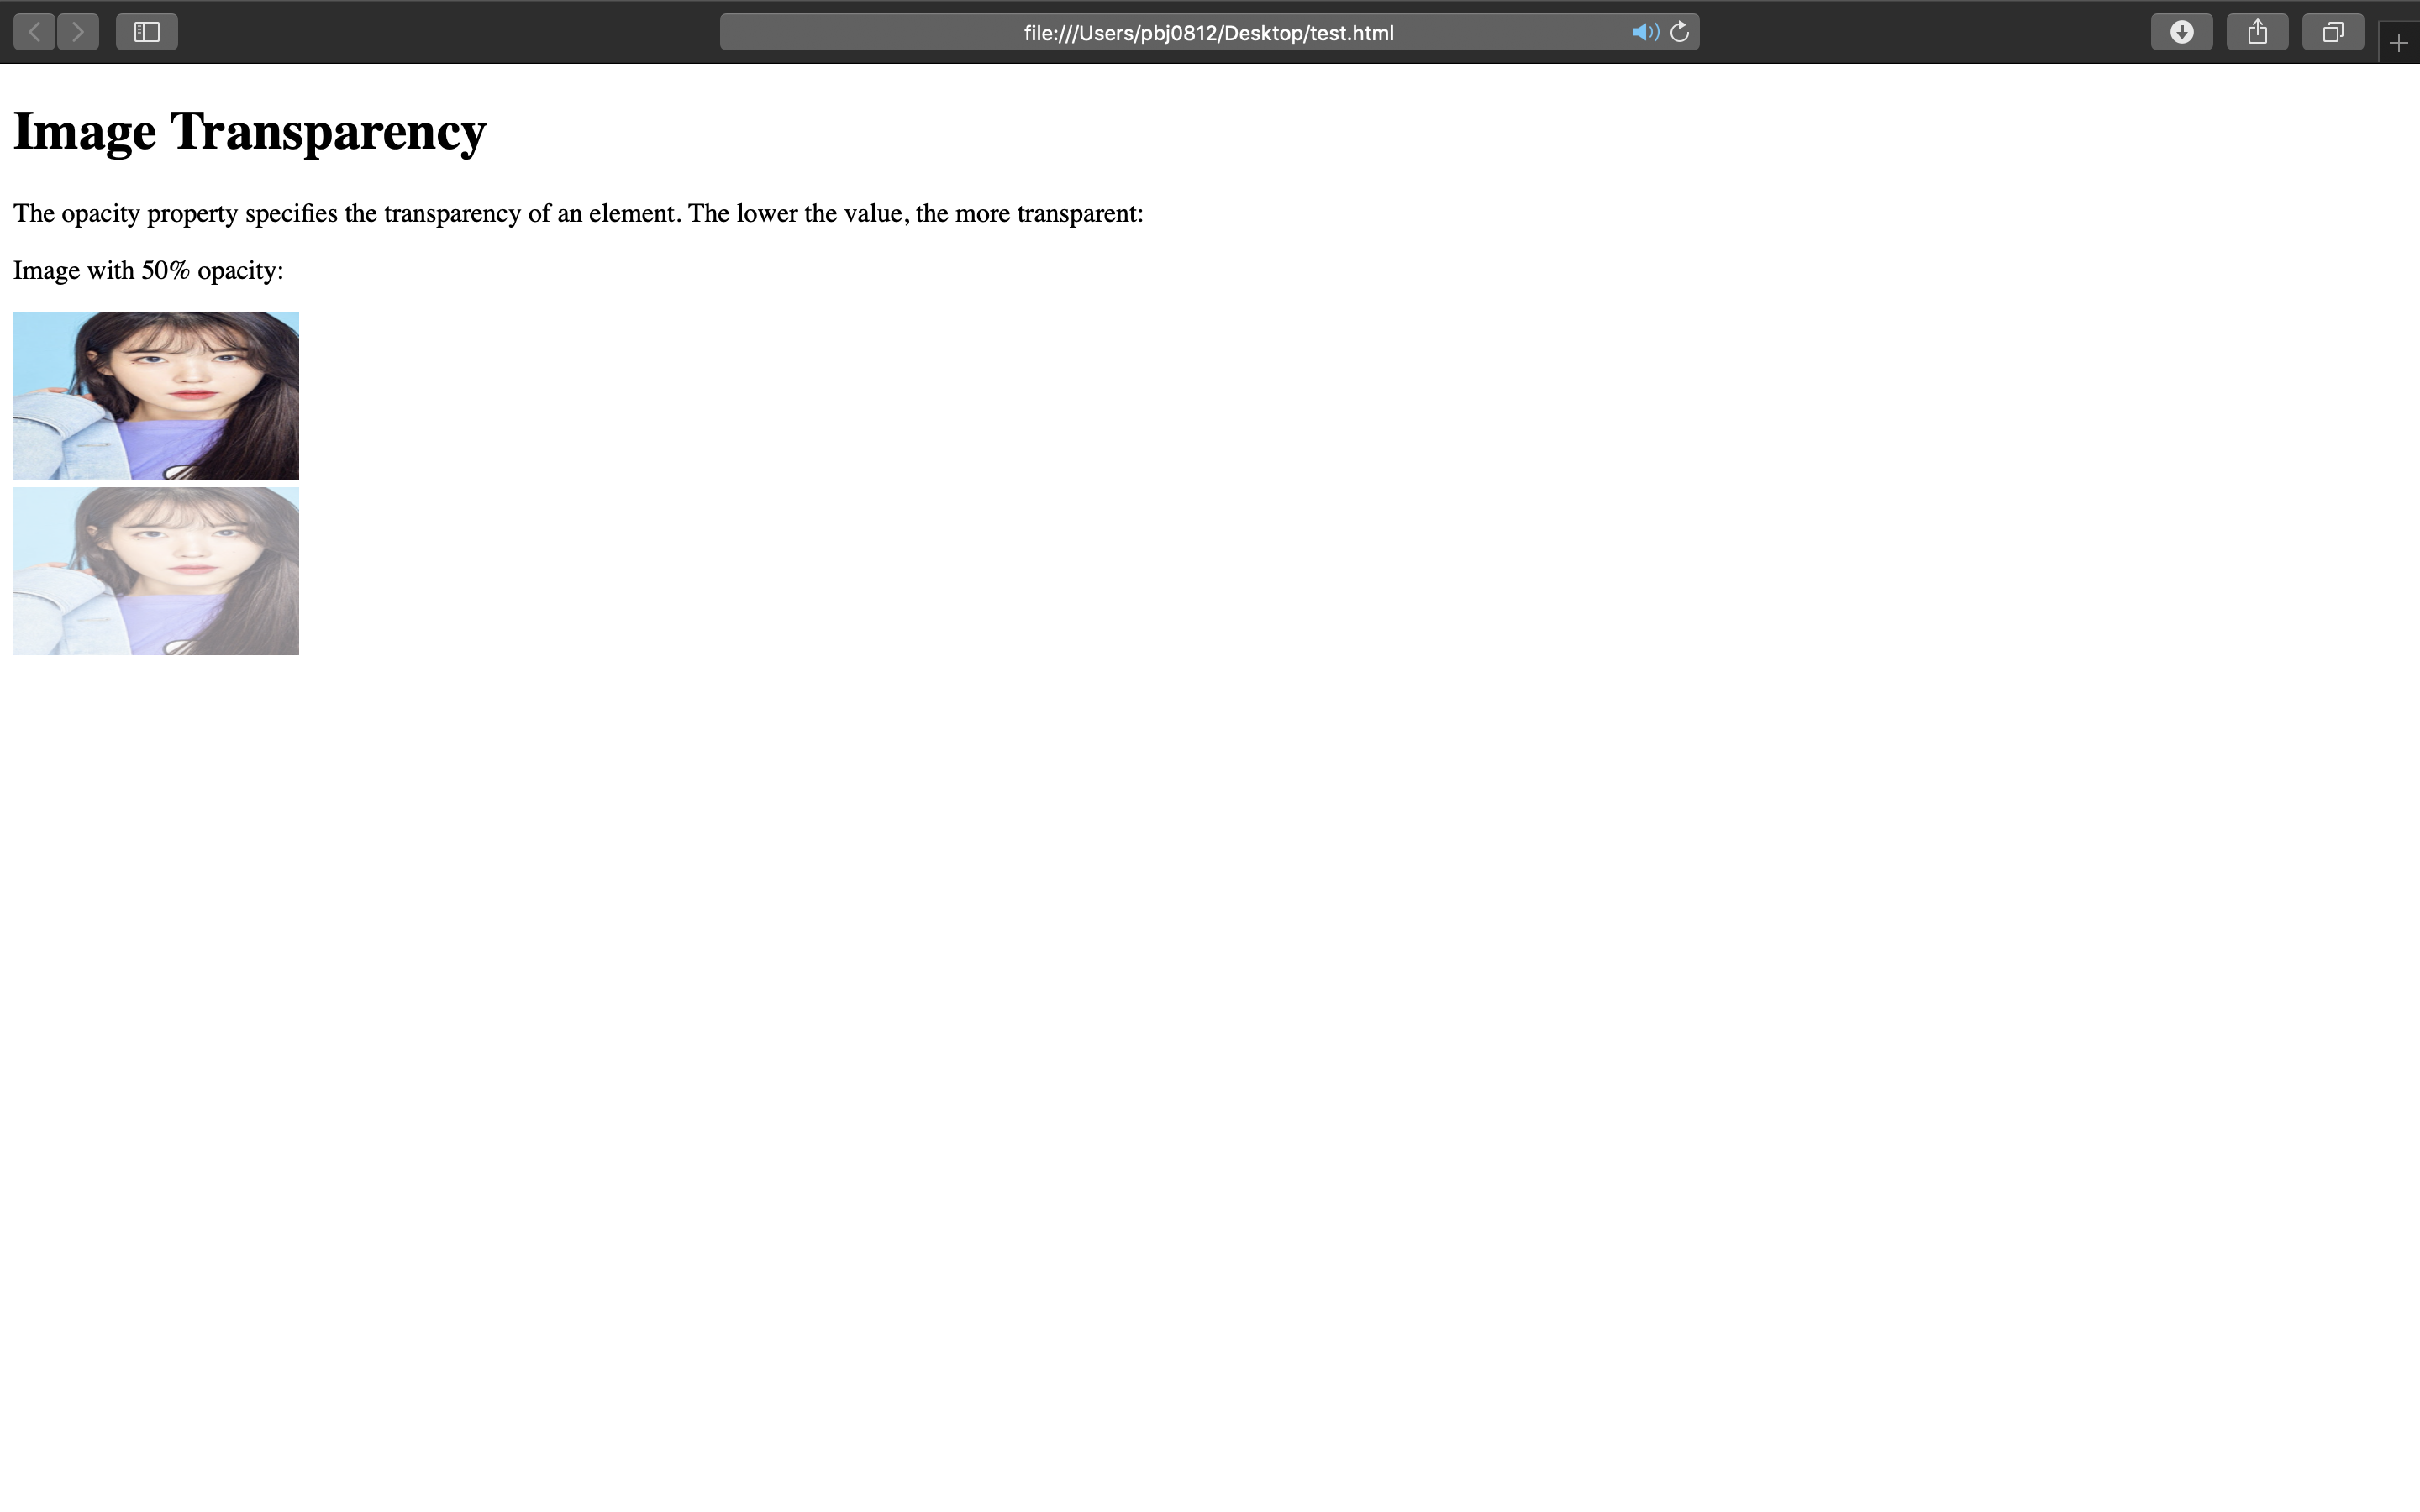
33) navigator
<!DOCTYPE html>
<html>
<head>
<style>
body {
  margin: 0;
}

ul {
  list-style-type: none;
  margin: 0;
  padding: 0;
  width: 25%;
  background-color: #f1f1f1;
  position: fixed;
  height: 100%;
  overflow: auto;
}

li a {
  display: block;
  color: #000;
  padding: 8px 16px;
  text-decoration: none;
}

li a.active {
  background-color: #4CAF50;
  color: white;
}

li a:hover:not(.active) {
  background-color: #555;
  color: white;
}
</style>
</head>
<body>

<ul>
  <li><a class="active" href="#home">Home</a></li>
  <li><a href="#news">News</a></li>
  <li><a href="#contact">Contact</a></li>
  <li><a href="#about">About</a></li>
</ul>

<div style="margin-left:25%;padding:1px 16px;height:1000px;">
  <h2>Fixed Full-height Side Nav</h2>
  <h3>Try to scroll this area, and see how the sidenav sticks to the page</h3>
  <p>Notice that this div element has a left margin of 25%. This is because the side navigation is set to 25% width. If you remove the margin, the sidenav will overlay/sit on top of this div.</p>
  <p>Also notice that we have set overflow:auto to sidenav. This will add a scrollbar when the sidenav is too long (for example if it has over 50 links inside of it).</p>
  <p>Some text..</p>
  <p>Some text..</p>
  <p>Some text..</p>
  <p>Some text..</p>
  <p>Some text..</p>
  <p>Some text..</p>
  <p>Some text..</p>
</div>

</body>
</html>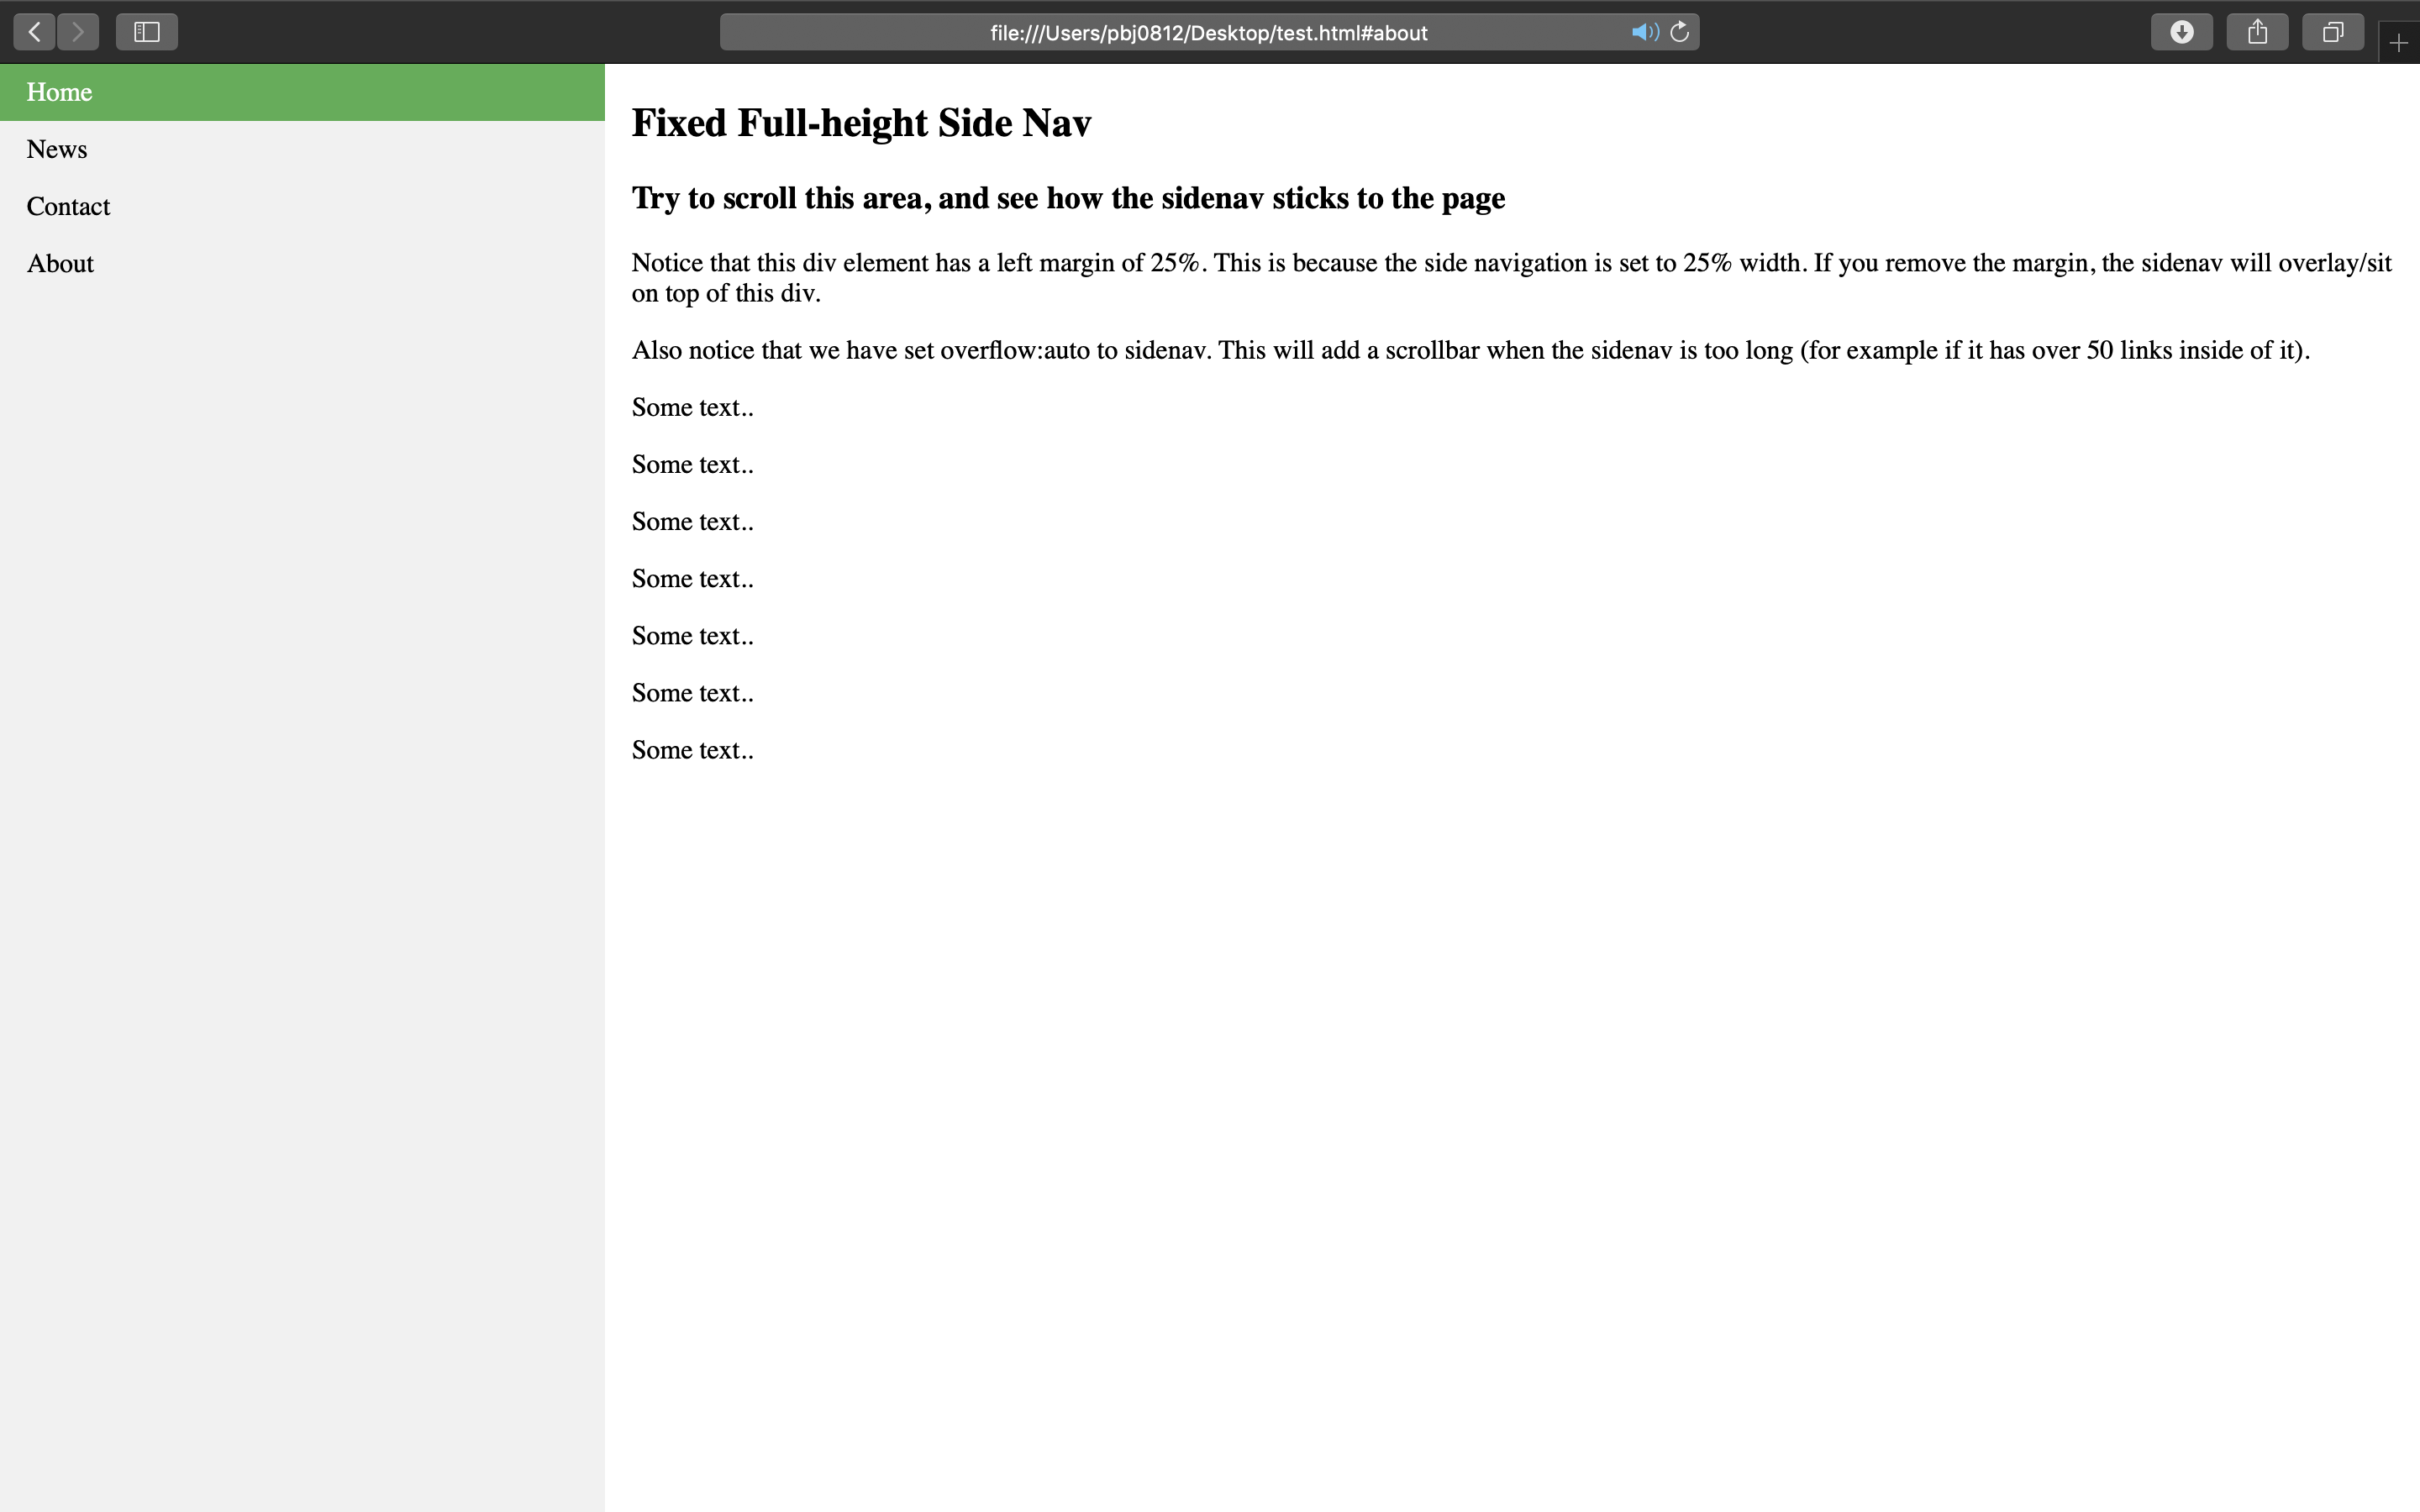
34) dropdown
<!DOCTYPE html>
<html>
<head>
<style>
.dropdown {
  position: relative;
  display: inline-block;
}

.dropdown-content {
  display: none;
  position: absolute;
  background-color: #f9f9f9;
  min-width: 160px;
  box-shadow: 0px 8px 16px 0px rgba(0,0,0,0.2);
  padding: 12px 16px;
  z-index: 1;
}

.dropdown:hover .dropdown-content {
  display: block;
}
</style>
</head>
<body>

<h2>Hoverable Dropdown</h2>
<p>Move the mouse over the text below to open the dropdown content.</p>

<div class="dropdown">
  <span>Mouse over me</span>
  <div class="dropdown-content">
  <p>Hello World!</p>
  </div>
</div>

</body>
</html>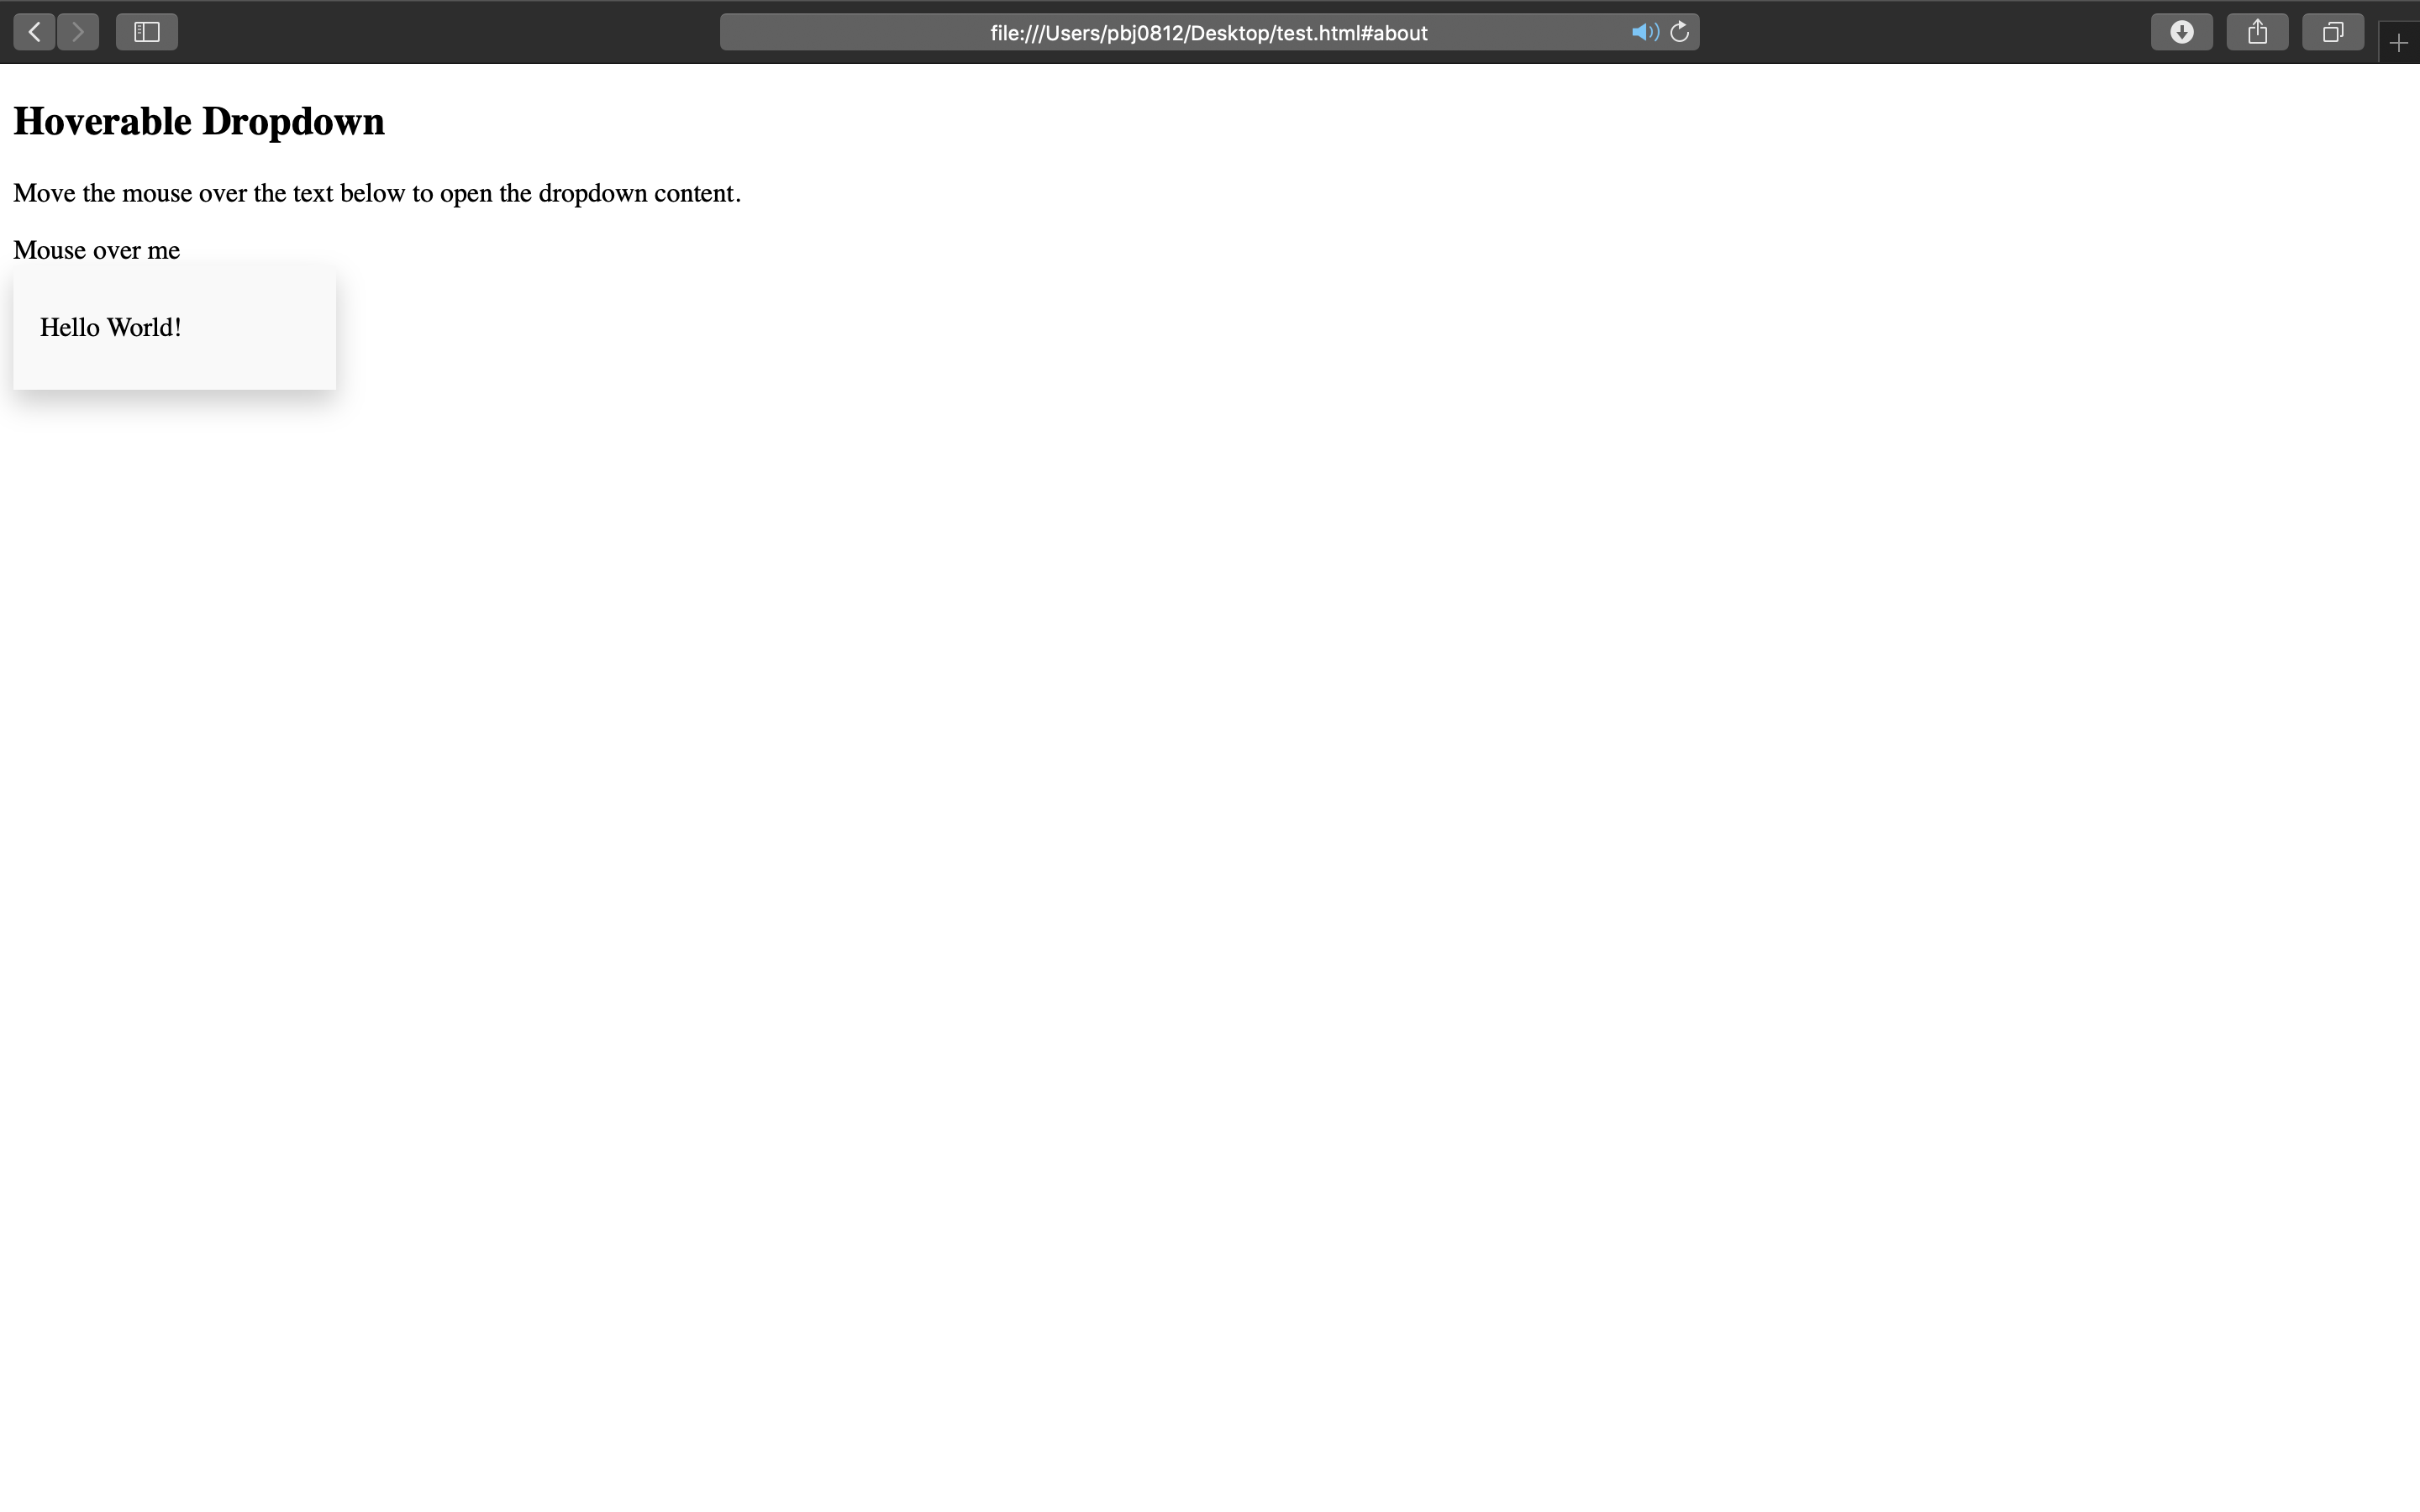
35) form
<!DOCTYPE html>
<html>
<head>
<style>
input {
  width: 100%;
}
</style>
</head>
<body>

<p>A full-width input field:</p>

<form>
  <label for="fname">First Name</label>
  <input type="text" id="fname" name="fname">
</form>

</body>
</html>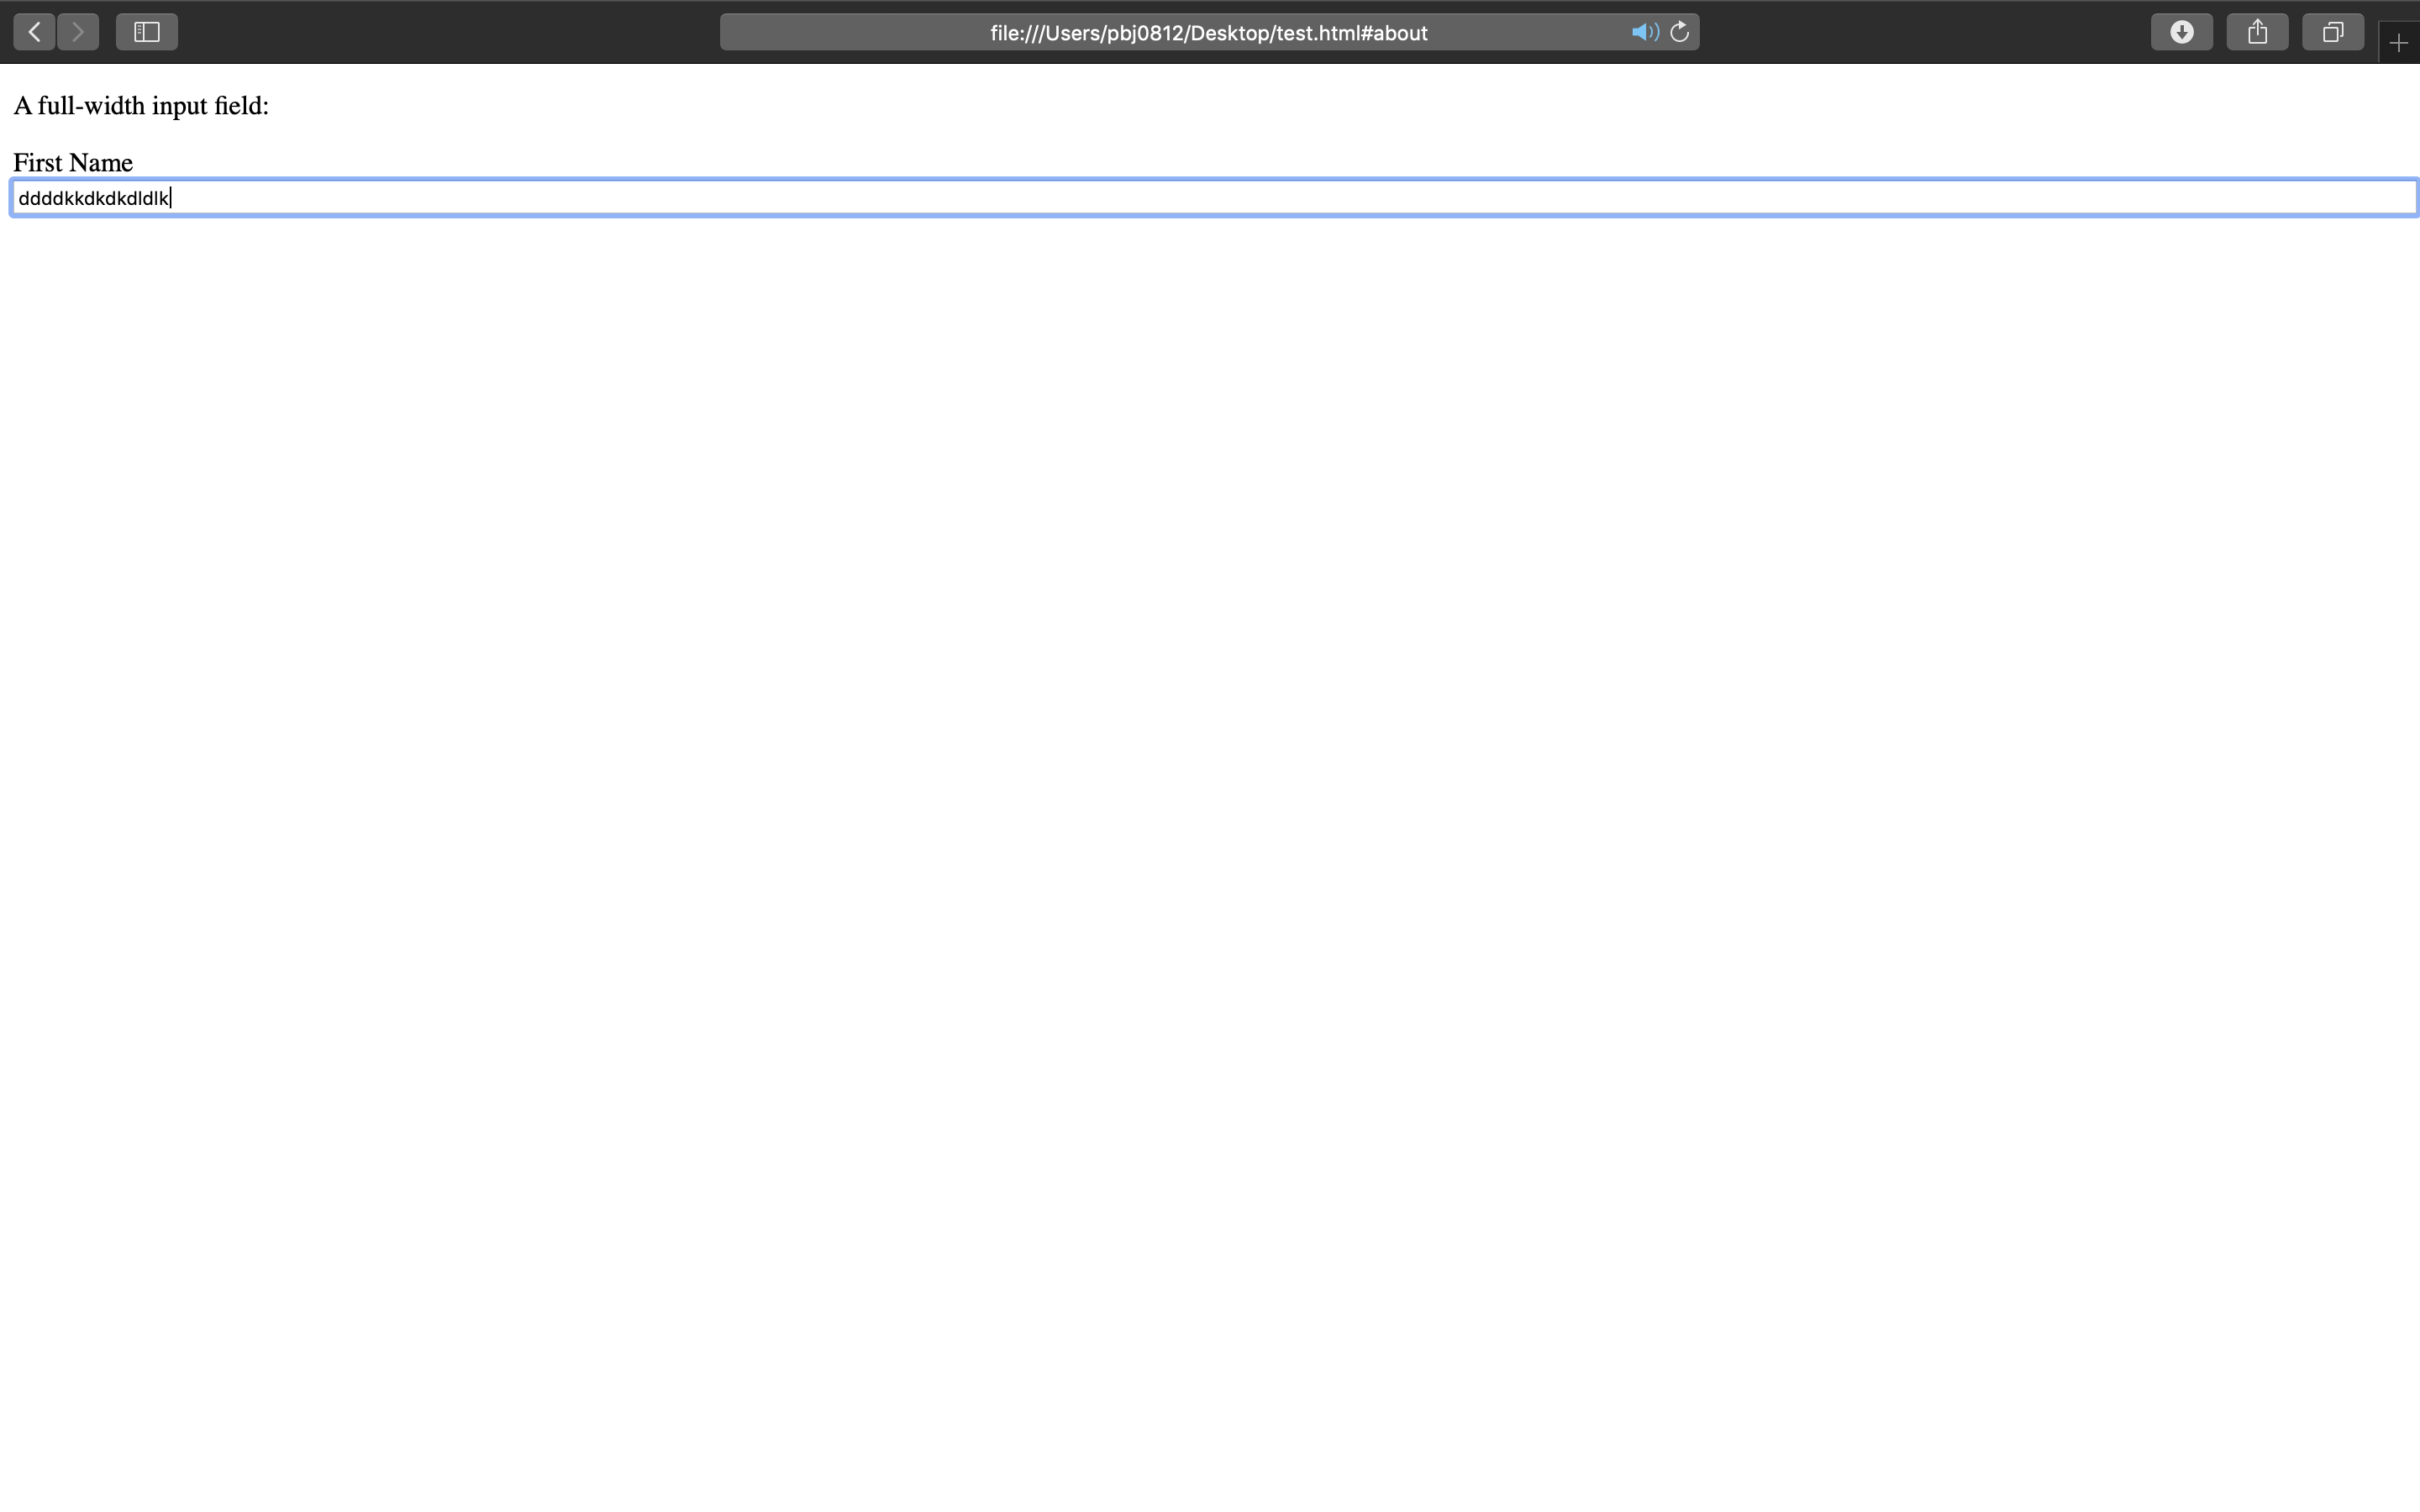
36) counter
<!DOCTYPE html>
<html>
<head>
<style>
body {
  counter-reset: section;
}

h2::before {
  counter-increment: section;
  content: "Section " counter(section) ": ";
}
</style>
</head>
<body>

<h1>Using CSS Counters:</h1>
<h2>HTML Tutorial</h2>
<h2>CSS Tutorial</h2>
<h2>JavaScript Tutorial</h2>

<p><b>Note:</b> IE8 supports these properties only if a !DOCTYPE is specified.</p>

</body>
</html>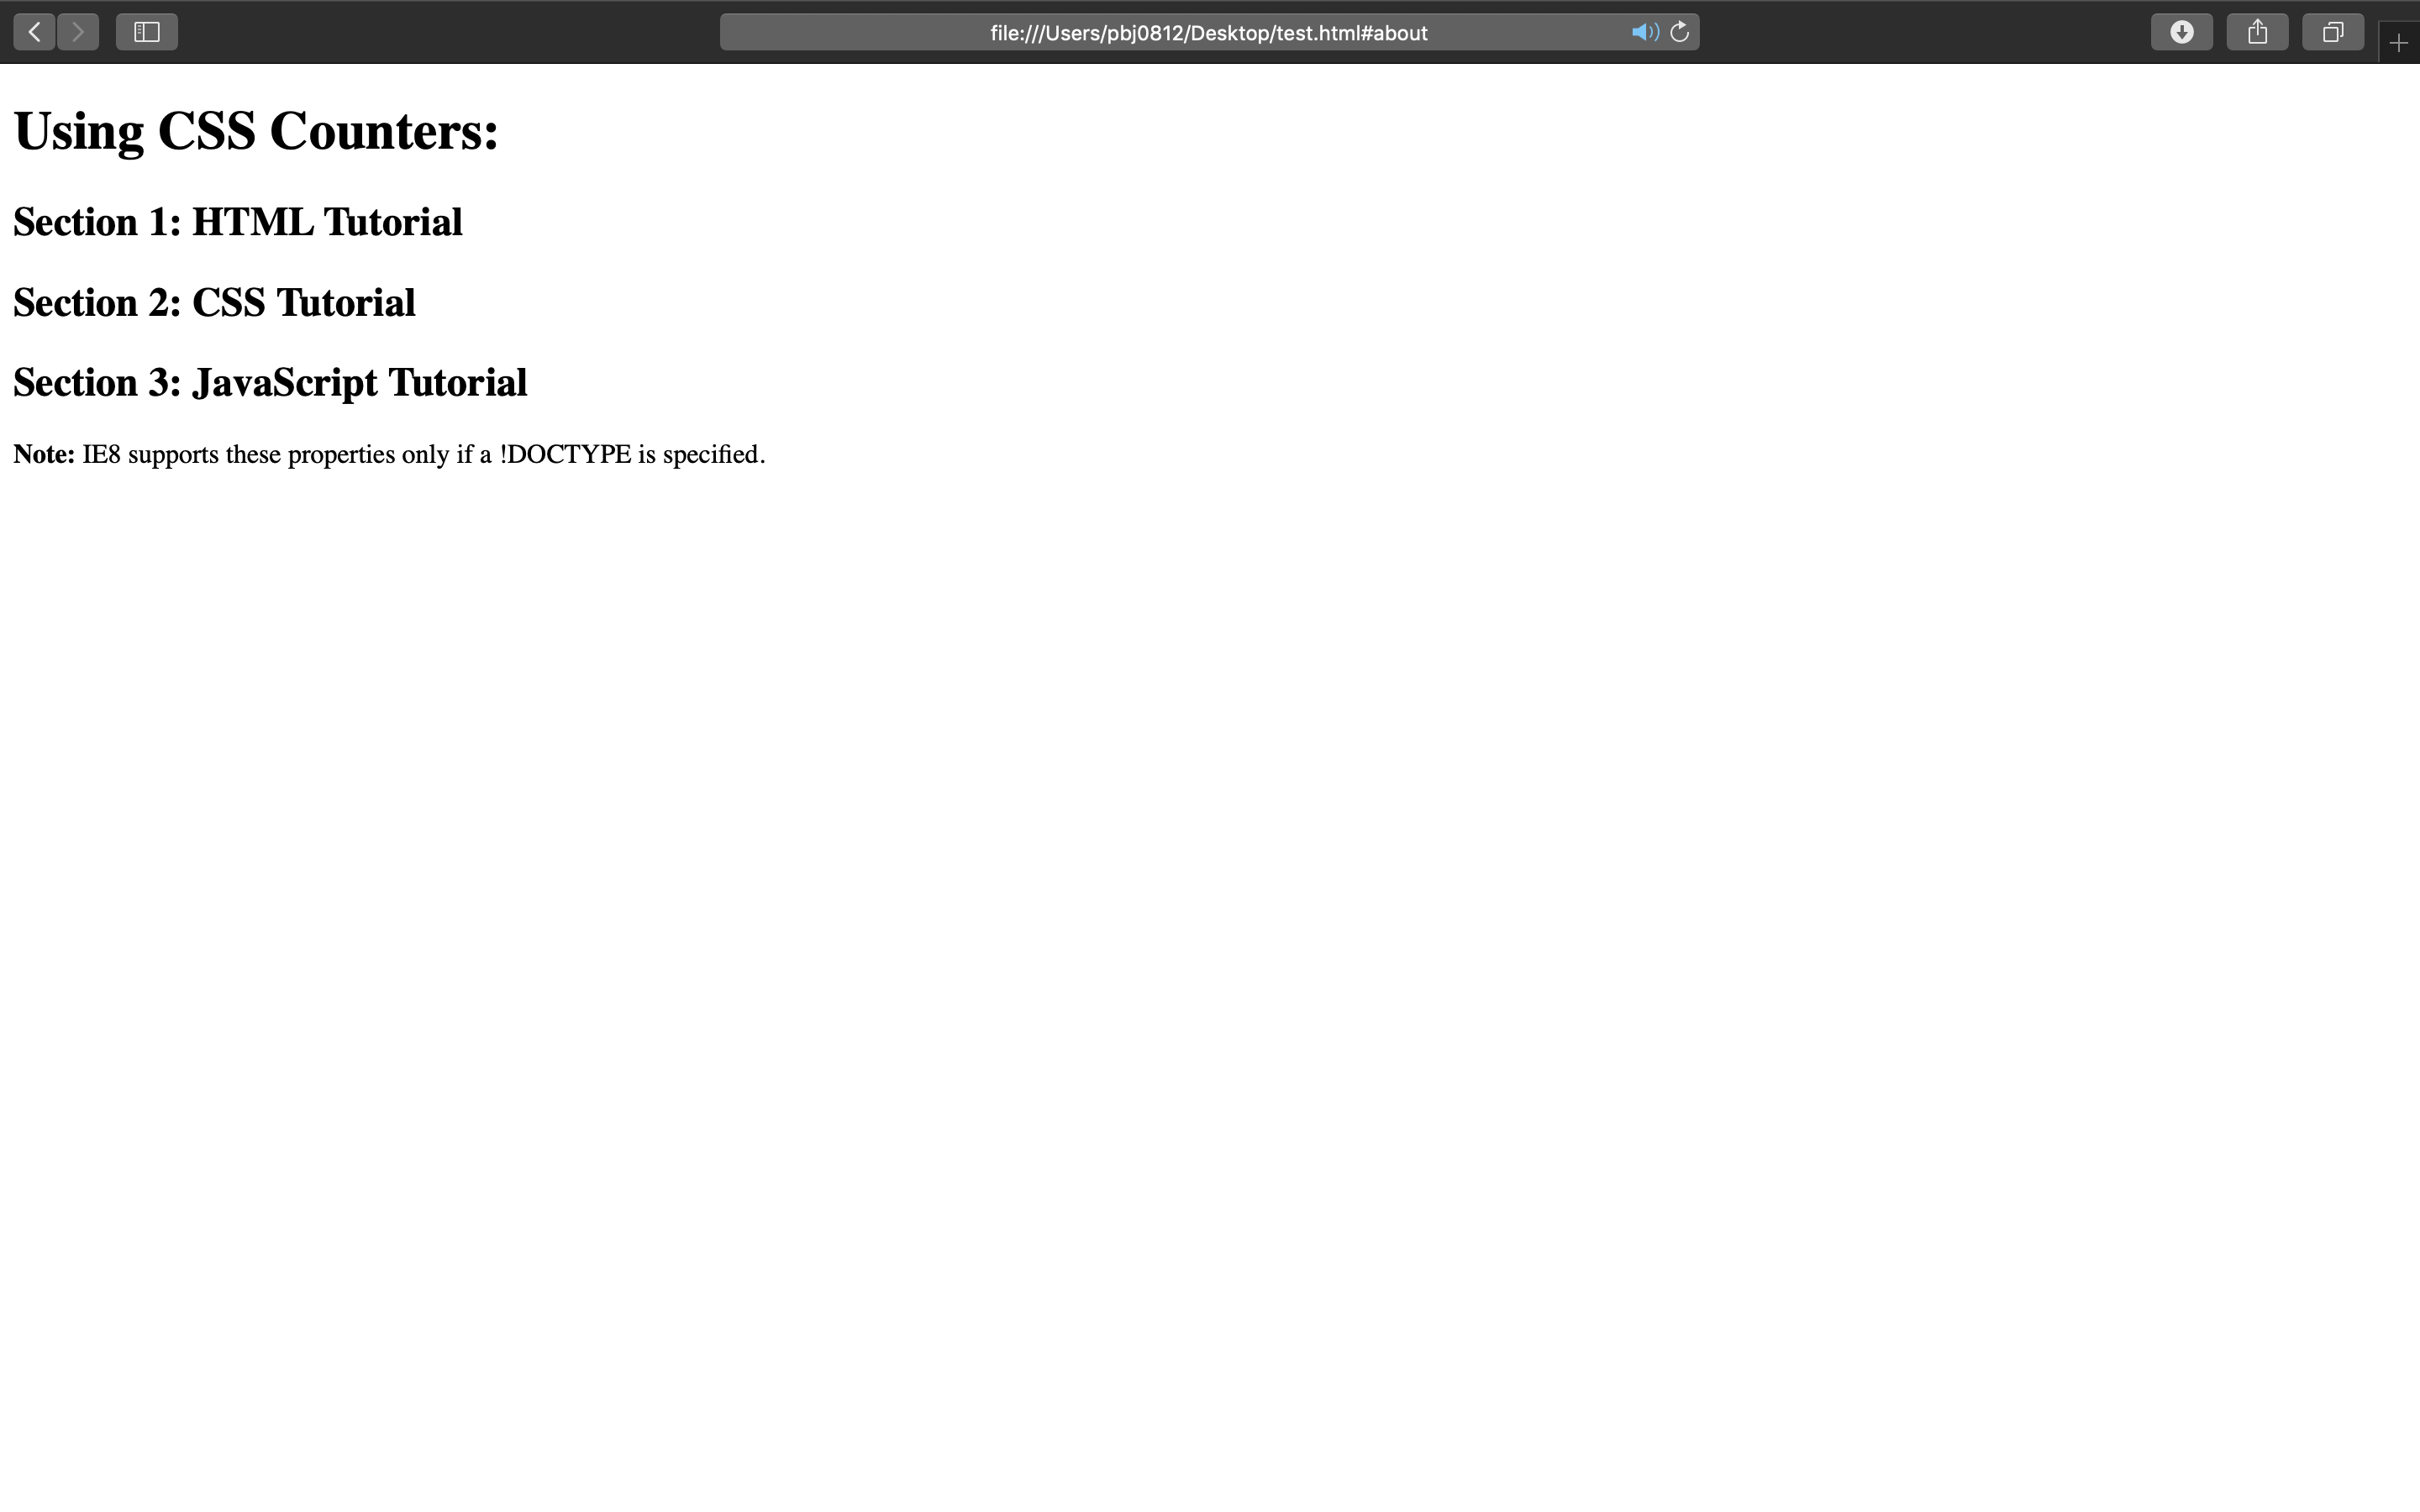
3. 출처
- W3SCHOOL
'ComputerLanguage_Program > CSS' 카테고리의 다른 글
| [CSS] CSS 로 산타 그리기 (0) | 2020.12.26 |
|---|---|
| [CSS] 태극 문양 그리기 (0) | 2020.08.15 |
| [CSS] 탱크 그리기 (0) | 2020.06.24 |
| [CSS] 곰 그리기 (0) | 2020.05.08 |
| [CSS] 기본 CSS 파일 셋팅(common, reset) (0) | 2020.04.15 |
Comments


