
Notice
Recent Posts
Recent Comments
Link
| 일 | 월 | 화 | 수 | 목 | 금 | 토 |
|---|---|---|---|---|---|---|
| 1 | 2 | 3 | ||||
| 4 | 5 | 6 | 7 | 8 | 9 | 10 |
| 11 | 12 | 13 | 14 | 15 | 16 | 17 |
| 18 | 19 | 20 | 21 | 22 | 23 | 24 |
| 25 | 26 | 27 | 28 | 29 | 30 | 31 |
Tags
- tensorflow
- 서평
- 시각화
- 파이썬 시각화
- matplotlib
- Python
- 매틀랩
- 파이썬
- 딥러닝
- MySQL
- Ga
- 티스토리
- Pandas
- 리눅스
- 한빛미디어
- SQL
- MATLAB
- 독후감
- Visualization
- 한빛미디어서평단
- python visualization
- Google Analytics
- 서평단
- 월간결산
- Linux
- 블로그
- Tistory
- 통계학
- 텐서플로
- Blog
Archives
- Today
- Total
pbj0812의 코딩 일기
[TensorFlow] MNIST 예제를 활용한 내가 쓴 숫자 맞추기 본문
0. 목표
- MNIST 예제 모델을 응용하여 내가 맞든 숫자 맞추기
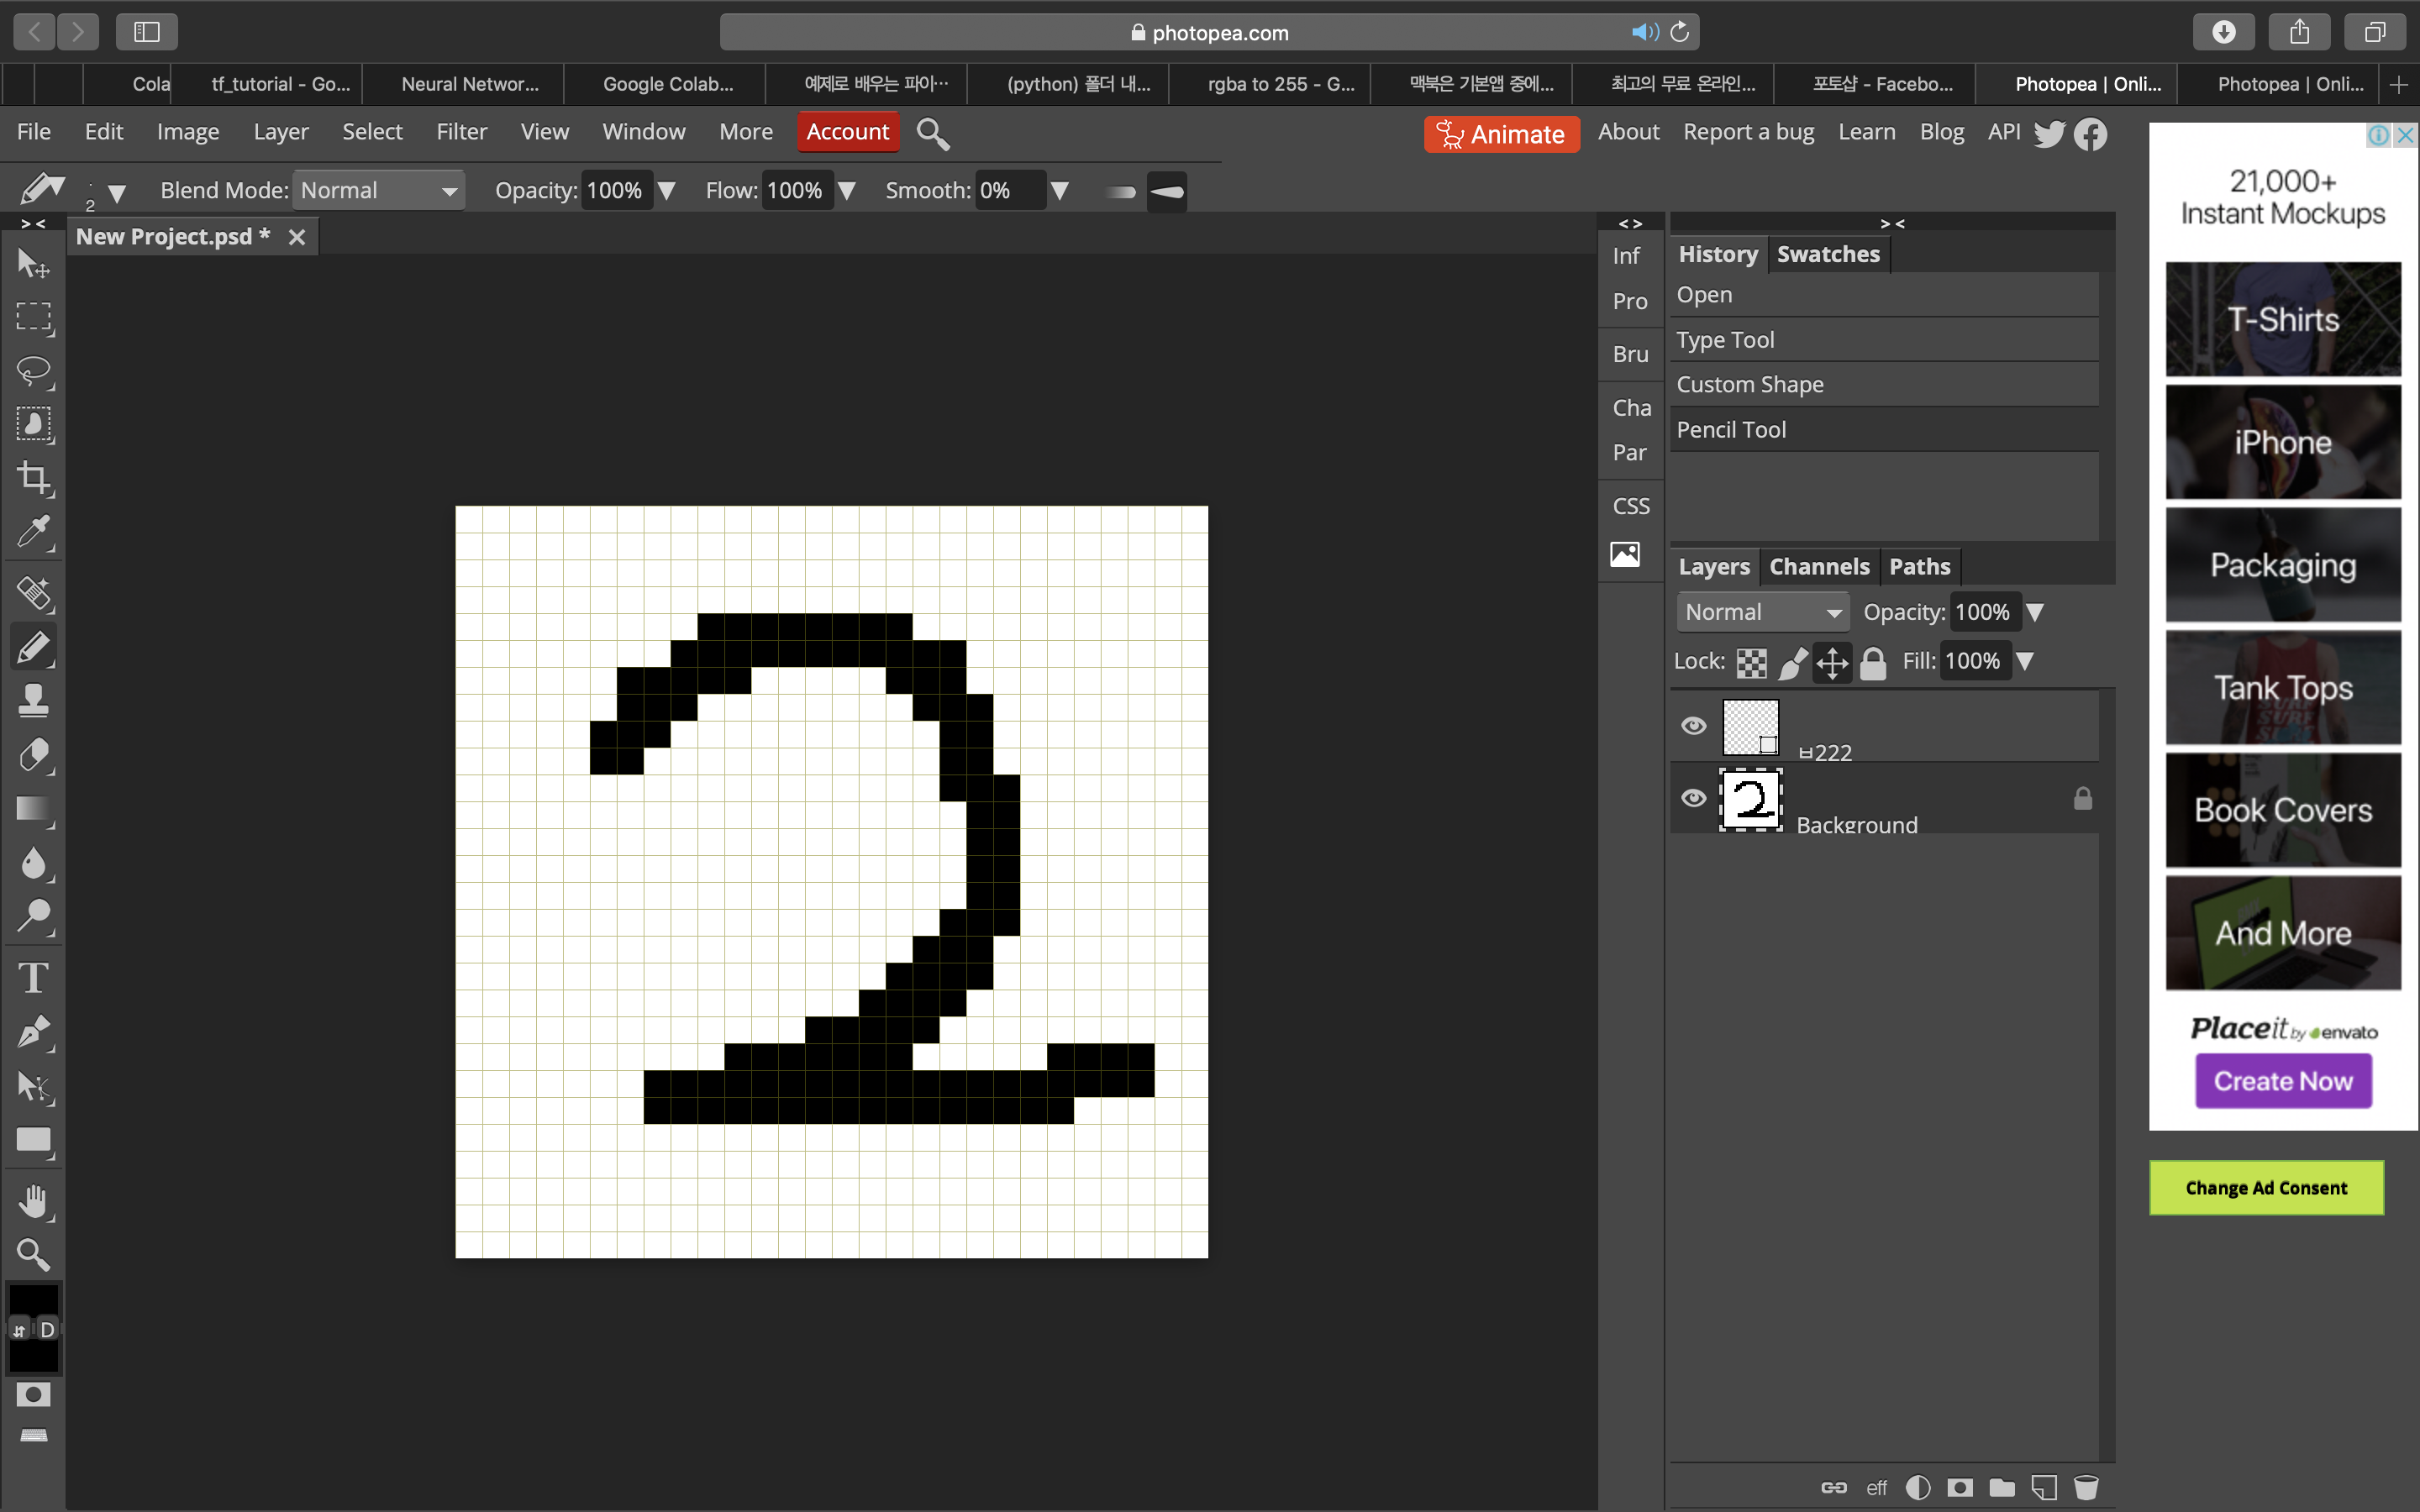
1. 준비(손글씨 만들기)
1) 링크 접속(무료 온라인 포토샵)
2) 28 * 28 사이즈로 맞춘뒤 그림 저장(다른 사이즈로 할 경우 추후에 resize 필요)
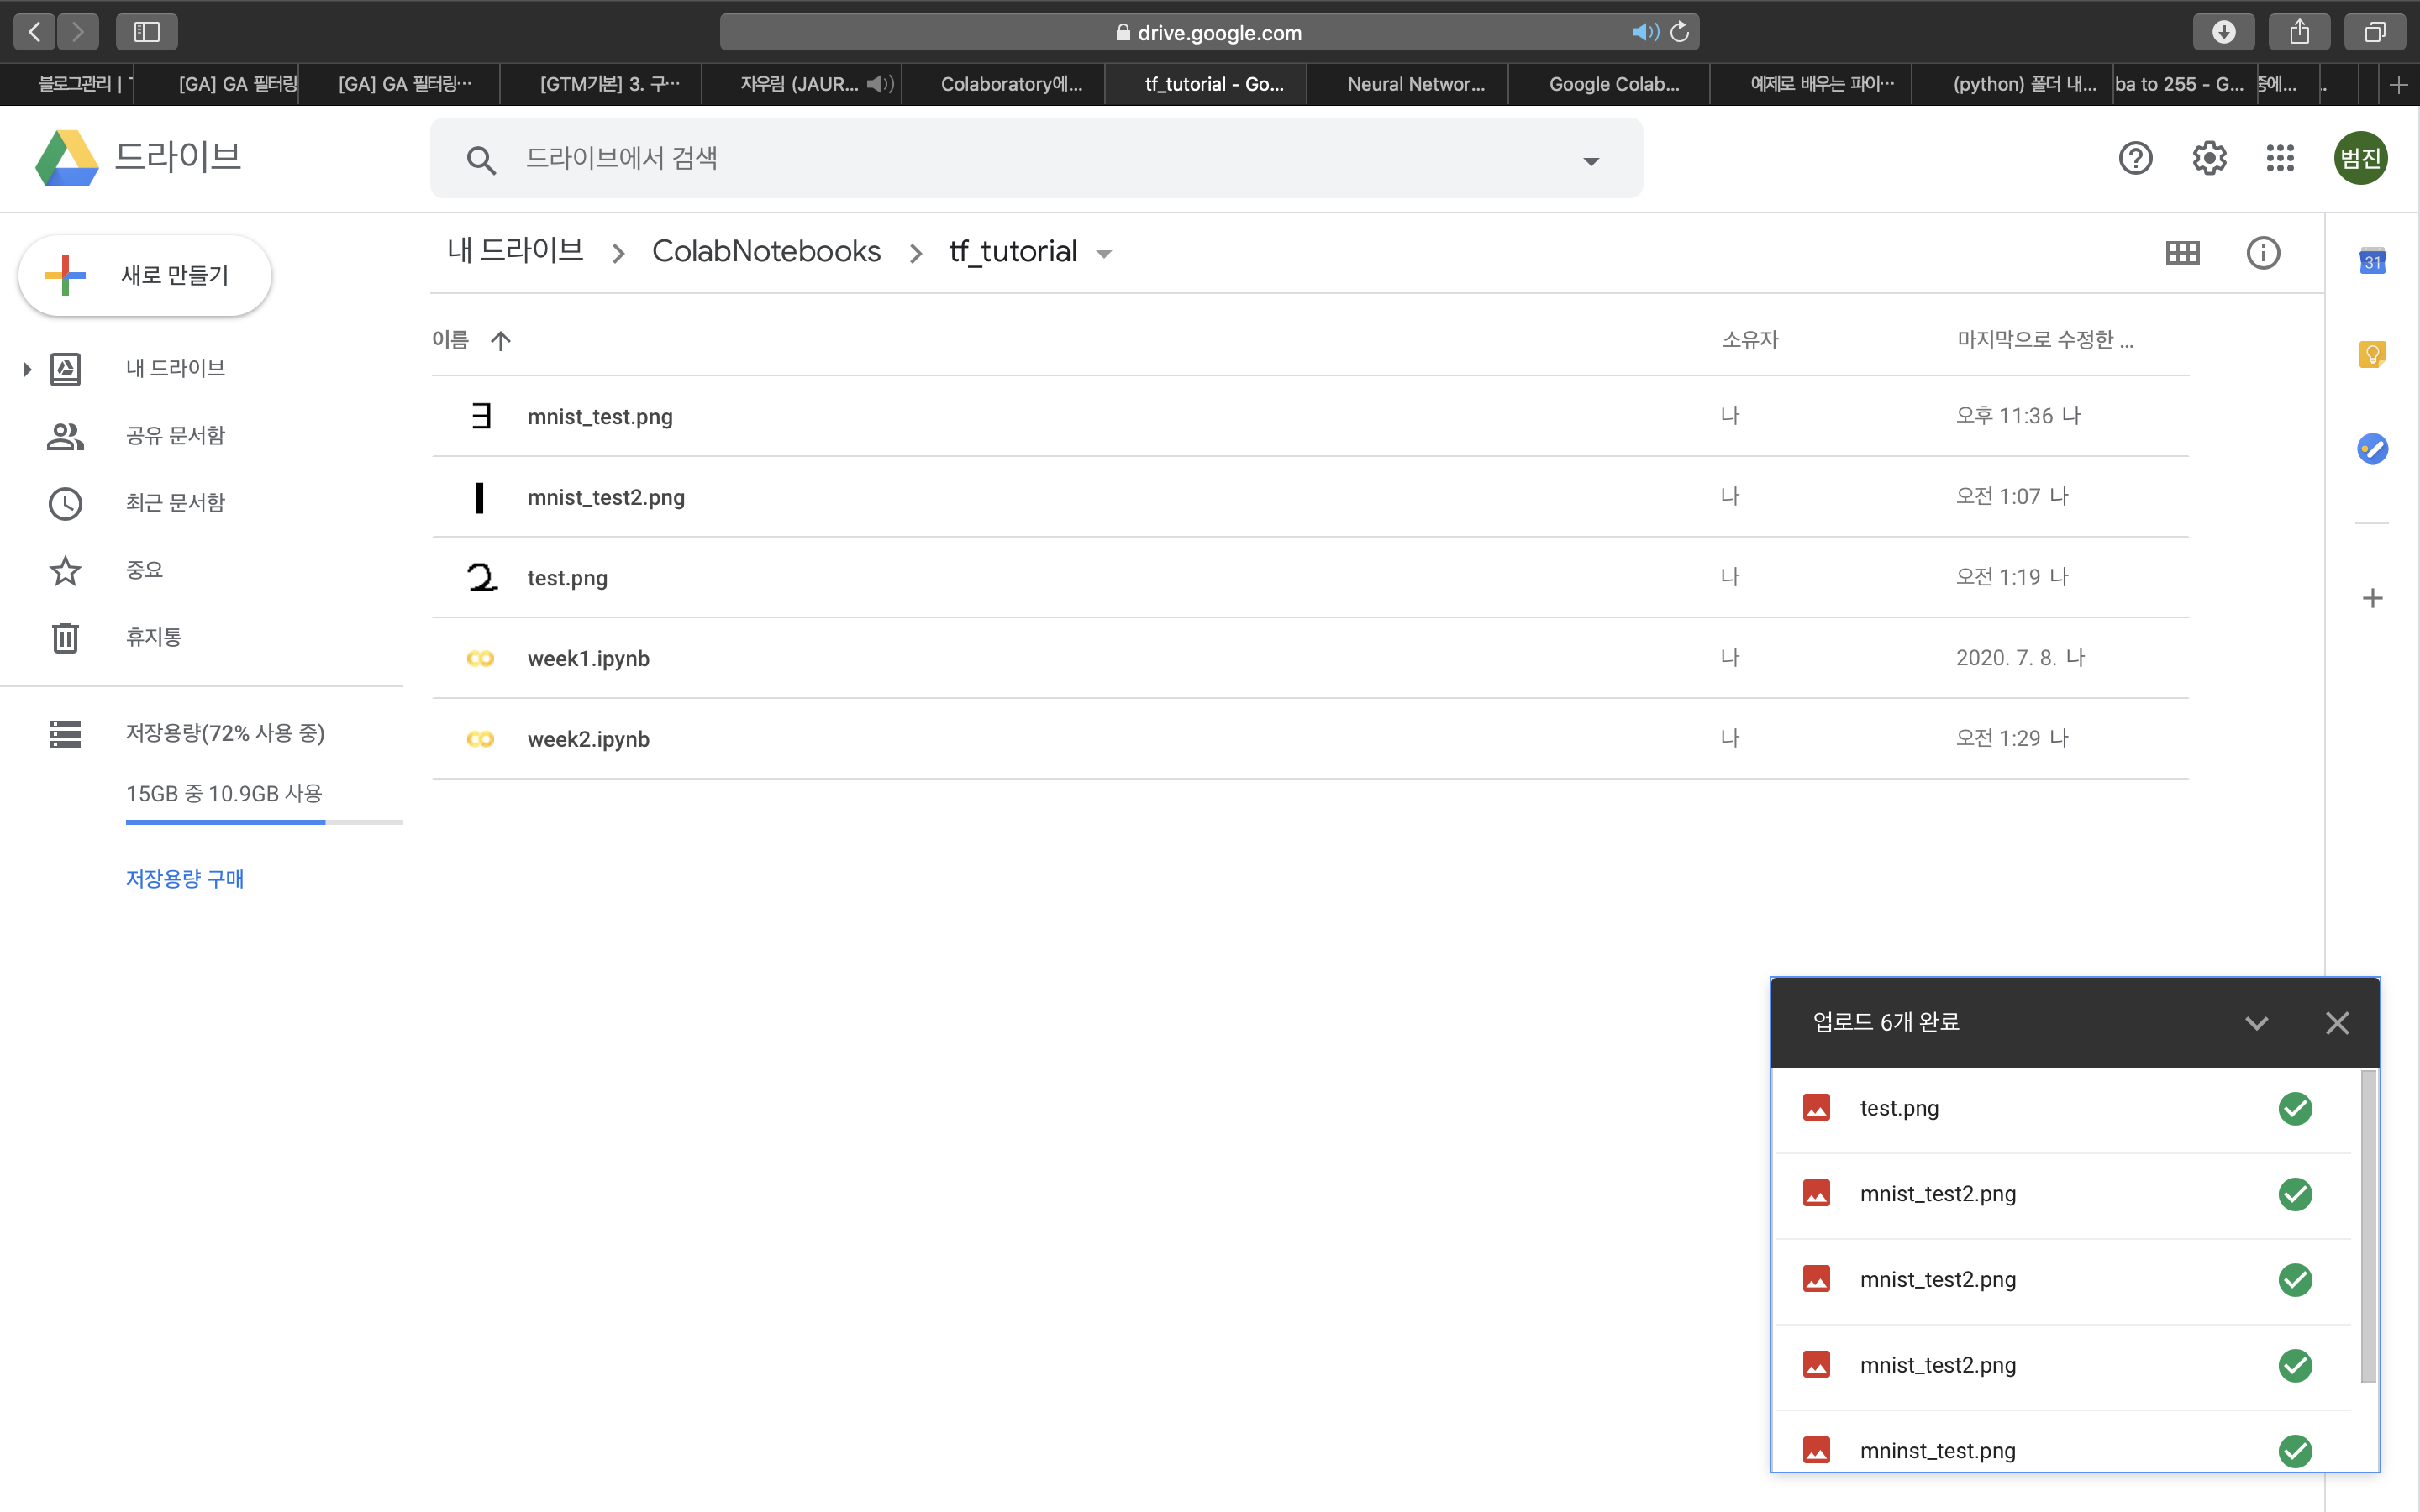
3) google 드라이버에 업로드
2. 모델 작성
1) library 호출
from __future__ import absolute_import, division, print_function, unicode_literals

#!pip install -q tensorflow-gpu==2.0.0-rc1
import tensorflow as tf
import matplotlib.pyplot as plt
import numpy as np
2) MNIST 다운로드
mnist = tf.keras.datasets.mnist
(x_train, y_train), (x_test, y_test) = mnist.load_data()
3) 데이터 길이 확인
- 학습 : 6만, 테스트 : 1만
print(len(x_train), len(y_train))
print(len(x_test), len(y_test))
4) 데이터 형태 확인
- 0 ~ 255의 숫자로 이루어짐, 28 * 28
x_train[0]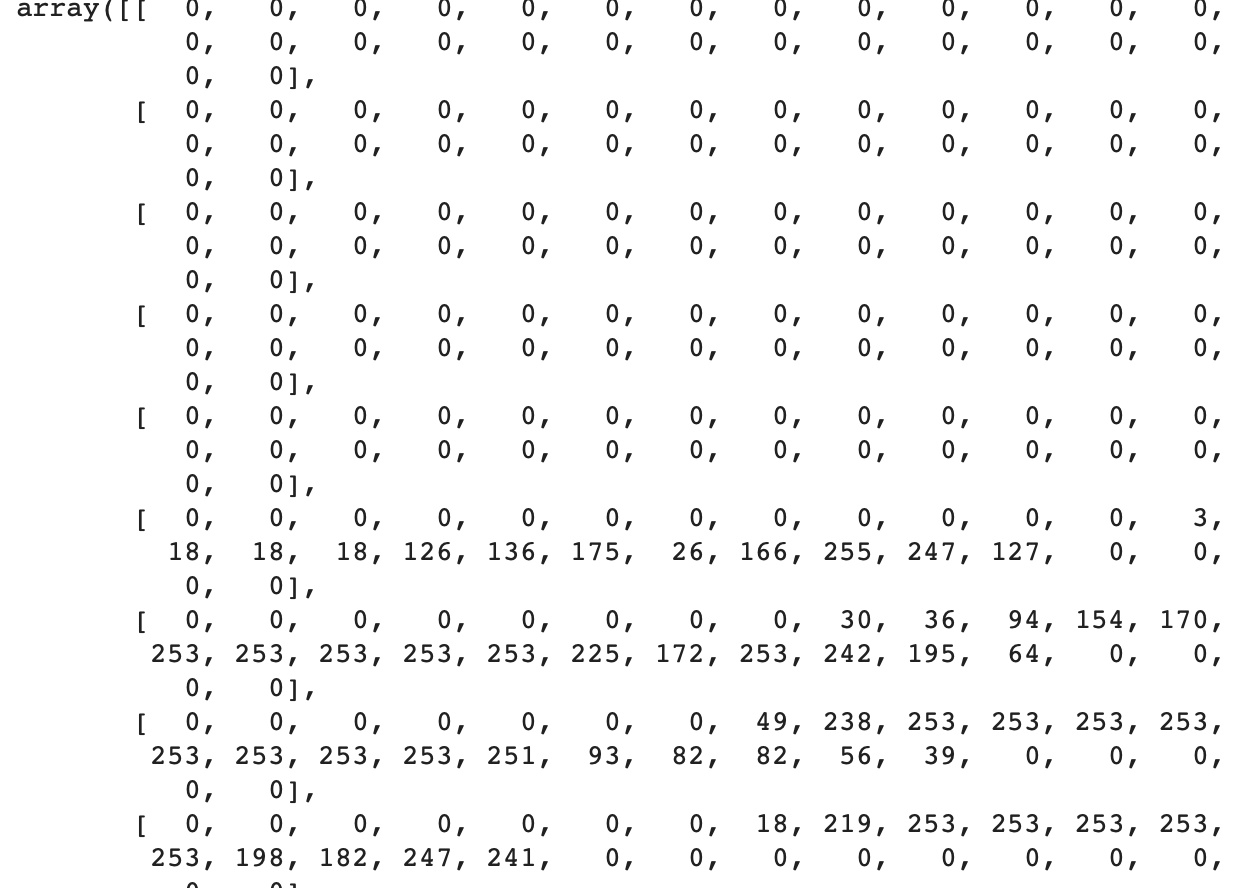
5) 정규화
- 정규화의 목적 : 링크 참고
x_train, x_test = x_train / 255.0, x_test / 255.06) 그림 확인
plt.imshow(x_test[0])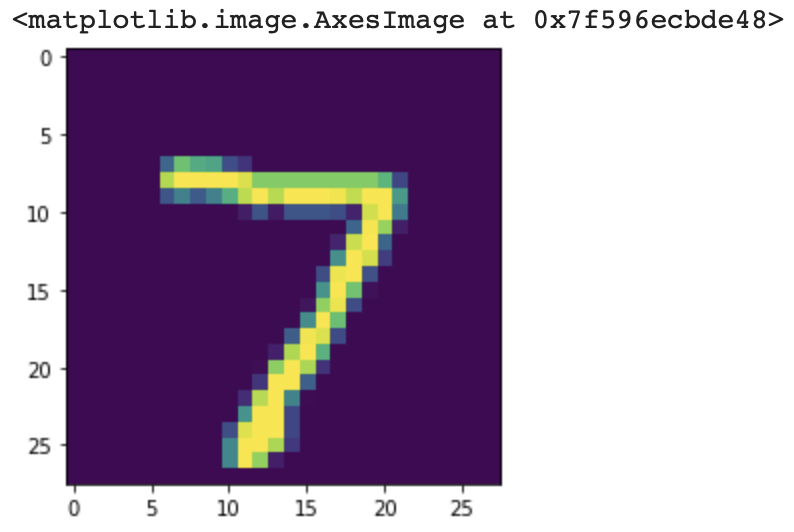
7) 모델 작성
model = tf.keras.models.Sequential([
tf.keras.layers.Flatten(input_shape=(28, 28)),
tf.keras.layers.Dense(128, activation='relu'),
tf.keras.layers.Dropout(0.2),
tf.keras.layers.Dense(10, activation='softmax')
])
model.compile(optimizer='adam',
loss='sparse_categorical_crossentropy',
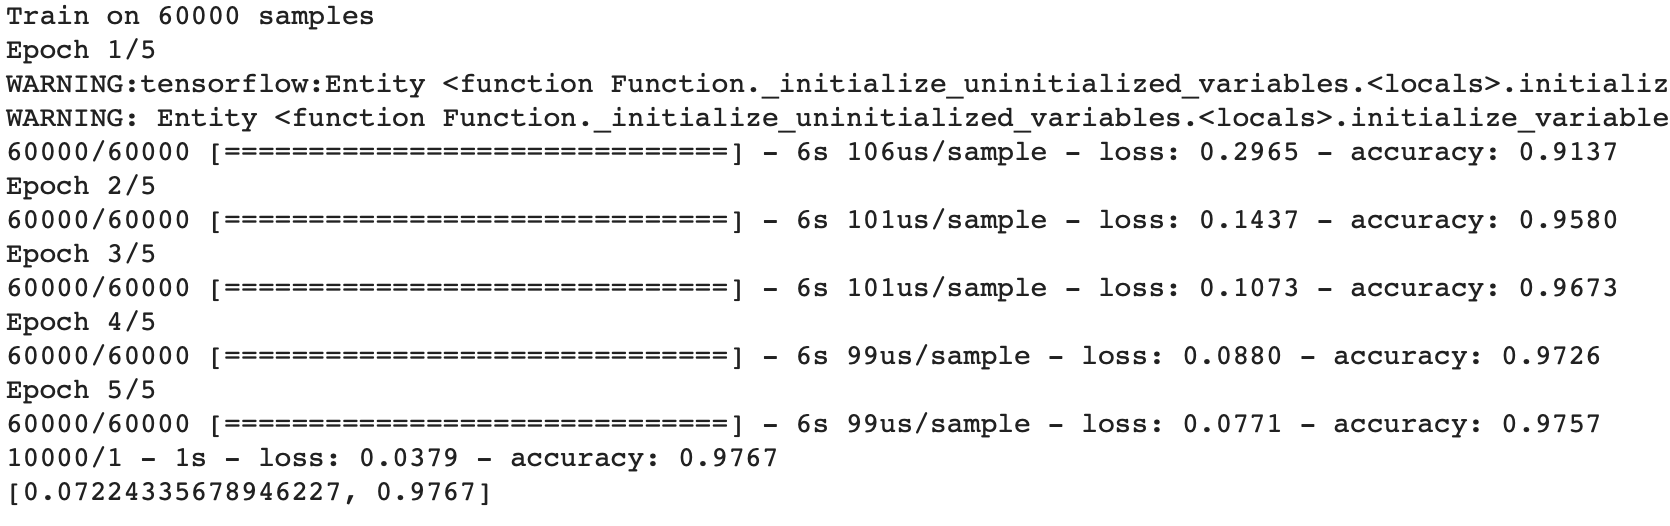
metrics=['accuracy'])8) 모델 학습 및 평가
model.fit(x_train, y_train, epochs=5)
model.evaluate(x_test,  y_test, verbose=2)
- 결과(97%)
3. 나의 데이터로 확인
1) library 호출
- 이렇게 할 경우 구글 드라이버 인증이 뜸(확인 하고 키 복사이후 입력)
from os import path
from google.colab import auth
auth.authenticate_user()

from google.colab import drive
drive.mount('/content/gdrive/')

from PIL import Image
2) 연동 확인
!cd gdrive; ls; cd 'My Drive'; ls;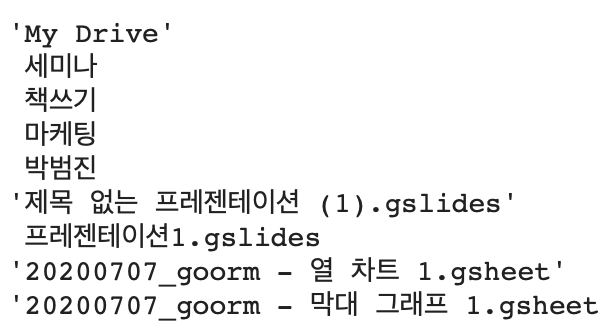
3) 이미지 불러오기
im = Image.open('./gdrive/My Drive/ColabNotebooks/tf_tutorial/test.png')4) 그림 그리기
plt.imshow(im)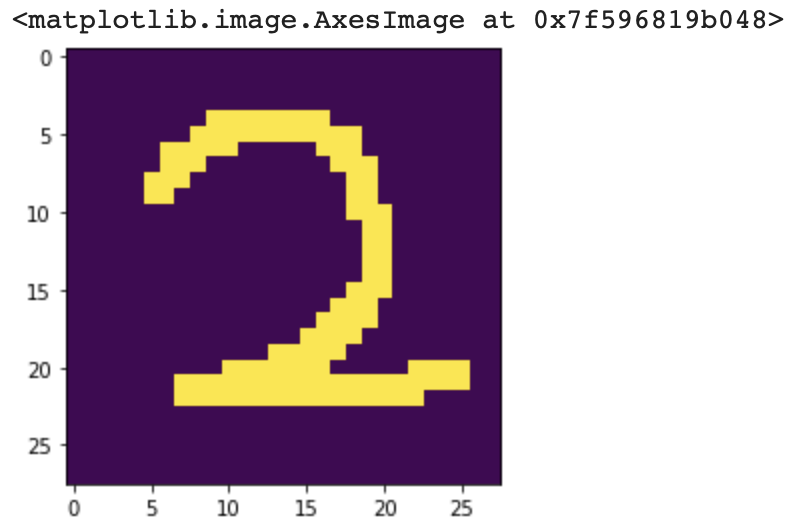
5) 사이즈 확인
- 28, 28 확인
im.size6) 행렬화
im = np.array(im)7) 리사이즈 및 예측
- 학습 및 결과 데이터의 형태가 60000 * 28 * 28, 10000 * 28 * 28 의 형태기에 형식을 맞춰주기 위하여 차원을 늘림
a = model.predict(np.reshape(im, (1, 28, 28)))8) 결과
a
9) 예측율 확인
- 0.99973005
max(a[0])10) 인덱스 확인
- 결과 : 2
list(a[0]).index(max(a[0]))4. 참고
- 정규화 이유
'인공지능 & 머신러닝 > TensorFlow' 카테고리의 다른 글
| [TensorFlow] LSTM을 활용한 긍부정 판별기 (0) | 2020.08.11 |
|---|---|
| [TensorFlow] sin 그래프 예측하기 (0) | 2020.07.25 |
| [TensorFlow] Colab 세팅하기 (0) | 2020.07.04 |
| [TensorFlow] Sequences, Time Series and Prediction (coursera) (0) | 2020.04.03 |
| [TensorFlow] Natural Language Processing in TensorFlow (0) | 2020.04.01 |
'인공지능 & 머신러닝/TensorFlow' Related Articles
more


Comments