빅데이터/자동화
[자동화] Airflow 예제
pbj0812
2020. 4. 8. 00:38
0. 목표
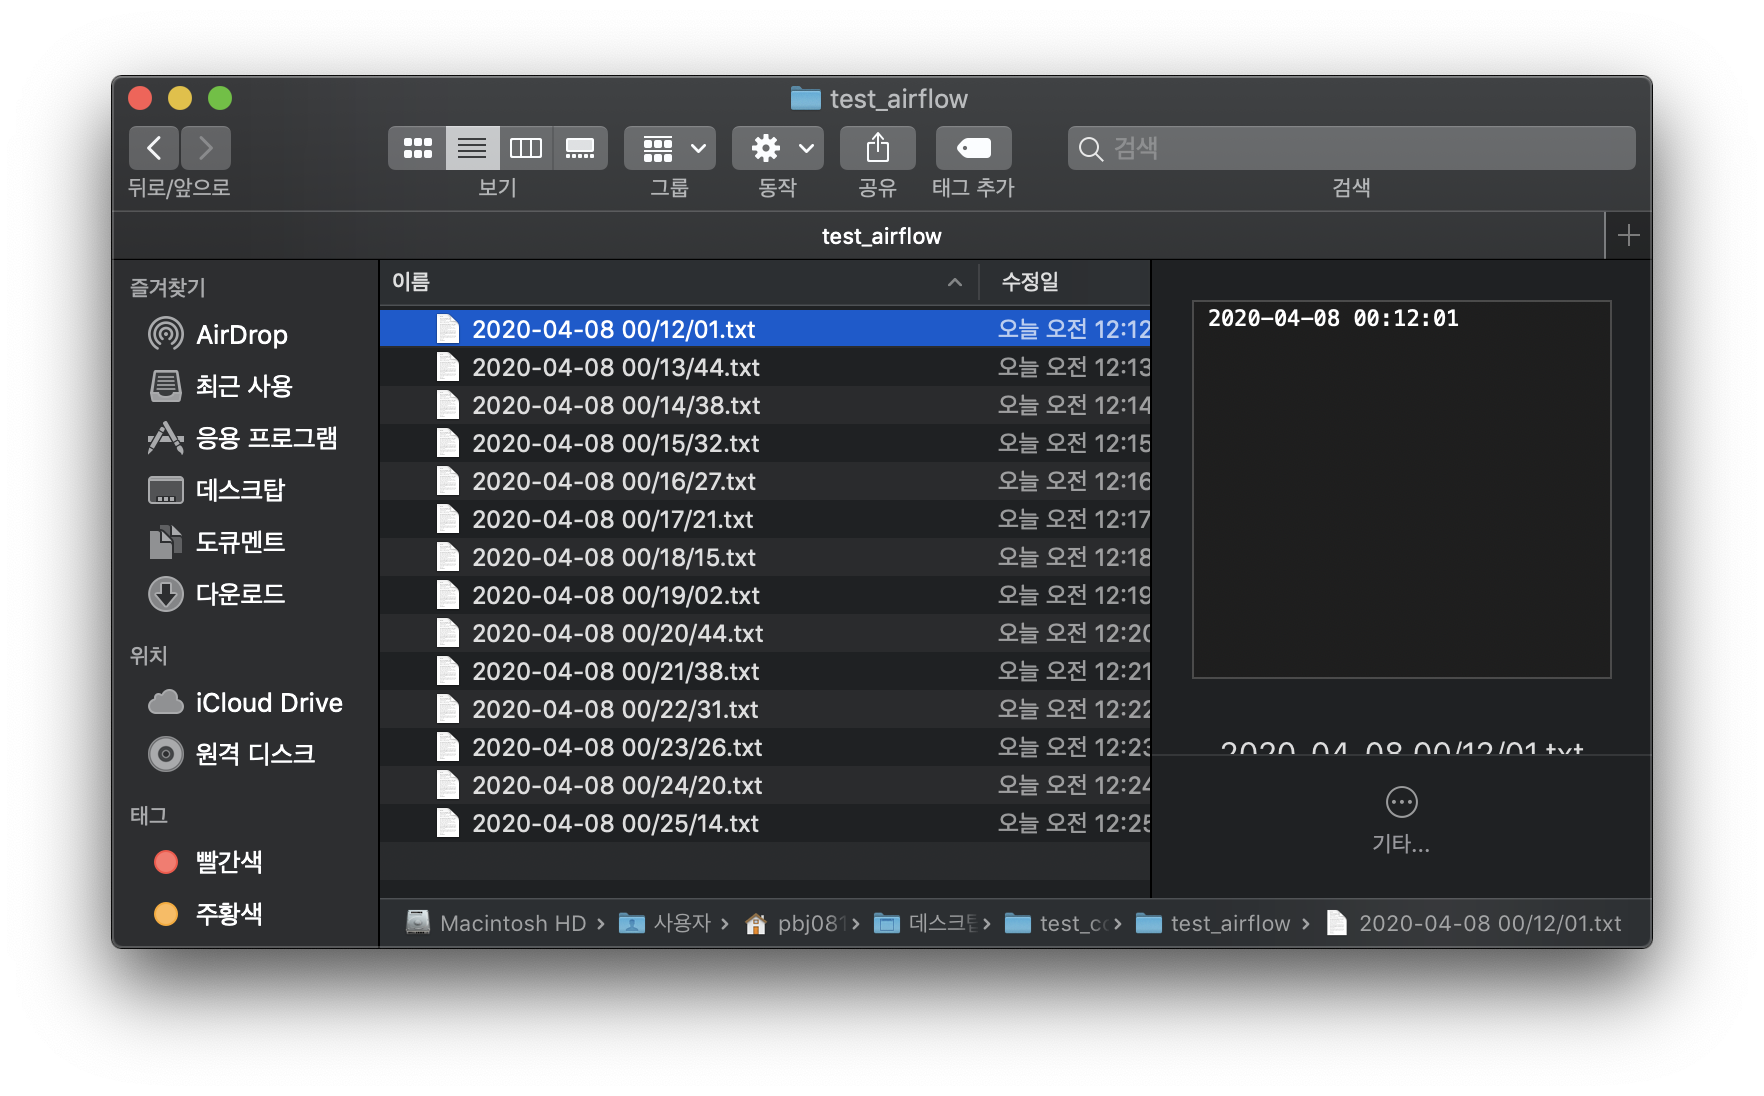
- 목표 위치에 1분마다 현재 시간을 기록한 파일 저장
1. Airflow 설치
pip install apache-airflow2. 코드 작성
- 작성 위치 : ~/airflow/dags
from airflow import DAG
from airflow.operators.bash_operator import BashOperator
from airflow.operators.dummy_operator import DummyOperator
from airflow.operators.python_operator import PythonOperator
from datetime import datetime, timedelta

dag = DAG('hello-airflow', description='Hello airflow DAG',
        schedule_interval = '* * * * *',
        start_date = datetime(2020,4,7), catchup = False)

def print_hello():
    now = datetime.now()
    nowDatetime = now.strftime('%Y-%m-%d %H:%M:%S')
    f = open("/Users/pbj0812/Desktop/test_code/test_airflow/"+str(nowDatetime)+".txt", 'w')
    f.write(str(nowDatetime))
    f.close()
    return 'Hello Airflow'

python_task = PythonOperator(
        task_id = 'python_operator',
        python_callable = print_hello,
        dag = dag)

bash_task = BashOperator(
        task_id = 'print_date',
        bash_command = 'date',
        dag = dag)

bash_task.set_downstream(python_task)
3. DB 초기화
airflow initdb4. 서버 실행(8080)
airflow webserver -p 80805. 스케쥴러 실행
airflow scheduler
6. Airflow 확인
- http://localhost:8080 접속
1) main 화면
- on 으로 변경
- hello-airflow 클릭

2) Graph View
- 실행 파이프라인 확인

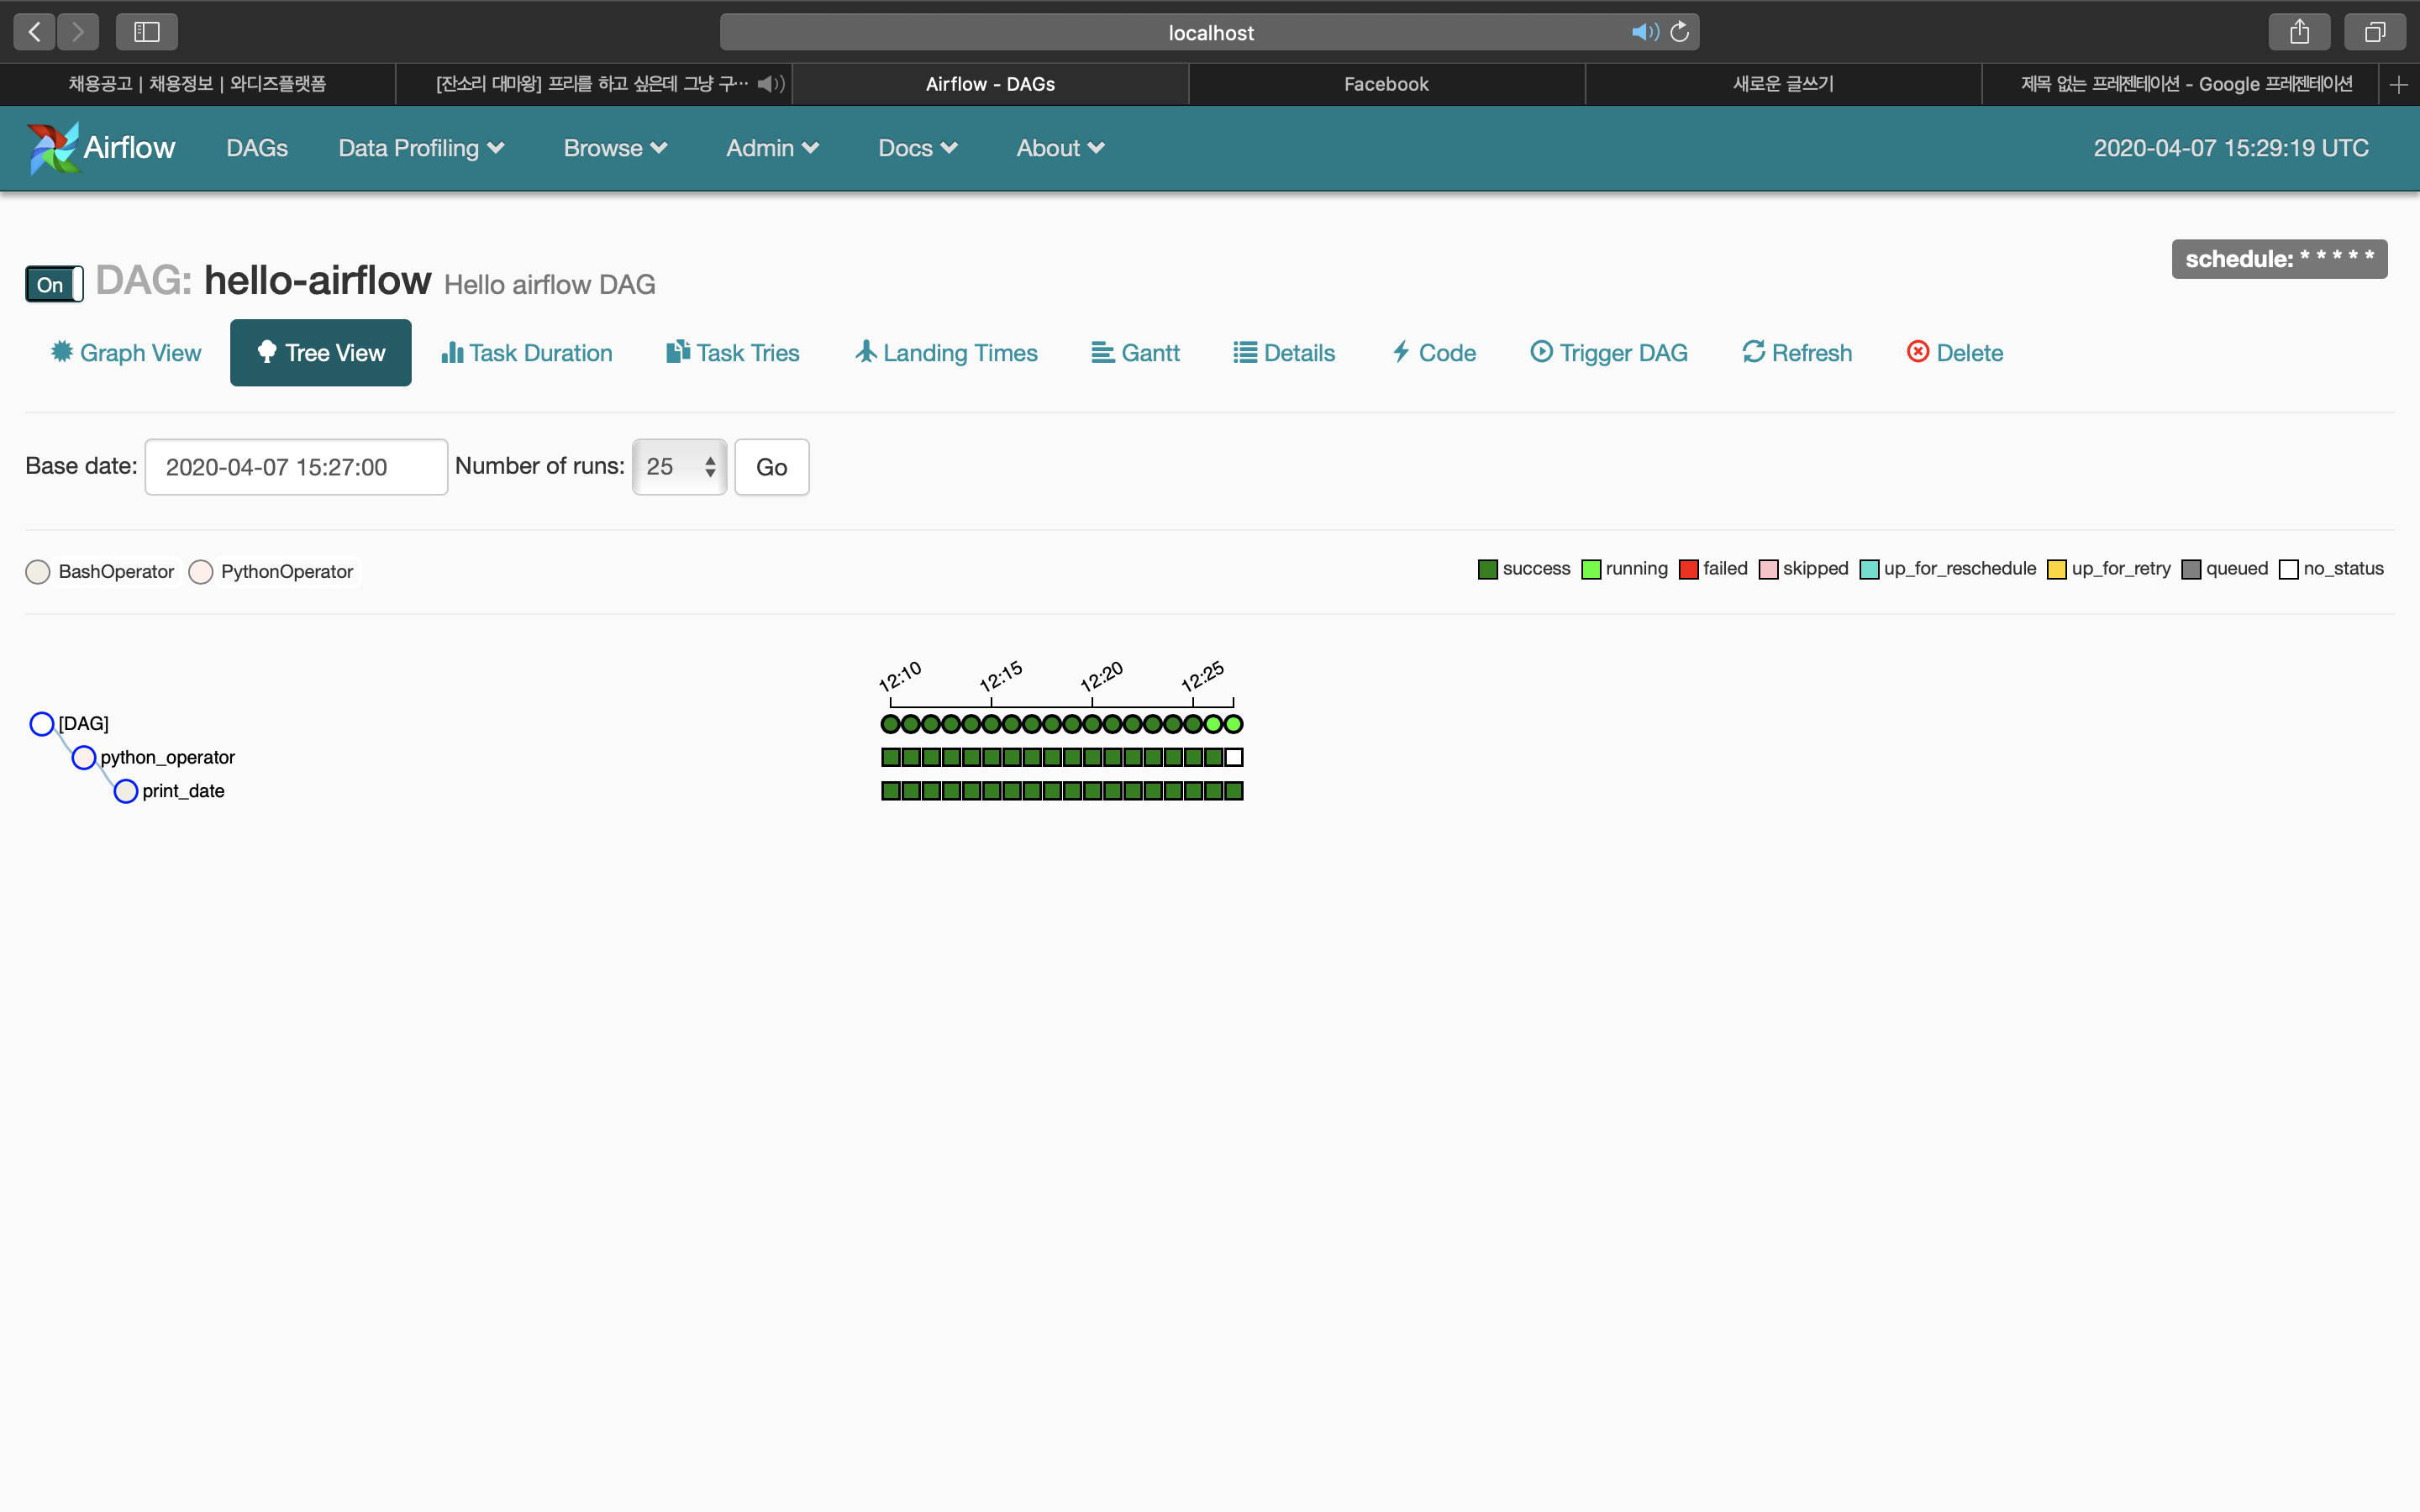
3) Tree View
- 실행 결과 확인
7. 결과
8. 참고
1) 변성윤님 글
2) 공식 문서